Publish
Pushing data out of the Lakehouse into other tools
Data Publishing Fs define the outbound movement of data to external systems, such as Power Bi, SFTP and SQL Servers, or Dynamics 365.
Publishing Tasks have an associated Target Connection (Data Target, for short) which specifies where they will be writing data to.
Quick LinksThis page only covers Publishing Task creation and modification.
- Logging and Monitoring: defines how to use the log page to monitor task ("View Runs").
- Schedules and Triggers: describes how to trigger tasks to run on demand ("Preview Run") and schedule tasks to run on a repeating cadence ("Schedule").
- Supported Publishing Targets:
Overview
The Publish module is accessible from the left navigation menu.
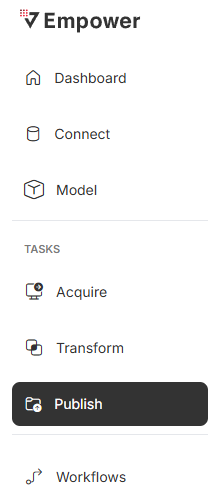
From here, you can view all Publishing Tasks within your selected environment.
There are a few restrictions when it comes to Data Publishing tasks.
- A Publishing Task can only ever be affiliated with one Data Source at a time.
- This means you can't push data out to multiple data sources under the same publishing task! In case you have this need, create a separate Publishing Task for each of your data sources, and schedule them to run at the same time.
- Archiving a Data Source will also force the archiving of all affiliated Publishing Tasks.
- You will not be able to edit, schedule, or trigger these tasks until you restore the underlying Data Source.
- Deleting a Data Source will permanently archive all affiliated Publishing Tasks.
- You will never again be able to edit, schedule, or trigger these tasks.
Tasks
From the default view for the Data Publishing module, you can see all the Publishing Tasks within your current environment.
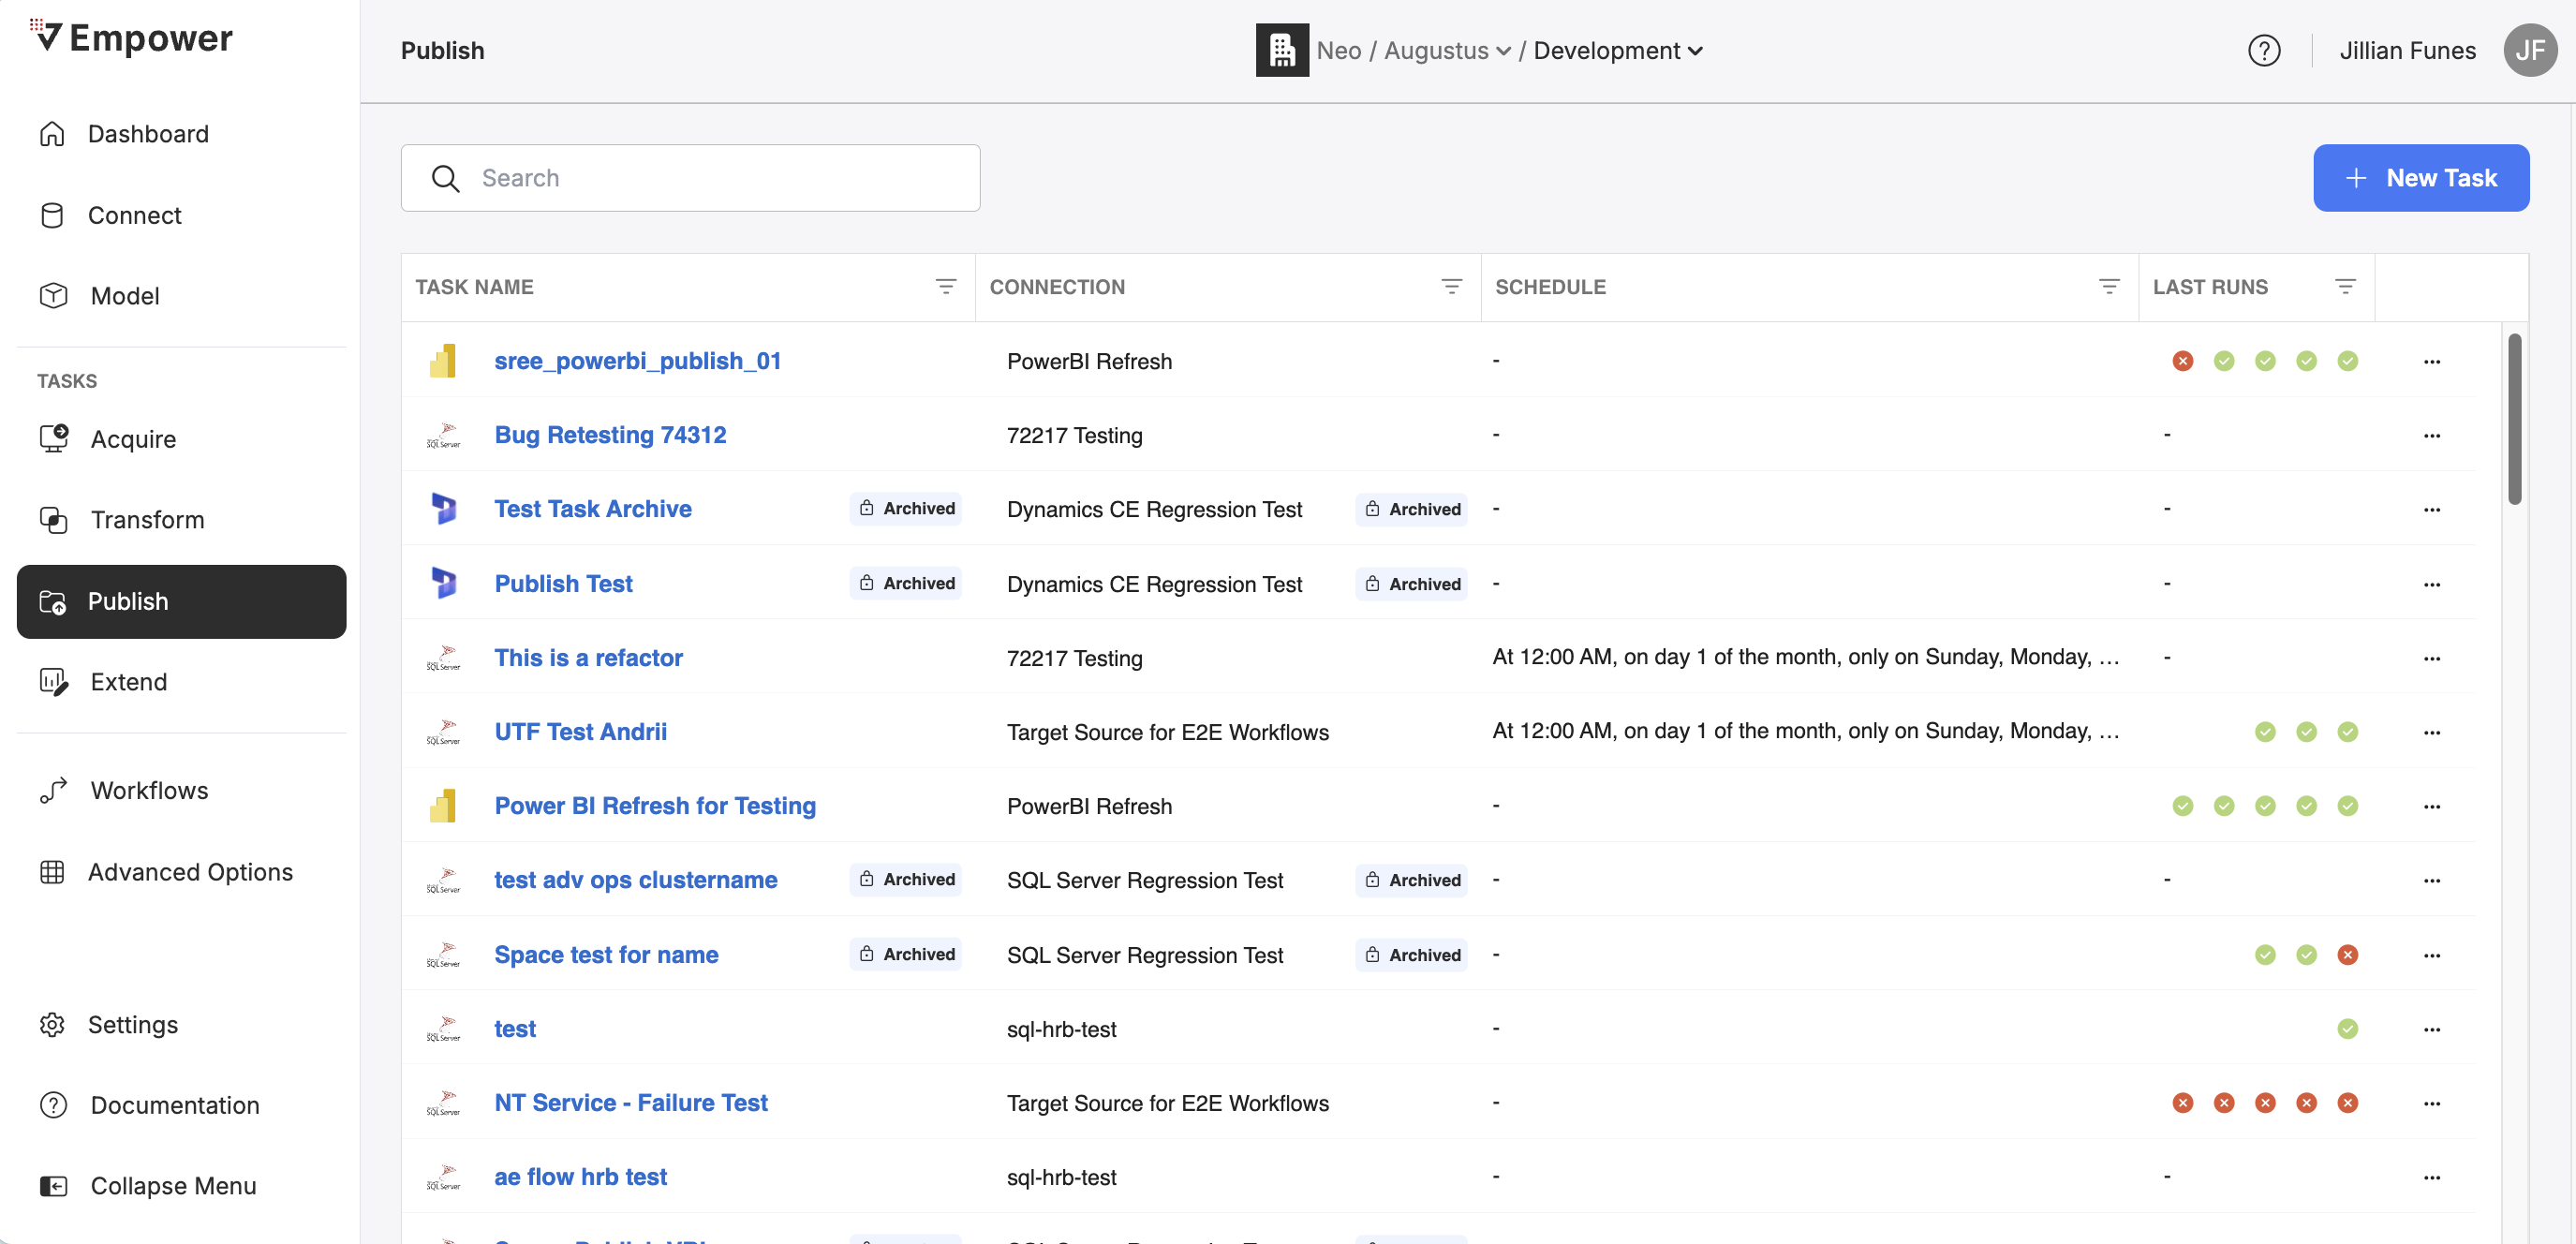
You can search these tasks by name, view configurations or historical run logs, trigger a task to run on demand, view/set/activate scheduling, and create new tasks.
Creation
Creating a Publishing Task can be done by simply clicking on "+ New Task" at the top of the screen on the homepage for the Publish module.
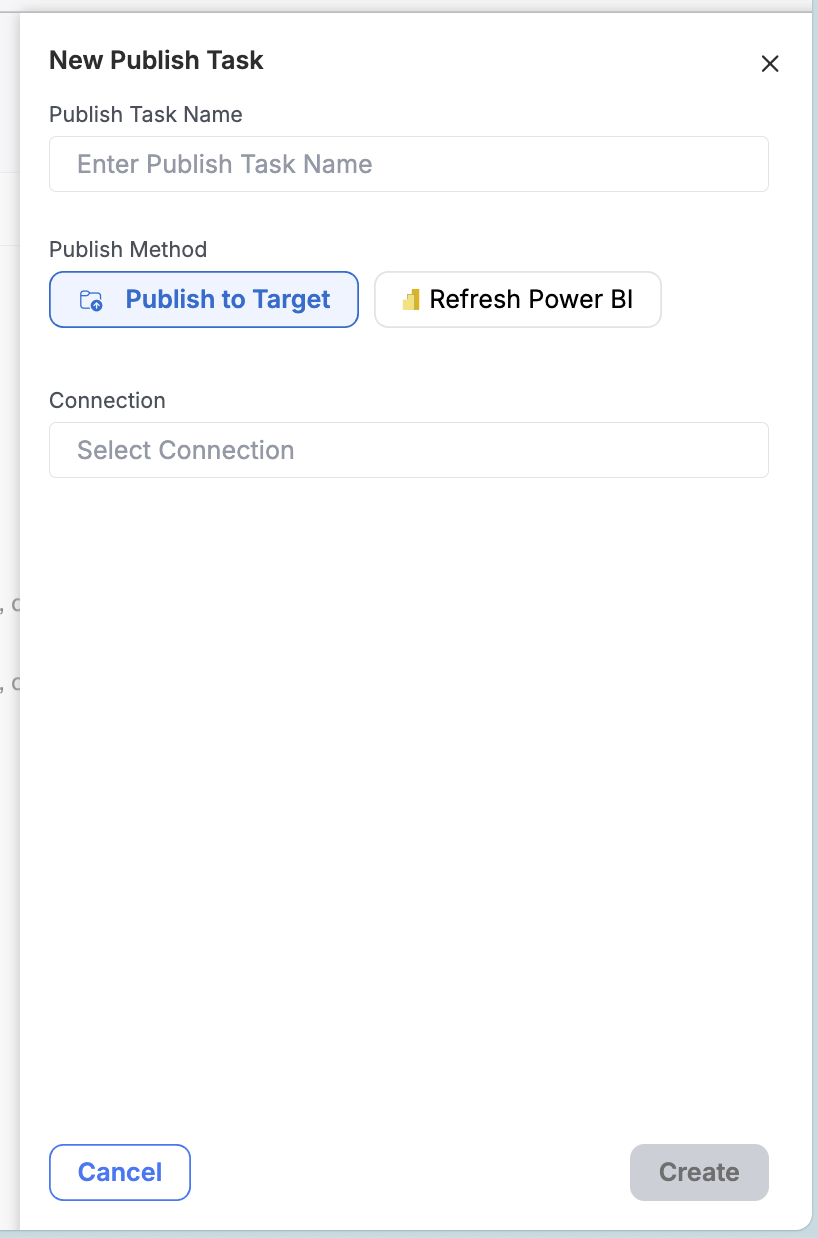
Publish to a Target
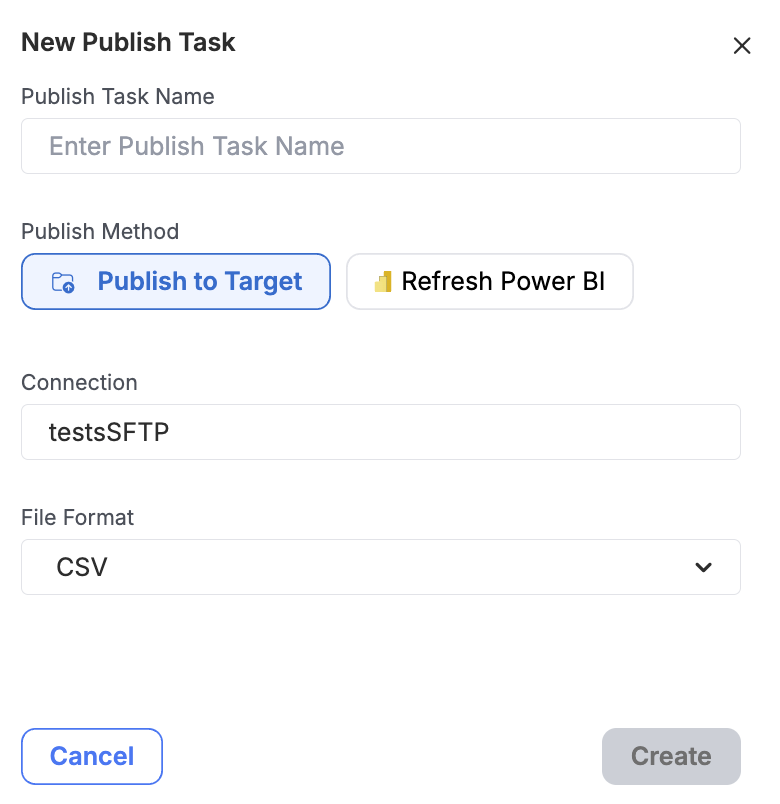
Publishing to a Target will allow you to choose your target destination in which your data will be pushed to.
Refresh PowerBI
Pre-RequisiteBefore choosing to Refresh PowerBI, Empower must know and be granted access to your relevant Azure tenant. See details here on how to do that if you have not already done so.
Choosing "Refresh PowerBI" will allow you automatically refresh a Microsoft PowerBI Dataset by entering a Workspace ID and Dataset ID.
Use the Open Instructions link for help on how to find your Microsoft PowerBI Workspace ID and Dataset ID.
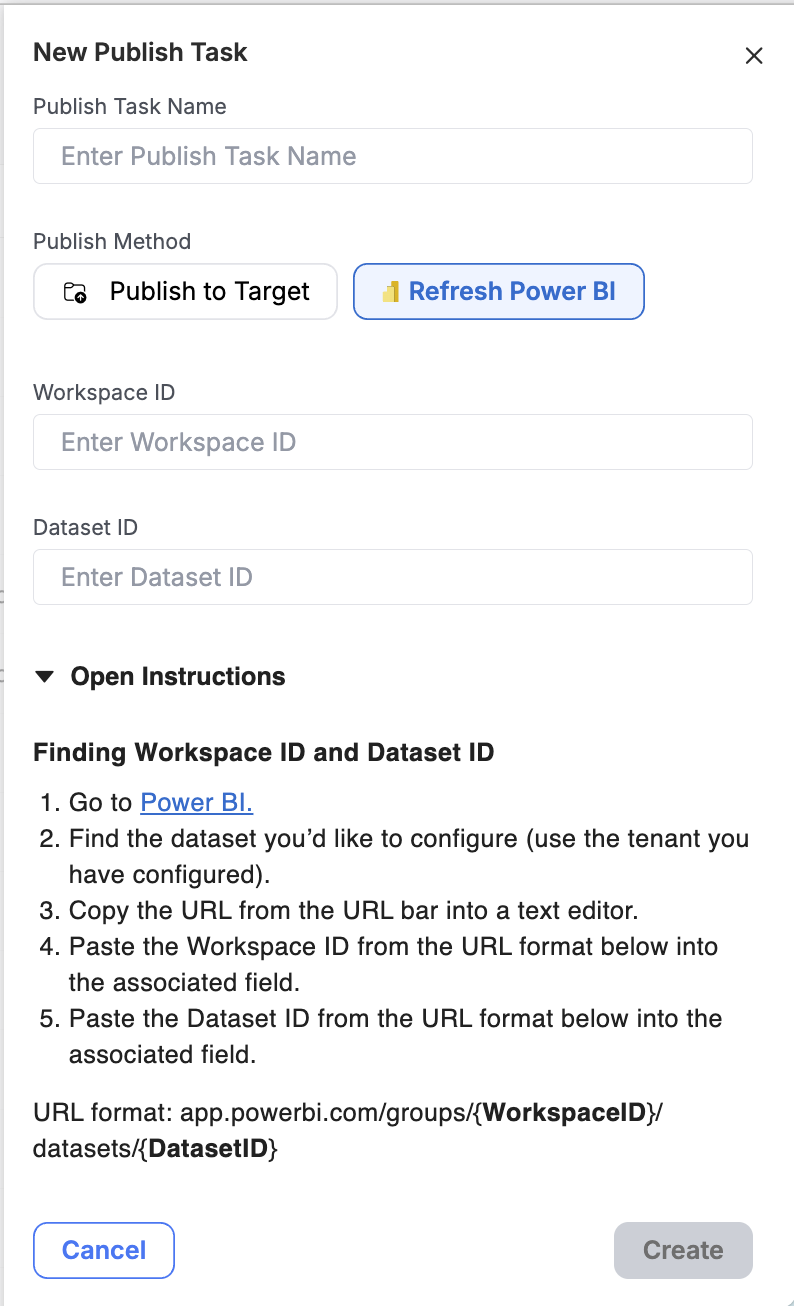
Once you fill out the required fields (Name and Data Source), click "Create" to complete the creation process. Depending on the data target selected (SFTP in the example below) you may have additional fields to configure. See the Supported Data Publishing Targets section below for more details.
You can now see your newly created task at the top of the page.
INFO: 1 to Many - Data Sources and Publishing TasksData Targets and Publishing Tasks have a 1:many relationship.
This means that a single Publishing Task can only ever be associated with one Data Target at any moment in time. However, a specific Data Targets may be associated with many different Publishing Tasks, all with different schedules and entity configurations.
Editing
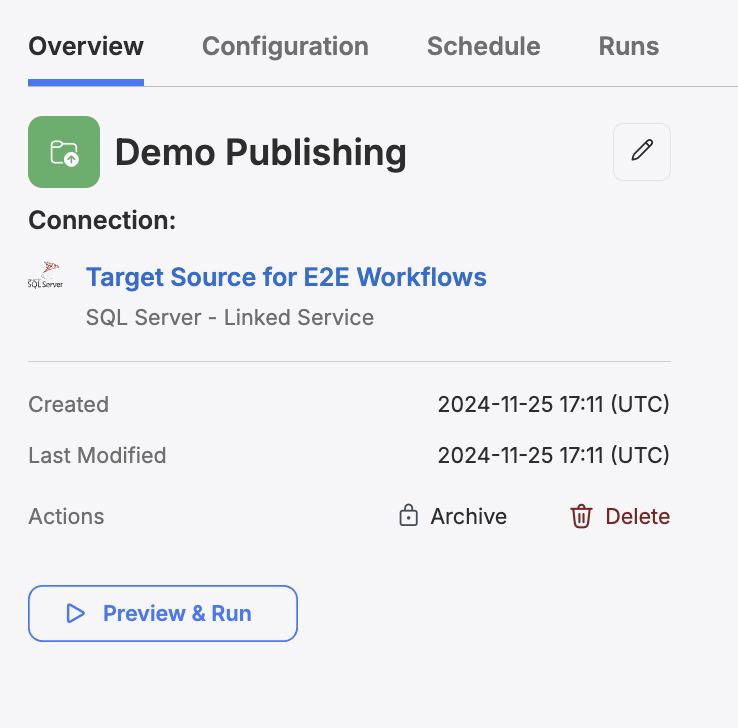
Clicking on the name of a Task will bring you to the Task tab view as shown below.

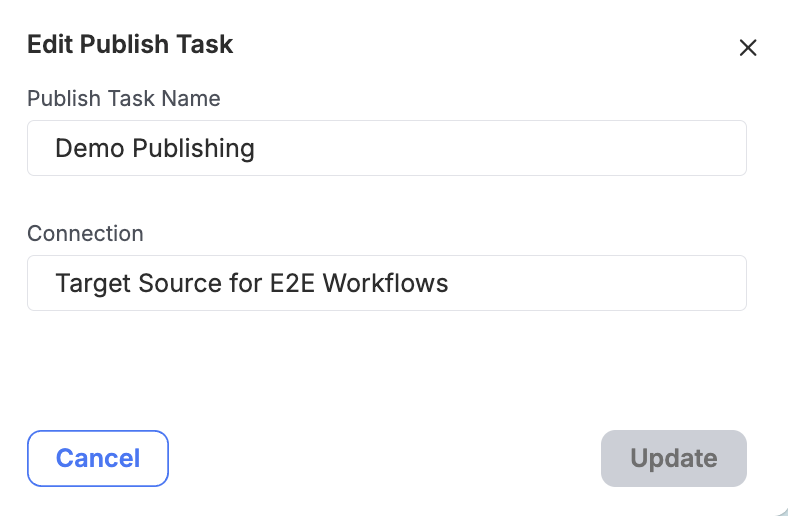
From this view, you can click on the edit pencil icon to edit the Name, the Data Source Target, and (if applicable) additional fields depending on the Target Connection type. Note that you will not be able to change your publish method, i.e. Publish to Target or Refresh PowerBI.
Deletion
You can delete any existing Data Publishing Task by clicking the Delete button under Actions. Doing so will bring up a menu with one option being to Delete the task.
A confirmation modal will pop up. You must confirm you wish to delete the task in order to complete the deletion process.
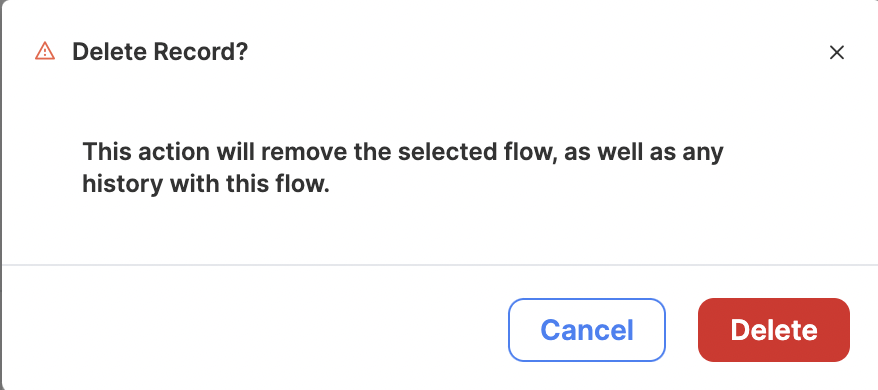
Confirm you wish to delete the task and all of its historical logs.
DANGER: Deletion is PermanentTask deletion is a permanent action. Deleting a task will also remove the entire historical log of that task. You will not be able to reverse a task's deletion, so make sure you actually want to perform this action!
Scheduling and Triggering Tasks
To read about how to schedule and trigger Publishing Tasks or any other task type, visit Scheduling Data Tasks.
Configuration
Click on the "Configuration" tab on any existing Publishing Task to visit its configuration page.

From the configuration page, you can view the Entities that will be published when this task is executed. Each Entity may have additional configurable settings (Options), described in the aptly named subsection below.
When you make edits on this page, the change is automatically saved to the task's associated Model configuration.
Entities
What are Entities in Publishing Tasks?Unlike Model Entities, Publish Entities are the objects within your Lakehouse that are set to be published when this publishing task is executed. You can set any number of publish entities within a Publishing Task. Entities can be configured using data from any bronze, silver, or gold table in your data estate.
The Entity table defines the list of publishable objects for the Publishing Task. For each Entity, you can view its target name, its source schema and name in your Lakehouse, any SQL filter to be run before publishing, the source catalog (set to your environment's catalog by default - AUTO), and any additional options for this Entity. Options are typically defined by the data target you are publishing data out to. See the Supported Data Publishing Targets below for more details on each supported target.
You can activate and deactivate any entity on demand. Deactivated entities will not be published during this task's execution.
Below is a table describing each of the Entity columns and example values.
Column Name | Description | Example Value |
|---|---|---|
ID | The global ID for this Entity (autogenerated). | 123456-abccda-1233-124abcd |
Target Entity Name | The name of the entity or desired path (month/date/Target_entity_name) as it will be written to an SFTP server (if applicable) | dim_account_revenue |
Source Schema | The source table’s schema in your lakehouse, i.e. "where is this data coming from?" | sales_gold |
Source Entity Name | The source table's name in your lakehouse, i.e. "where is this data coming from?" | dim_account_revenue |
Source Entity Filter | An optional WHERE condition parameter, to be executed before publishing this data as a temporary view. Keep in mind that this filter must be valid SQL (everything that could be part of a SQL WHERE clause, just without the preceding WHERE in the statement). | account_type=”Debit” |
Source Catalog | The source table's catalog in your lakehouse. Select AUTO to use your environment's default catalog. | AUTO |
Active | A toggle which activates/deactivates this entity for publishing. Only active entities will be published. | Active/Inactive |
Options | Contains a separate key/value dictionary modal to define specific data-target-specific configurations on an object by object basis. See Supported Data Publishing Targets below for more details. | N/A |
Supported Data Publishing Targets
- Power BI Datasets
- SFTP Servers
- SQL Servers
- Dynamics 365 via Empower for Dynamics -> Not supported in the UI.
- Another Empower Instance (via Unity Catalog Sharing) -> Not supported in the UI.
- (Custom) Any Target via Databricks Notebook -> Not supported in the UI.
Updated 3 months ago
