Acquire
Pulling data in from your Connections into your lakehouse.
Acquire Tasks (or Acquire Tasks) define the inbound movement of data, i.e. data moving from a data source into your centralized, enterprise data Lakehouse.
In Empower, you can create as many Acquire Tasks as you want, while configuring each of them to acquire the specific objects that you want to align aquistion frequency to their needs..
Quick LinksThis page only covers an overview of Acquire Tasks and how to use them
- Logging and Monitoring: defines how to use the log page to monitor tasks ("View Runs").
- Schedules and Triggers: describes how to trigger tasks to run on demand ("Preview Run") and schedule tasks to run on a repeating cadence ("Schedule").
Overview
The Acquire module is accessible from the left navigation menu.
From here, you can view all Acquire Tasks within your selected environment.
There are a few restrictions when it comes to Acquire Tasks.
- An Acquire Task can only ever be affiliated with one Data Source Connection at a time.
- This means you can't bring data in from multiple data sources under the same task! In case you have this need, create a separate Acquire Task for each of your data sources, and schedule them to run at the same time.
- Archiving a Data Source Connection will also force the archiving of all affiliated Acquire Tasks.
- You will not be able to edit, schedule, or trigger these tasks until you restore the underlying Data Source Connection.
- Deleting a Data Source Connection will permanently archive all affiliated Acquire Tasks.
- You will never again be able to edit, schedule, or trigger these tasks.
Managing Acquire Tasks
From the default view for the Acquire module, you can see all the Acquire Tasks within your current environment.
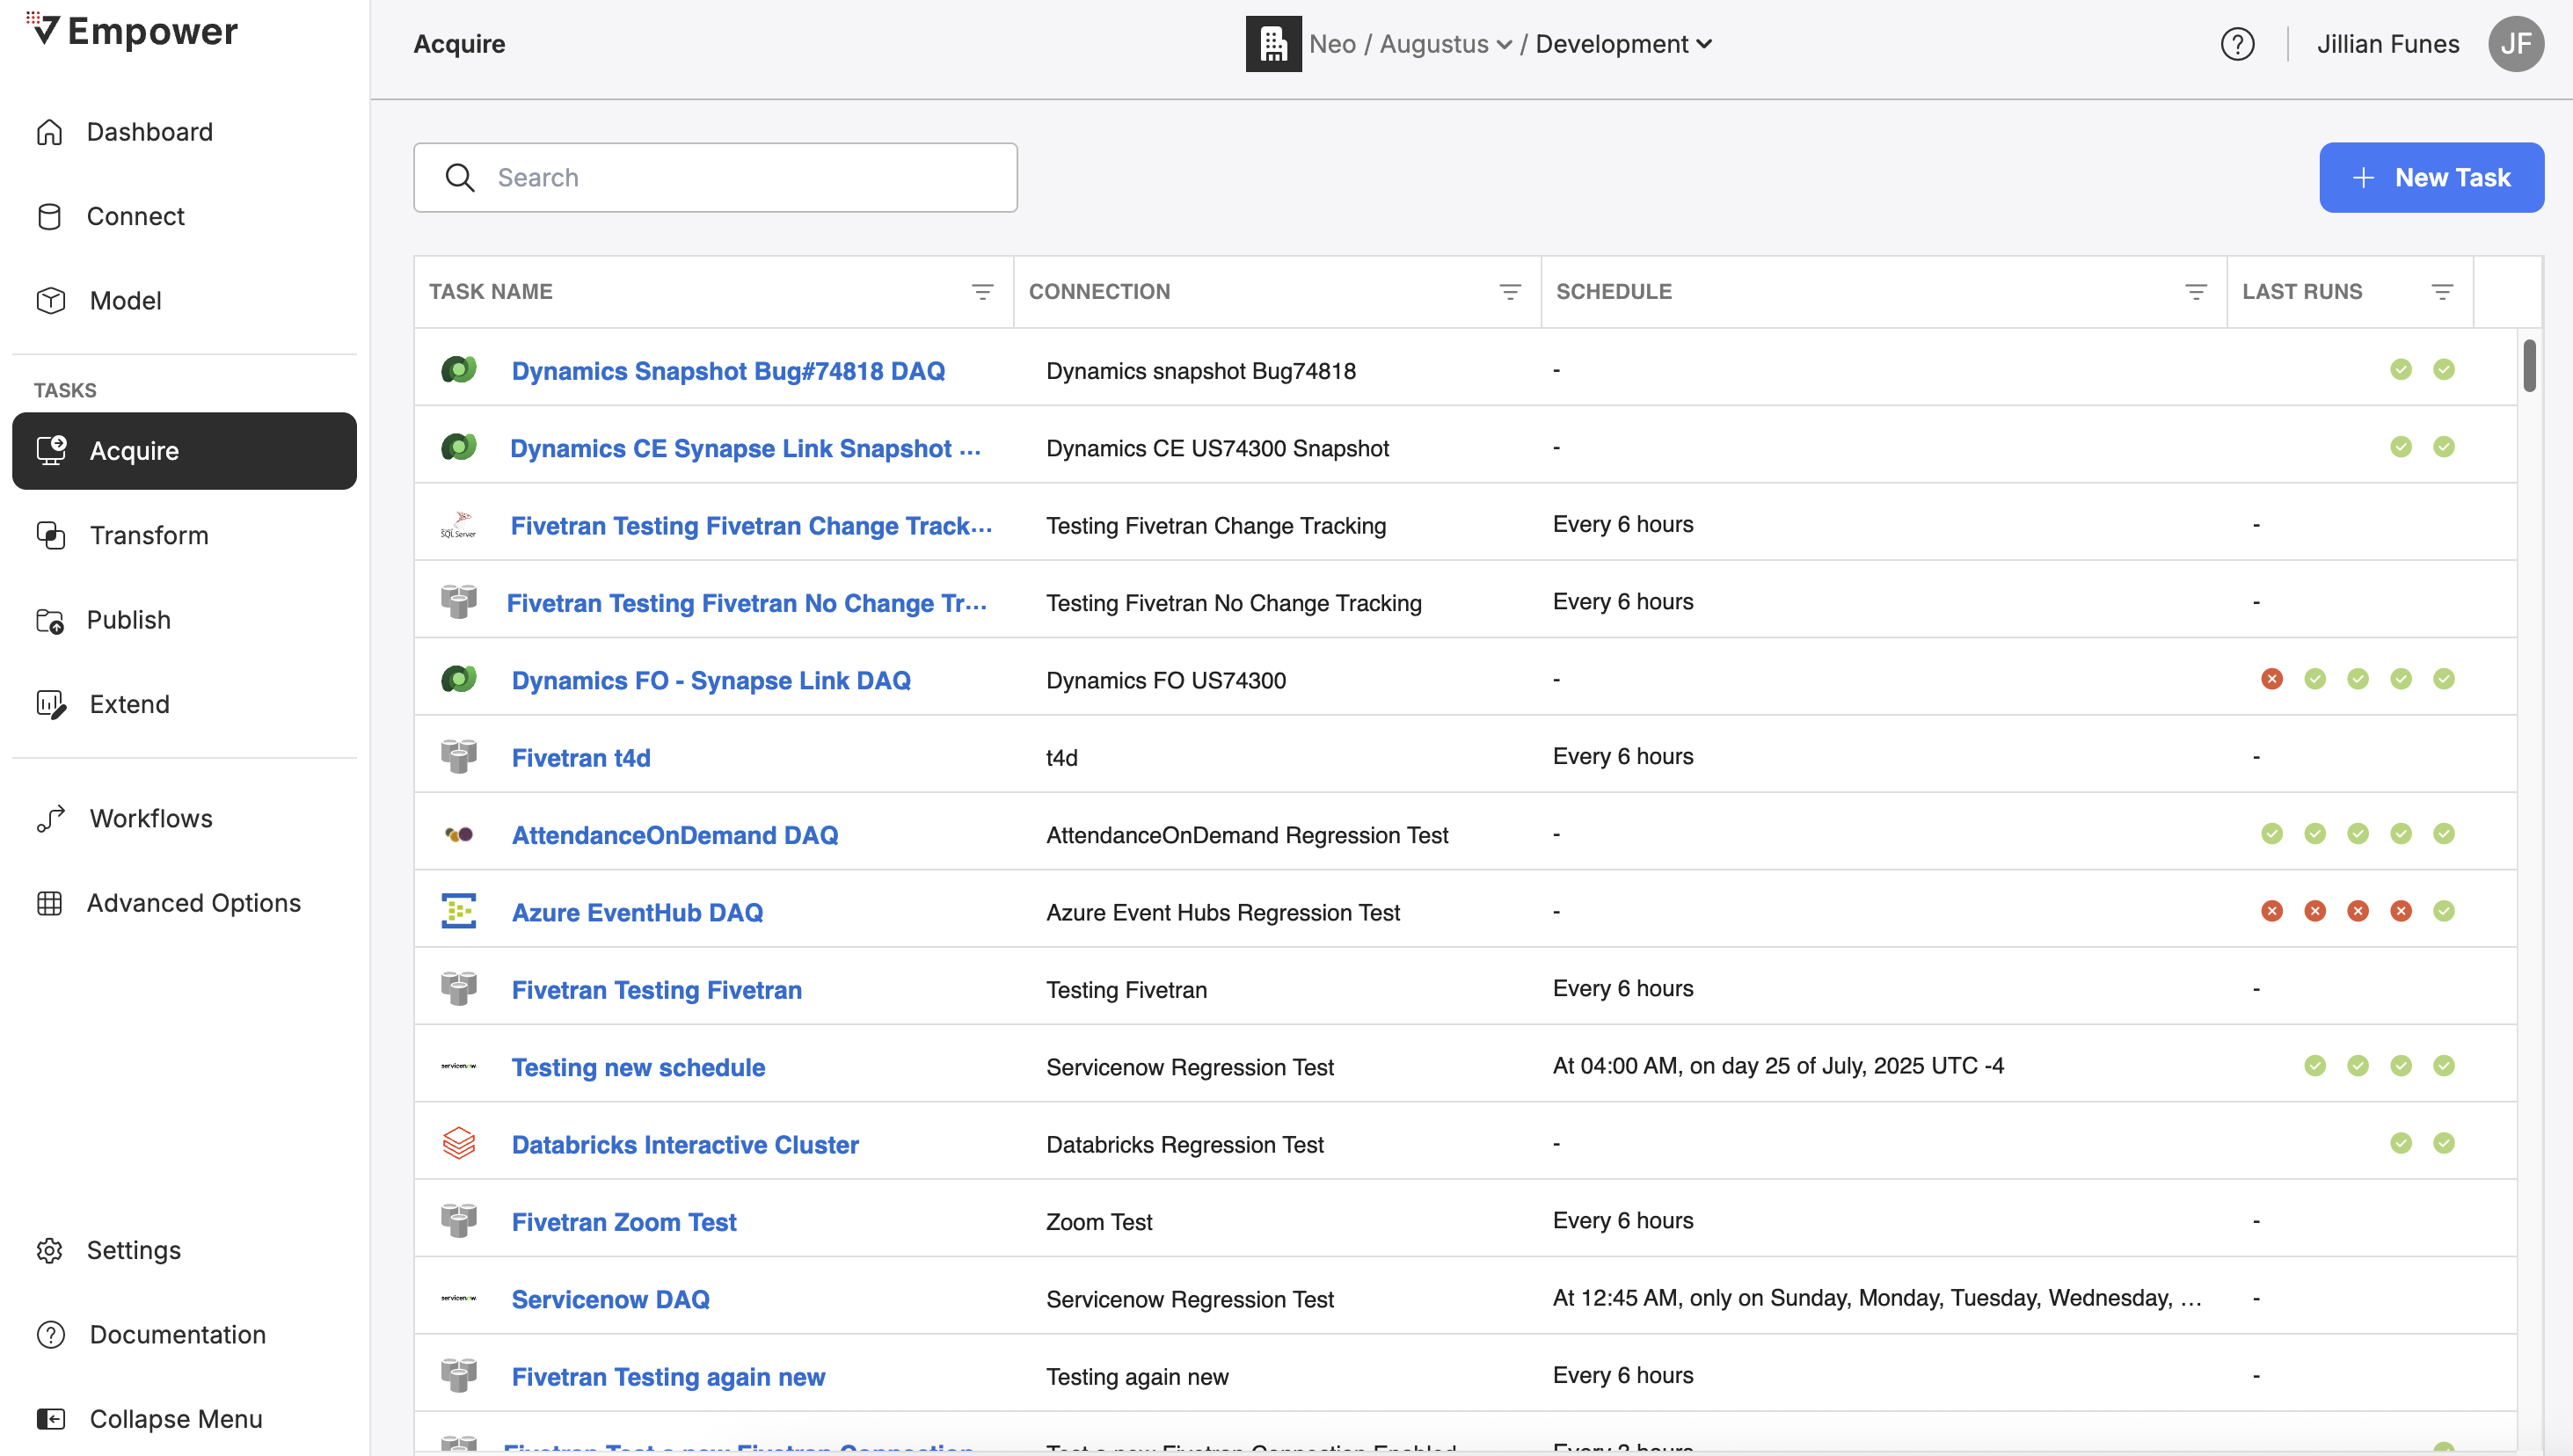
A list of all Acquire Tasks.
You can search these tasks by name, view configurations or historical run logs, trigger a task to run on demand, view/set/activate scheduling, and create new tasks.
Creation
Fivetran Connections - Task CreationNote that when you create a new Connection with Fivetran as the connection provider, an Acquire Task is automatically created for you. Each Fivetran Connection can only have one Acquire Task associated with it. Learn more about how Fivetran provided Connections work here.
Creating an Acquire Task can be done by simply clicking on "+ New Task" at the top of the screen on the homepage for the Acquire module.

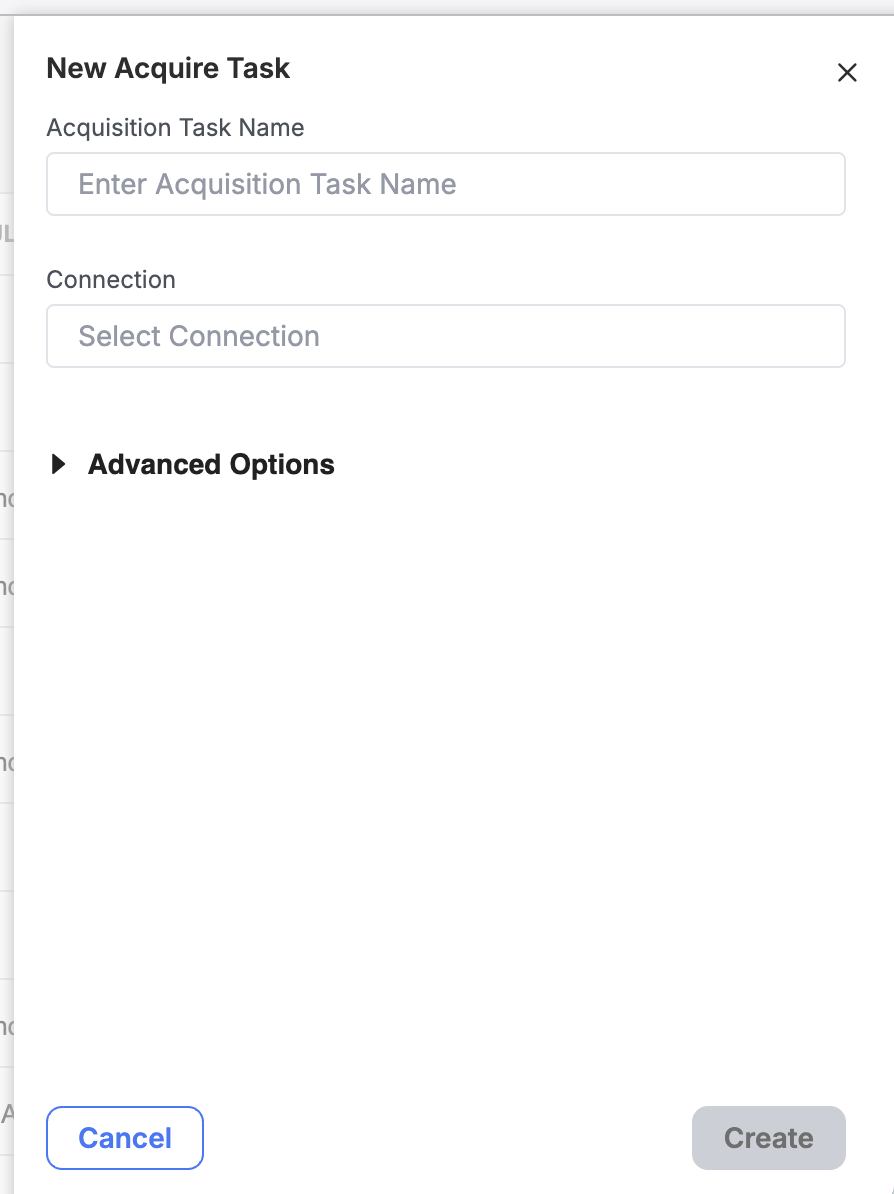
Give your Task a name and select an associated Connection.
Once you fill out the required fields (Name and Data Source), click "Create" to complete the creation process.
You will now see your newly created task at the top of the page.
Advanced Options
For users who have Advanced Options enabled in their Empower instance, you will see additional configuration options. When creating or editing a Transformation Task in the UI, advanced options can be accessed by expanding the 'Advanced Options' accordion.
Cluster Configuration Options
The Cluster Configuration Options provide flexibility in managing computational resources for your data tasks. This feature enables precise control to optimize performance based on your specific task requirements. These options are only available for Spark connectors and will not be available to configure if the associated source is not using a Spark connector.
Configuration Options:
- Cluster Type: The cluster type determines the computing setup for processing your data. There are three options:
- Interactive: This type allows you to specify a specific cluster you want to be used by entering the name of the cluster.
- Single Node: Utilizes one processing unit, suitable for simpler tasks. This option will affect the available configurations for the other settings below.
- Multi-Node: Employs multiple processing units for handling larger or more complex data operations efficiently. Like Single Node, choosing this type will adjust options available in the subsequent settings.
- Node Size: Node size adjusts to the computational power allocated for your tasks within the cluster. Selecting a node size—Small, Medium, or Large—affects the processing capacity and resource availability, allowing you to balance performance requirements against cost.
- Spark Workers: Spark Workers are additional processing units that can be added atop the base worker within a Multi-Node setup. Increasing the number of Spark Workers enhances the distributed computing capabilities, allowing more effective distribution and parallel processing of data workloads.
- Job Concurrency: Job Concurrency pertains to the number of jobs that can run simultaneously within the cluster. By configuring this option, you can enable parallel execution of multiple tasks, maximizing resource utilization and throughput, particularly beneficial for larger node sizes.
Once you fill out the required fields (Name and Model), click "Create" to complete the creation process.
1 to Many - Data Source Connections and Acquire TasksConnections and Acquire Tasks have a 1:many relationship.
This means that a single Acquire Task can only ever be associated with one Data Source Connection at any moment in time. However, a specific Data Source Connection may be associated with many different Acquire Tasks, all with different schedules and inclusion configurations.
Editing
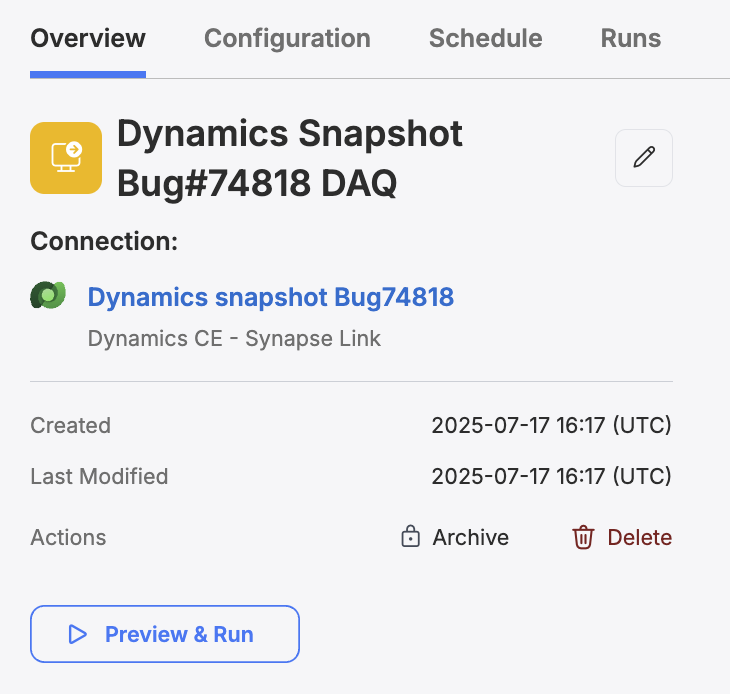
Clicking on the name of a Task will bring you to the Task tab view as shown below.
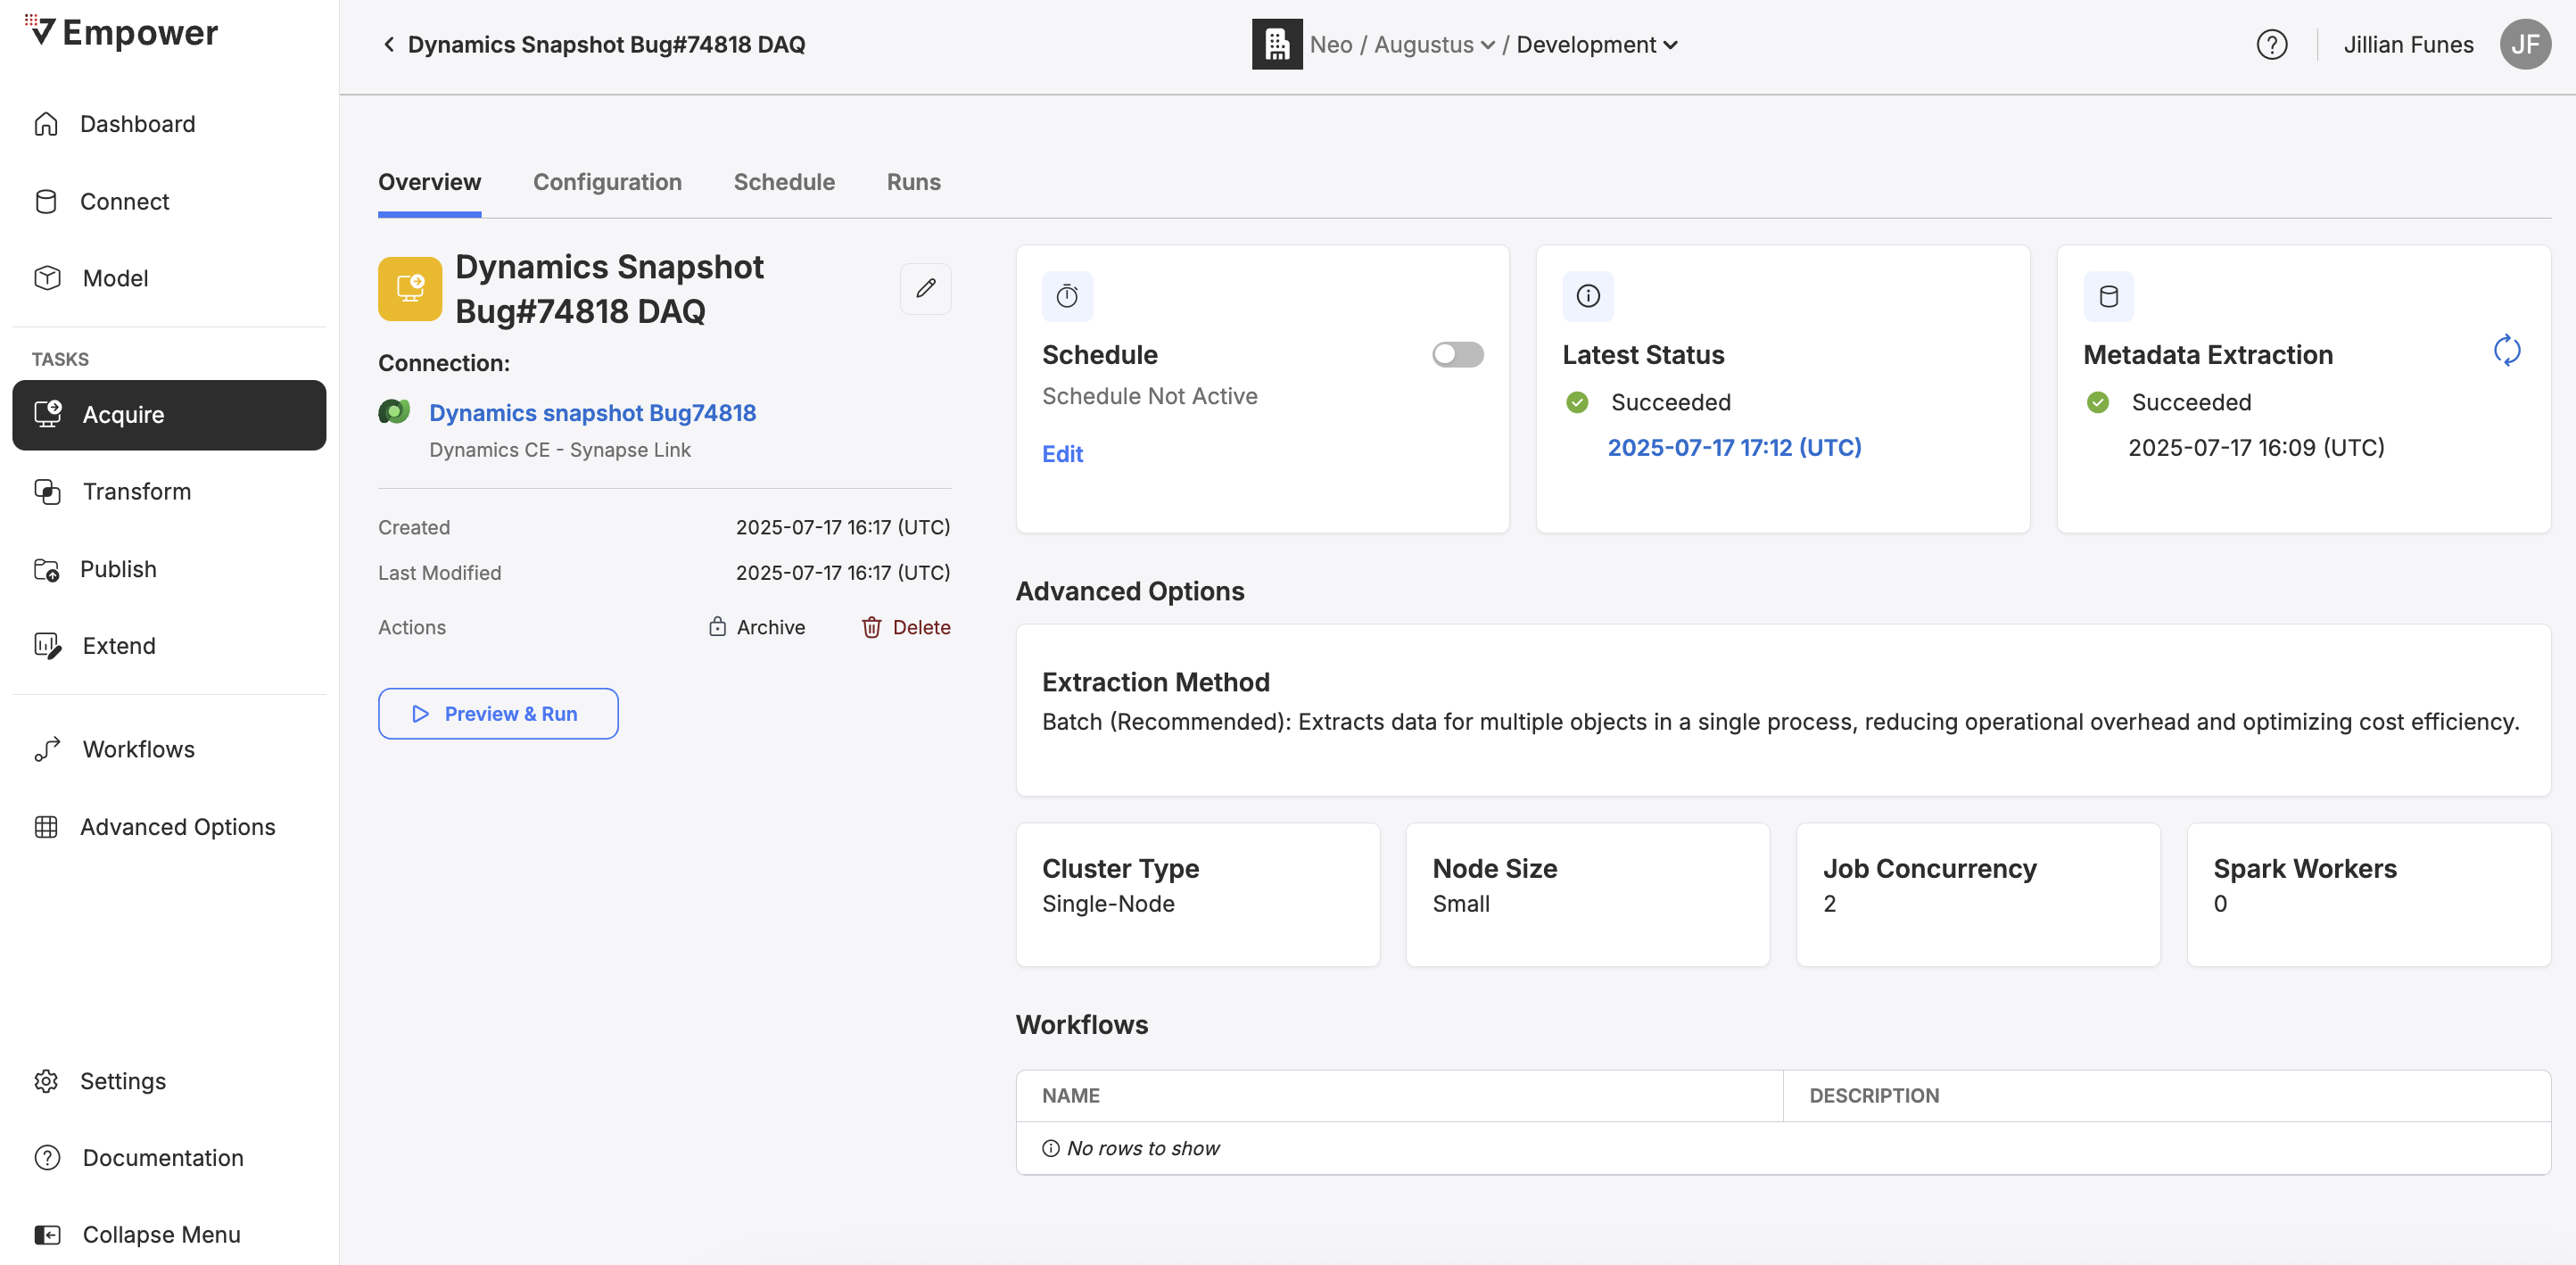
From this view, you can click on the edit pencil icon to update the name, connection, or advanced options.
WARNING: changing the Data Source Connection field will affect your configuration!Changing a Acquire Task's connection will completely wipe any previous object inclusion configurations. Be mindful of this action when you modify a Acquire Task!
Deletion
You can delete any existing Acquire Task by clicking the Delete button from the Task overview tab. Doing so will bring up a menu with one option being to Delete the task.
A confirmation modal will pop up. You must confirm you wish to delete the task in order to complete the deletion process.
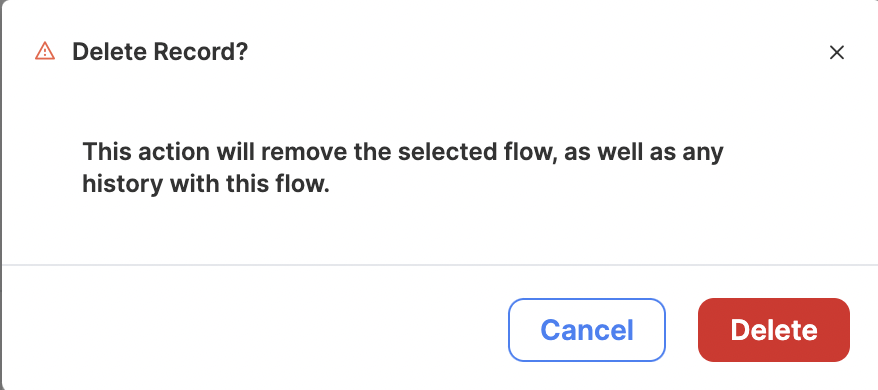
Confirm you wish to delete the task and all of its historical logs.
DANGER: Deletion is PermanentTask deletion is a permanent action. Deleting a task will also remove the entire historical log of that task. You will not be able to reverse a task's deletion, so make sure you actually want to perform this action!
Scheduling and Triggering Tasks
To read about how to schedule and trigger Acquire Tasks or any other task type, visit Scheduling Data Tasks.
Configuration
Clicking on the name of a Task and then select the "Configuration" tab on any existing Acquire Task to visit its configuration page.
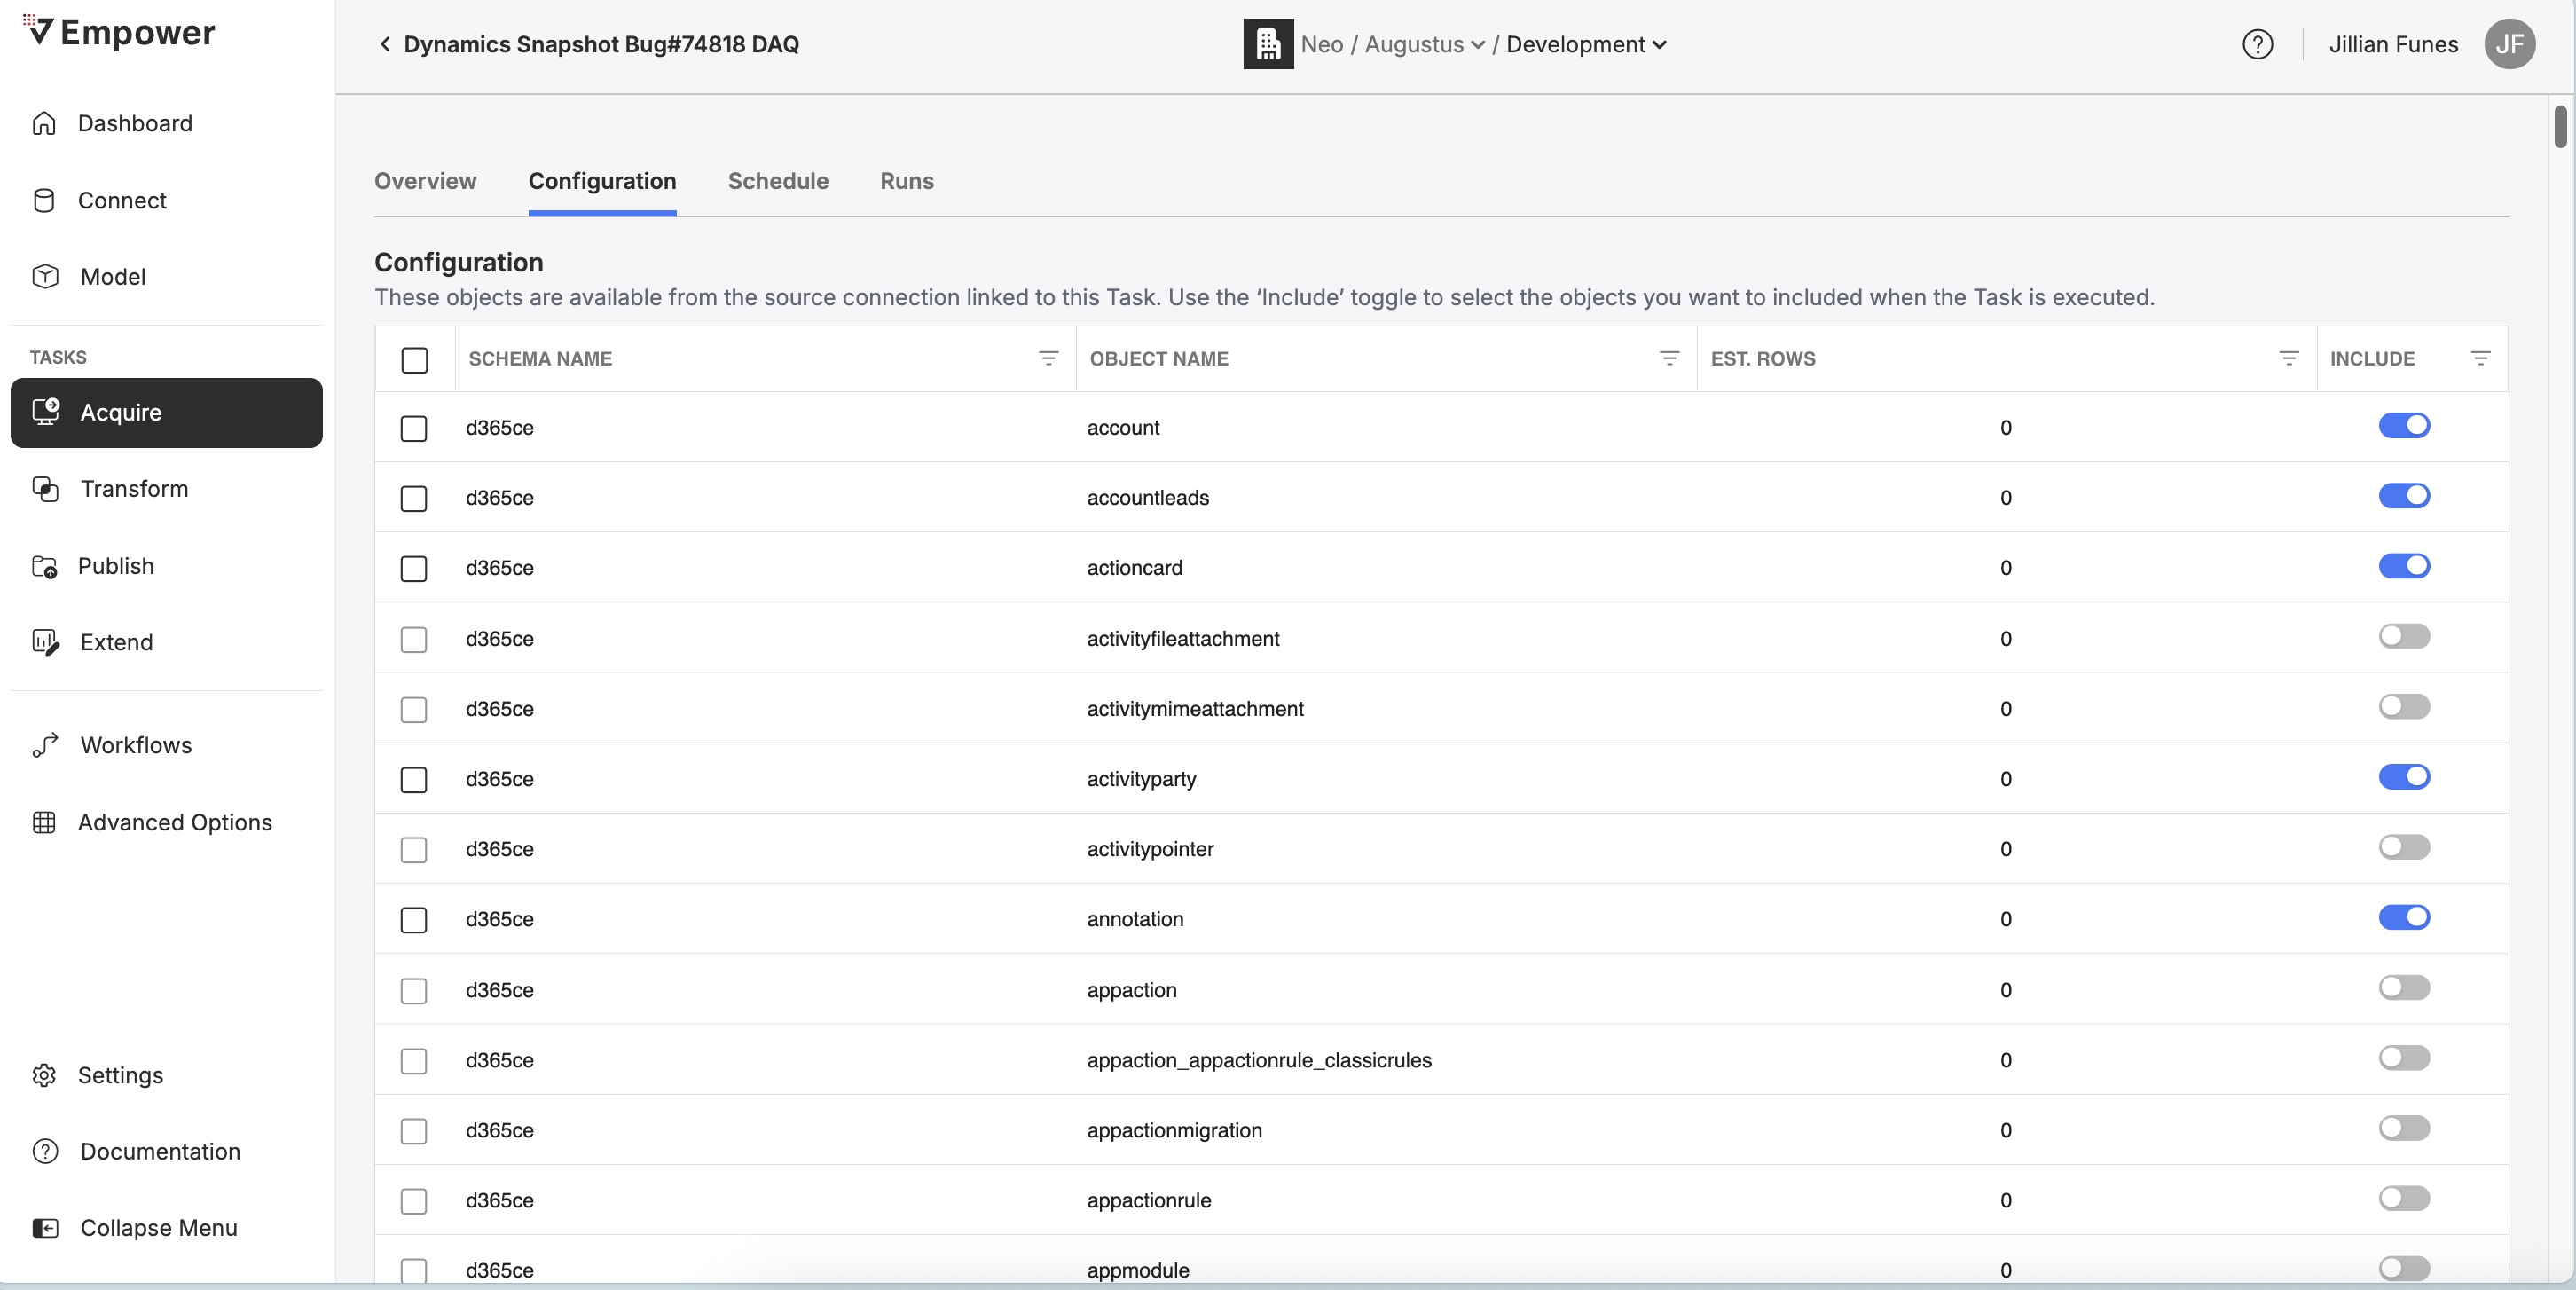
The configuration page contains a list of all available objects from the task's associated Data Source. You may toggle Include to configure this object to be included as part of data acquisition when this task is triggered.
You may search objects by name, as well as filter objects by Include, Estimated Rows and Schema Name.
When you include/exclude an object on this page, the change is automatically saved to the task's configuration.
WARNING: Global EnablementThe Enable toggle on the object within the Data Source's Metadata Catalog will impact the ability of this task to acquire the object.
If the object is globally disabled it will not be acquired when this task runs.
- You will not be able to include globally disabled objects it in the task.
- Even if the disabled object is already included in the task, it will not be acquired when the task runs.
How Data Acquisition Works
Data Acquisition is an umbrella term that links together three data movement concepts.
Metadata Extraction
Acquisition automatically refreshes the associated data source's metadata to ensure Schema Drift protection. Read up about Metadata Extraction and how Metadata Catalogs work.
Extraction
Extraction defines the process of collecting data from a data source and writing it to the open-source parquet file format in the Empower Landing Zone.
Ingestion
Data ingestion takes the data from the Landing Zone and ingests it into the open-sourced Delta Table format into the Bronze Layer of the Medallion Architecture.
All Empower-ingested data is tracked as part of a Type 2 data contract. This means that all changes made to the data from the original data source, including modifications and deletions, are stored as new data points in the Bronze Layer.
Bronze Layer ingested data is further ingested into the Silver Layer as the most current version of every data point.
Updated about 1 month ago