Schedules and Triggers
Running on-demand and building recurring schedules
Overview
Workflows and Tasks can be triggered to run on-demand or as part of a schedule. Scheduled triggers can be configured to repeat on a user-defined cadence, like daily, weekly, or monthly. Empower provides great flexibility for scheduling cadences, as described below in the Scheduling Triggers section.
Question: What if the task is already running?If a task is triggered to run (either with an on-demand trigger or via scheduled trigger) and the flow is already queued or running, Empower will queue the flow to run again as soon as the current run is complete.
There will not be two instances of the same task running at the same point in time.
On-demand Triggers
Any Workflow or Task can be triggered to run on-demand at any moment in time. To do so, navigate to the proper module for the Task (Acquire, Transform, Extend, Publish, or Workflow) and click on the Task name you wish to trigger.
This will display the Overview tab where you can then trigger a one-time manual run using the "Preview & Run" button.
Note that before the Task kicks off, a modal will appear with a preview of what will happen during tht Task's run so that you may confirm you want to continue.
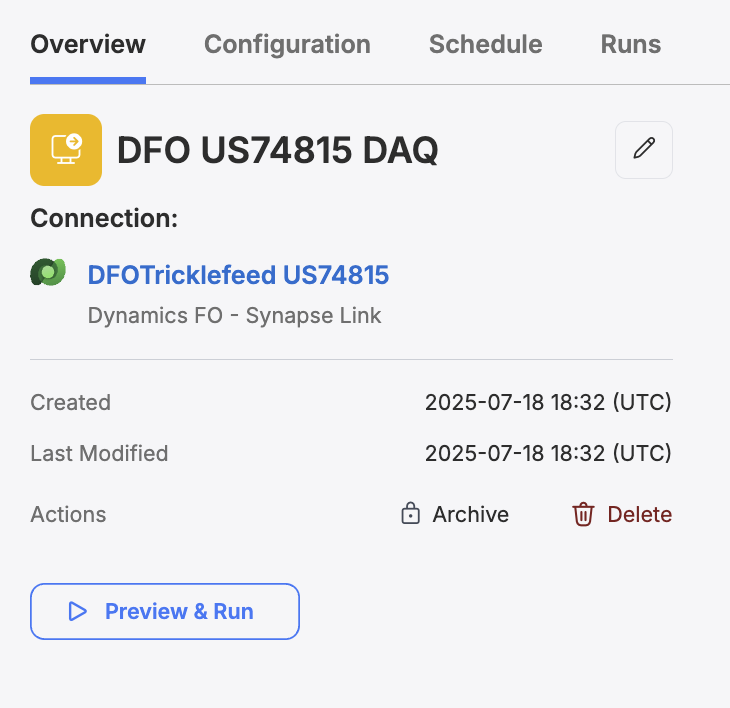
The Preview & Run button located on the Overview tab for a Task.
An example of the preview modal showing what will be run - allowing you to confirm you would like to run the Task.
Acquire Preview
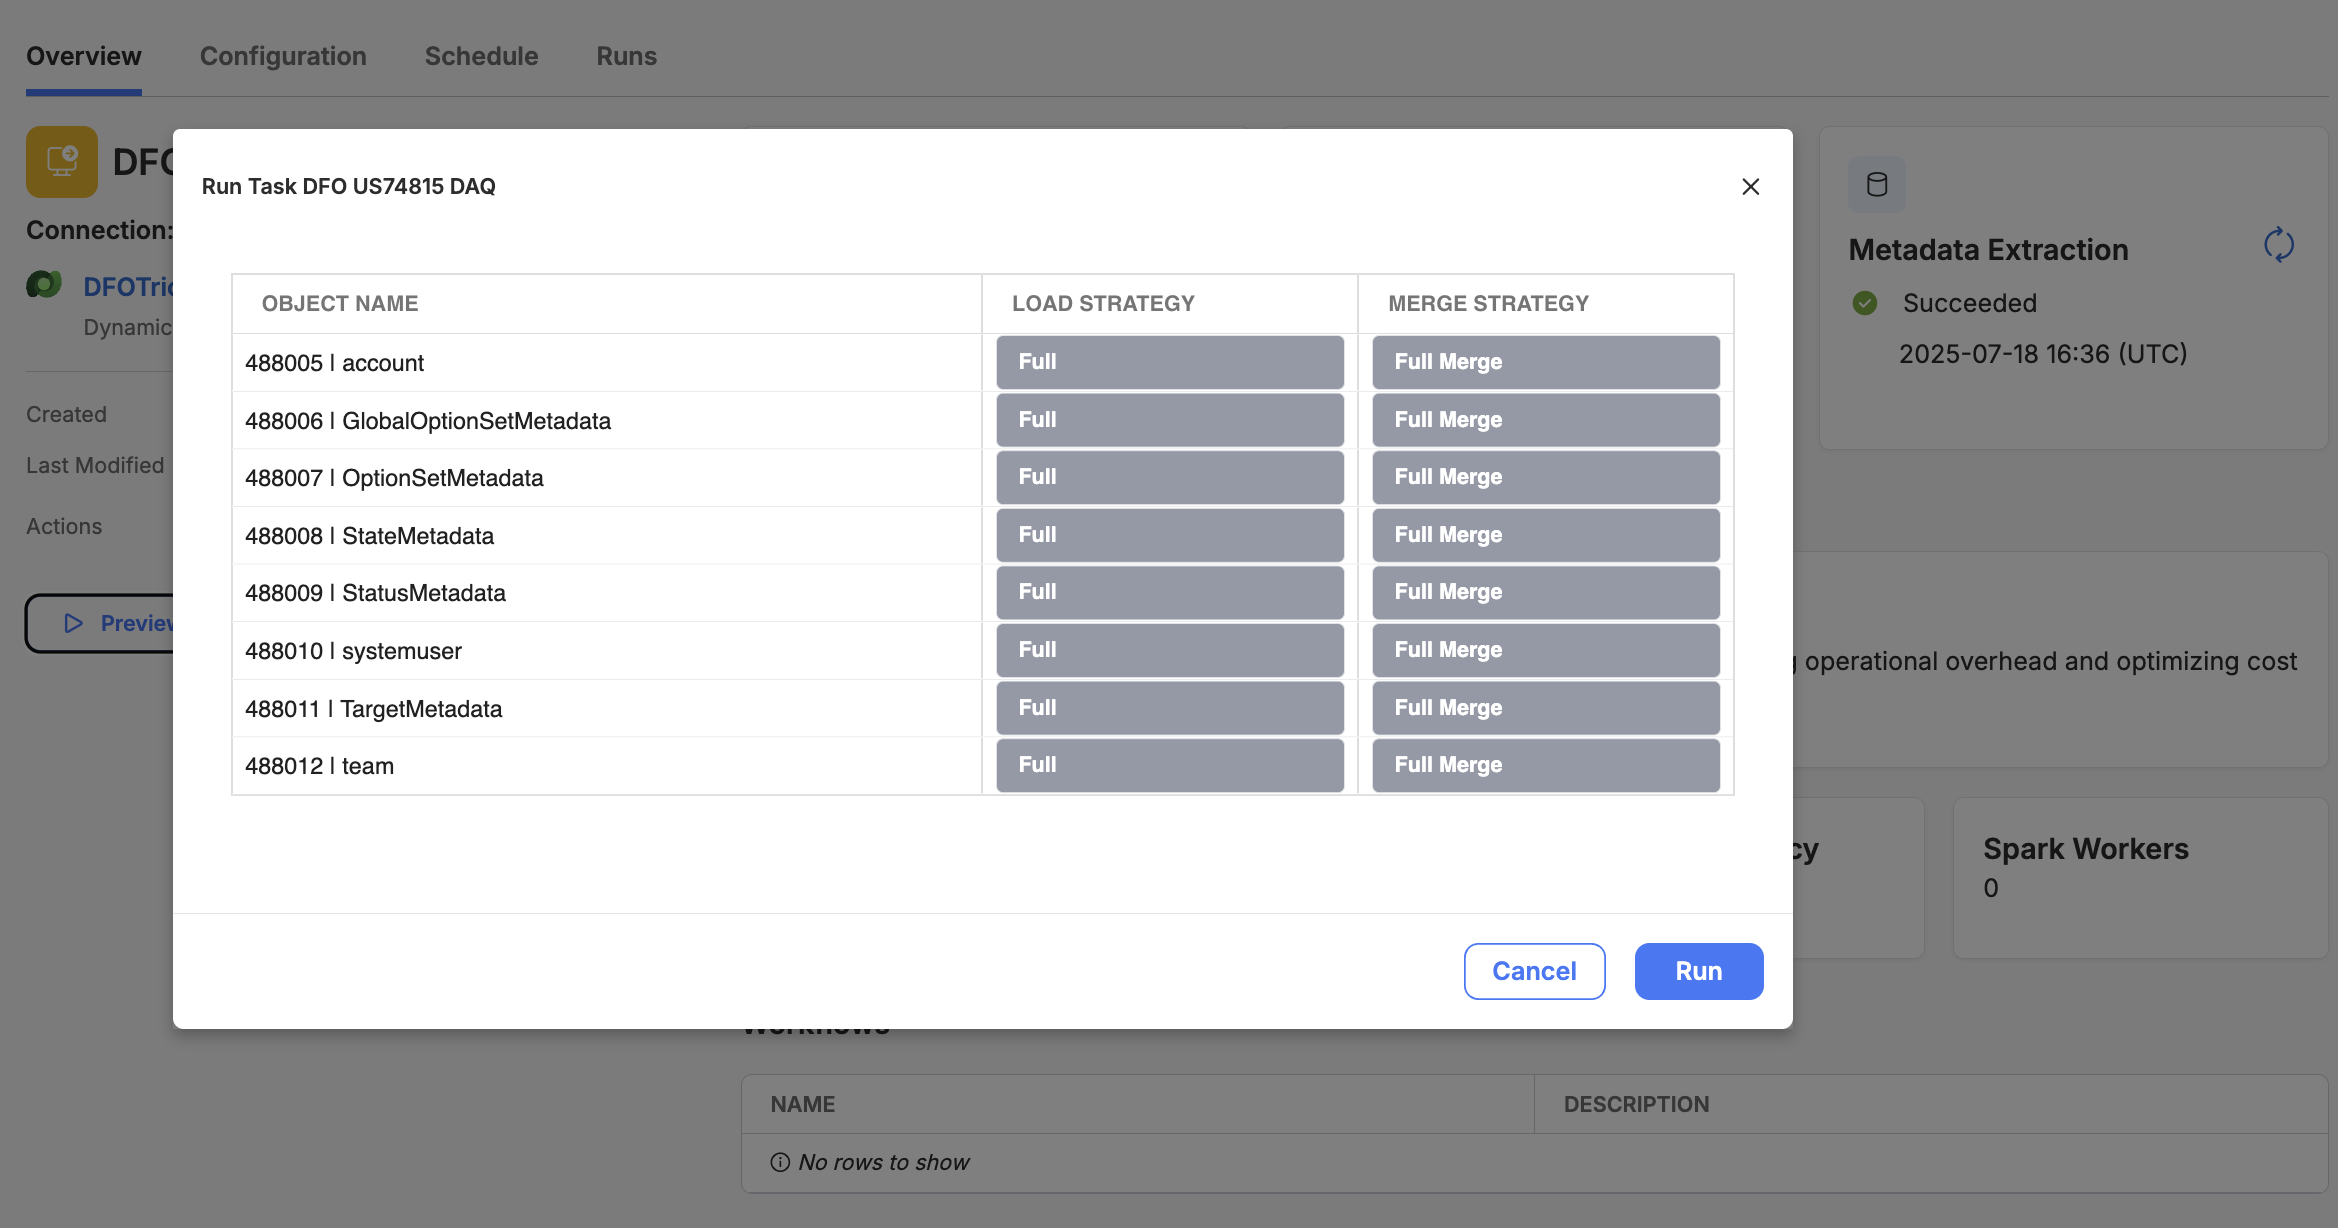
When previewing a run of an Acquisition Task, you will see a list of all the objects set to be included with this task run and their respective load strategies.
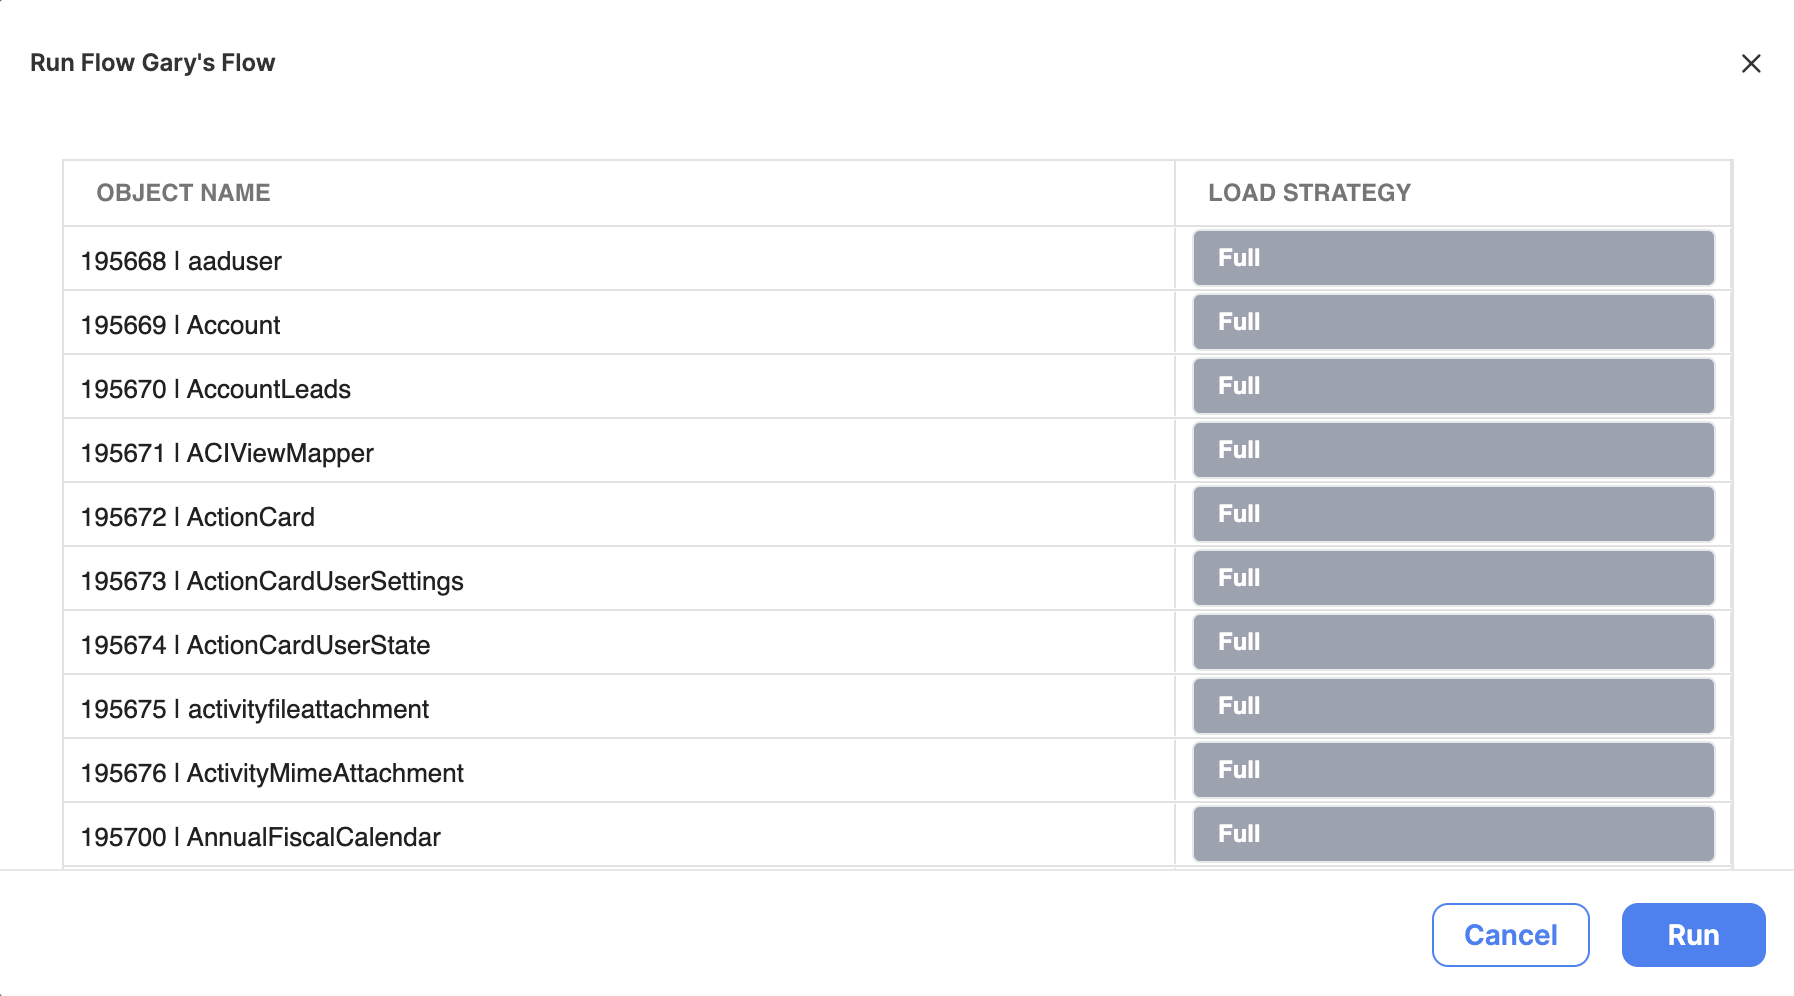
A preview of what objects will be acquired, and what load strategy will be used for each, in a Data Acquisition task.
Click "Run" to run this task. Clicking "Cancel" will abort the triggering process.
Transform Preview
When previewing a run of an Transformation Task, you will see a list of model entities set to be built during this task run, including their type, source schema and source entity.
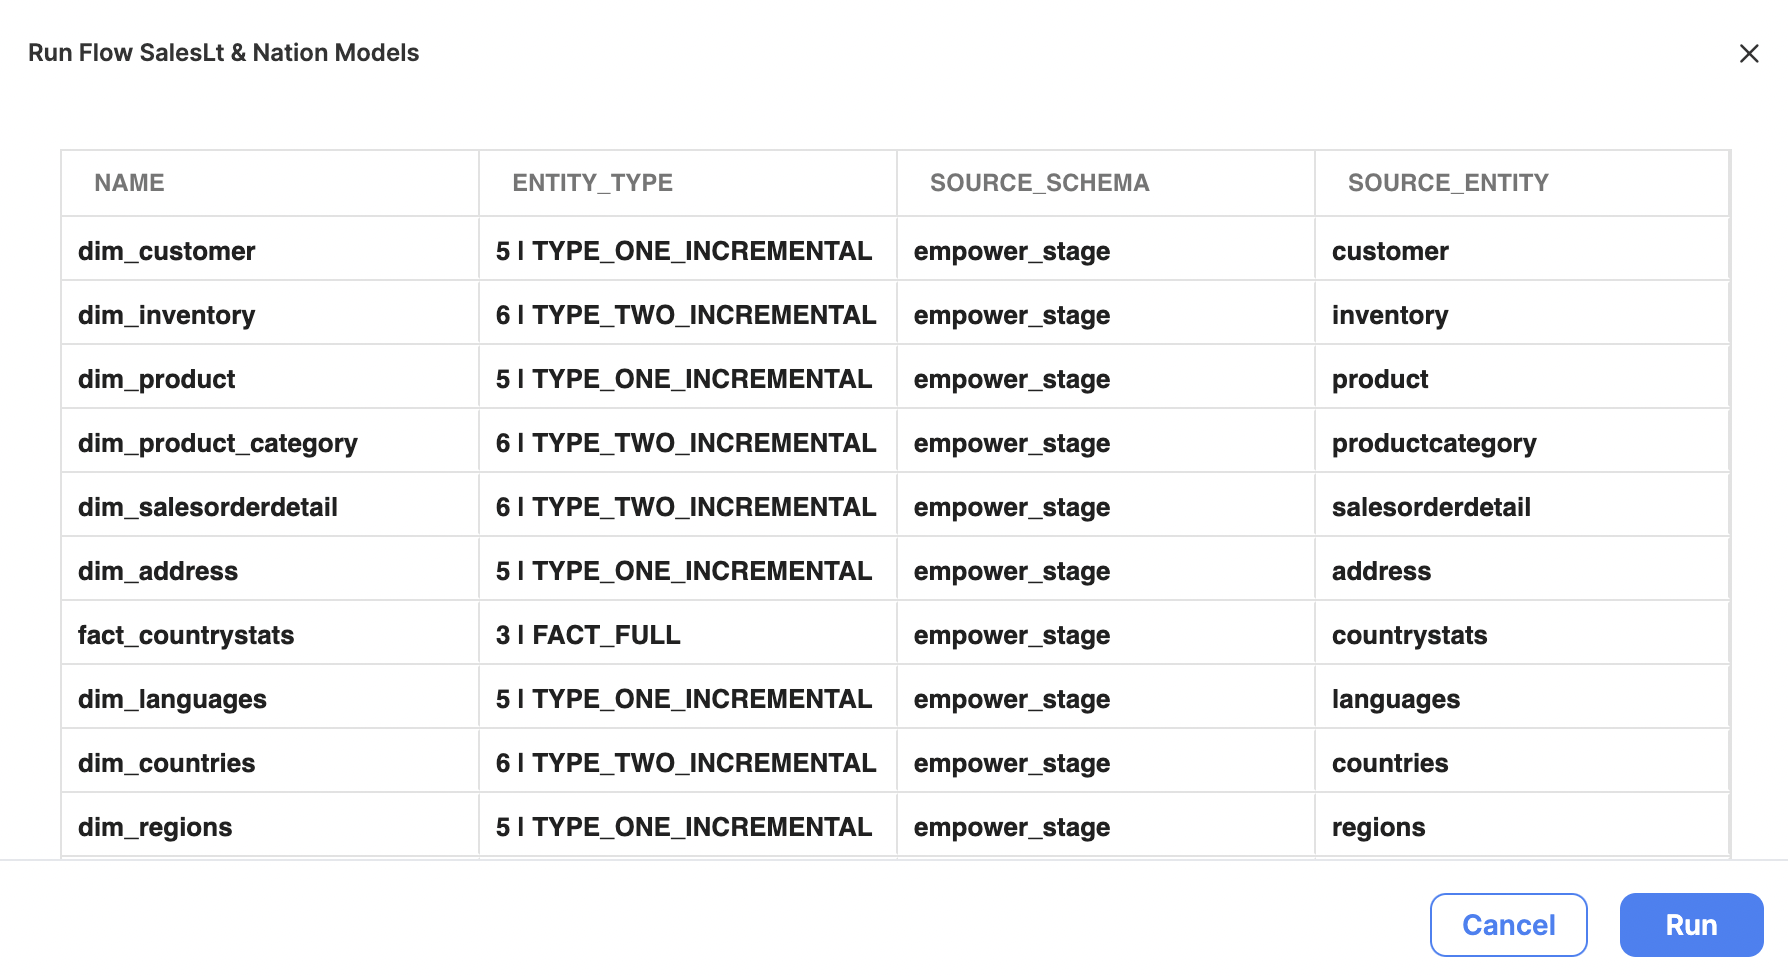
A preview of what model entities will be built as part of this task, including their type and source schema and entity.
Click "Run" to run this task. Clicking "Cancel" will abort the triggering process.
Publish Preview
When previewing a run of a Publishing Task, you will see a list of publish entities set to be published during this task run, including their source schema and entity.
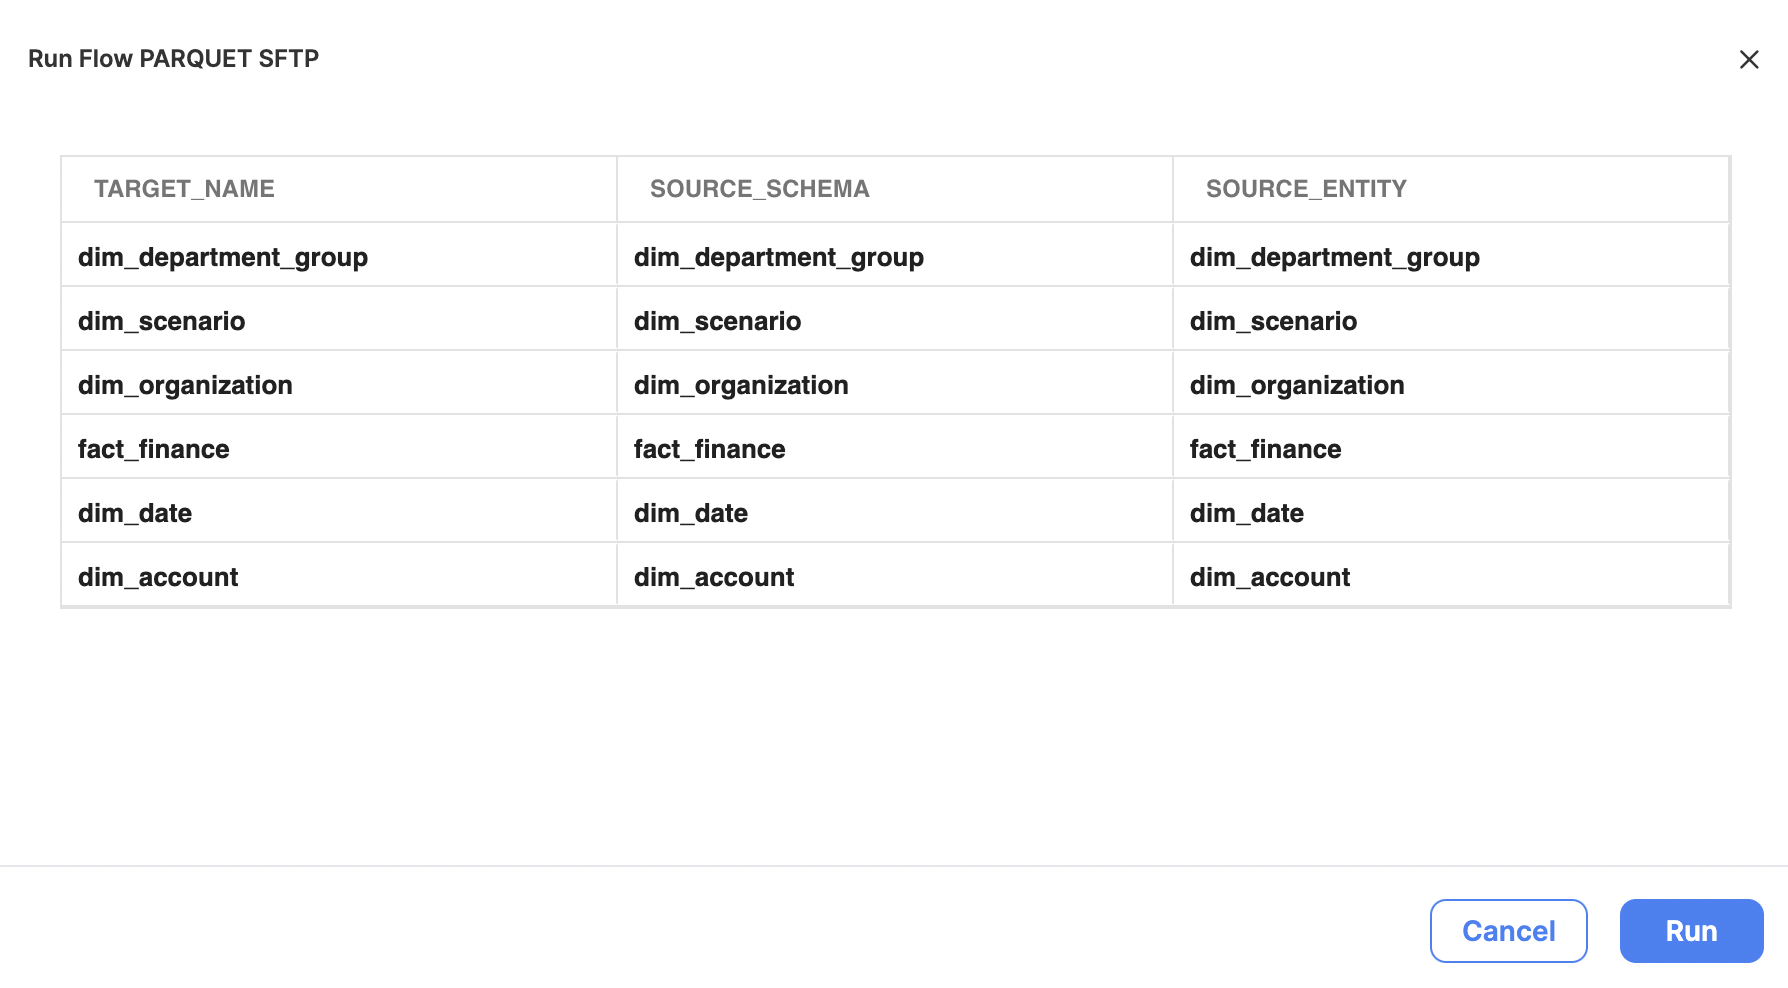
A preview of what publish entities will be published as part of this task, including their source schema and entity.
Click "Run" to run this task. Clicking "Cancel" will abort the triggering process.
Scheduling Triggers
For Workflows or Tasks that need to run at regular intervals (e.g., hourly, daily, weekly), setting up a recurring schedule automates the process, eliminating the need for manual intervention.
💡 TIP: Schedules can be added for Workflows or Tasks, but we recommend any runs that need to be done on a recurring basis be done through a Workflow for easier management.
To set up a scheduled trigger, navigate to the the Workflow you'd like to schedule, then select the Schedule tab.
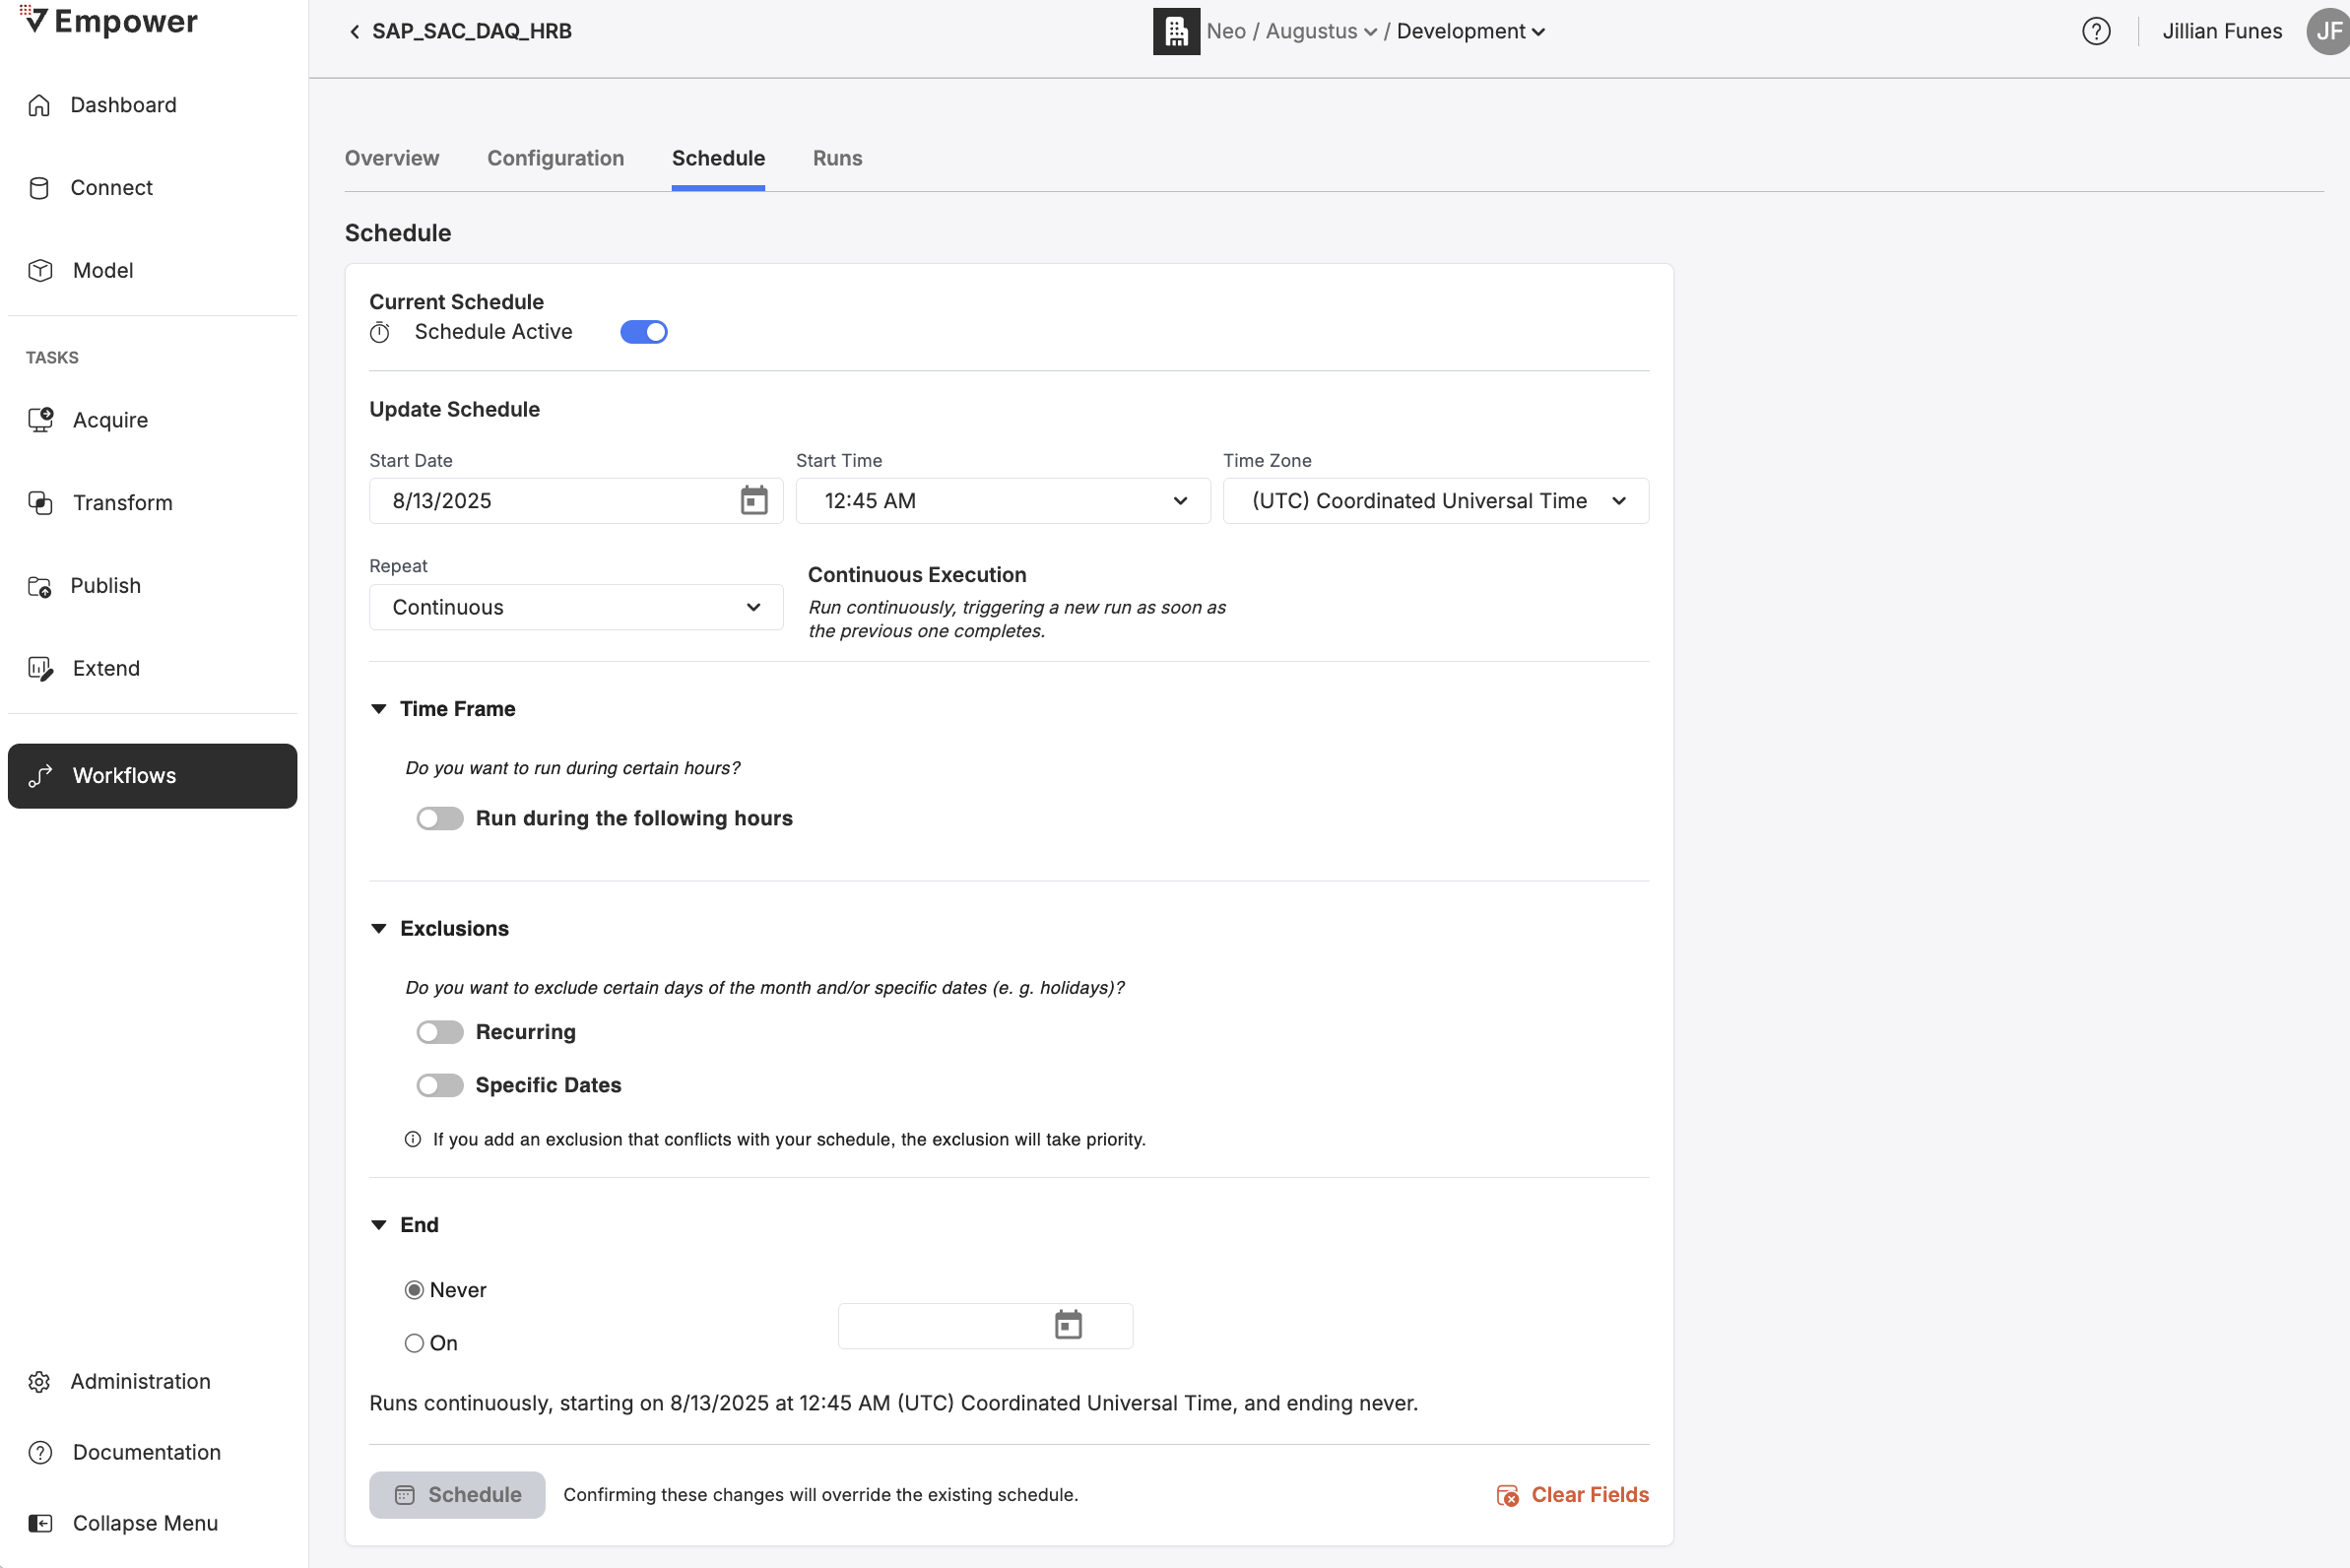
Empower offers multiple schedule options to enable you to have maximum flexibility to support having Workflows run at intervals that match your business' needs.
-
Start Time: Allows you to set the date, time, and time zone for the first run to start at.
-
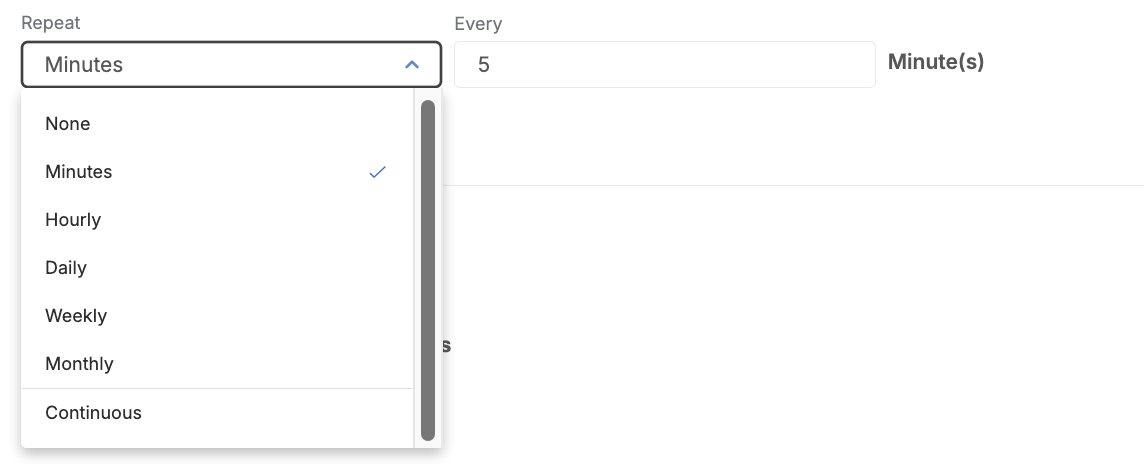
Repeat: The Repeat dropdown has a number of options to fit various recurring needs.
-
None: Will run the Workflow one time at the input start date and time.
-
Minutes, Hourly, Daily, Weekly, Monthly: Will provide you an "Every" numeric input to run on the provided interval. For example, if you select Hourly and input 2, the Workflow will run every 2 Hours.
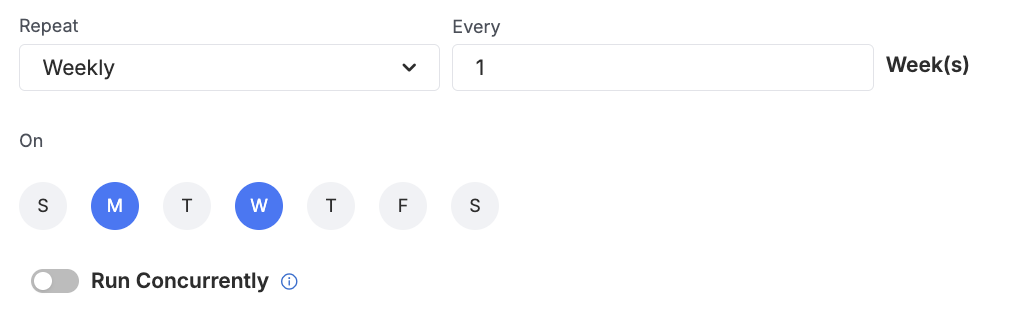
Run Concurrently: Controls whether a new Workflow run can start if a previous run is still in progress. When enabled, each run starts on schedule, even if the previous run has not finished. When disabled, the next run waits until the current run completes.
Example: If a Workflow is scheduled to run every 2 hours but takes 2.5 hours to complete, enabling this setting starts a new run at the 2 hour mark. Disabling it delays the next run until the current one finishes.Some of the selections have additional options:
-
Weekly: Will provide a day of the week selector. In the exmaple below, this will allow you to run every week on Mondays and Wednesday at the provided start time.
-
Monthly:
-
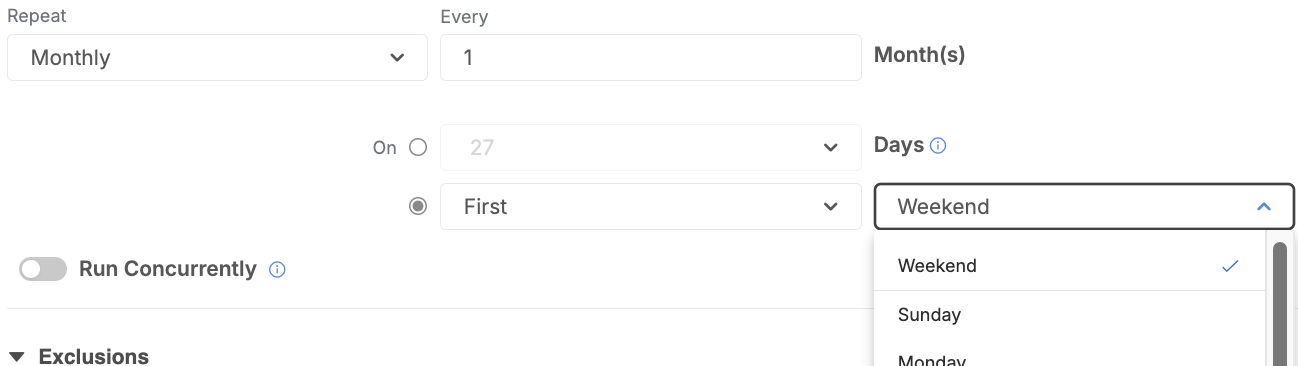
Set Day: You can choose to run on a specific day of the month. If you choose a specific day that does not exist in a given month, the Workflow will run on the last day of the month.
Example: You input to run on the 31st of the month, but in September there are only 30 days, so it would instead run on the 30th in that month.
-
Recurring pattern: Choose to only run on the first or last weekend or specific day of the week.
-
💡 TIP: The Start Date you input will automatically change if the input you provided does not match the recurring pattern you entered.
Example: You enter a Start Date of January 1st, which is a Monday. You then enter to run Weekly on Tuesday, the Start Date will automatically change to January 2nd, which is the next instance of a Tueday. -
-
-
Continuous: Running on a continuous schedule will immediately kick off a run after the previous run completes.
-
-
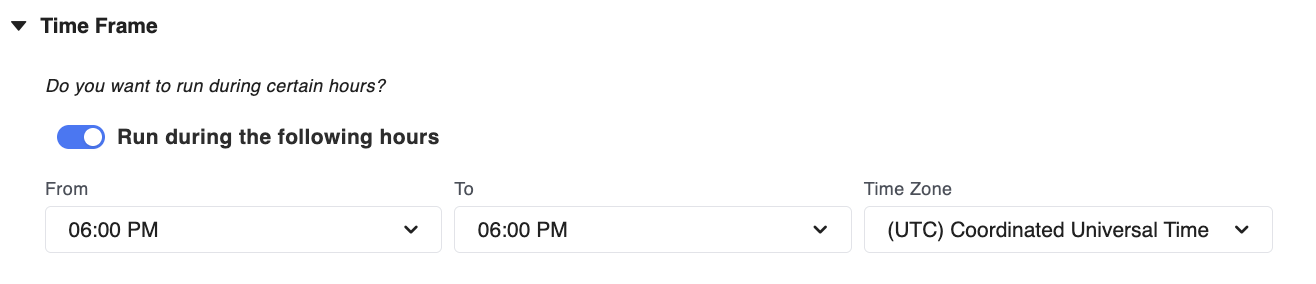
Time Frame: This section of the schedule allows you to enable the runs to be limited to a set time frame window in a give day.
Example: If you choose to run every hour and then enable the Time Frame selection with 6p-6a, the Workflow will run every hour from 6am-6pm where the last run will start no later than 5:59:59pm. The Workflow will then pause until 6am the following day where it will begin to run hourly again.
This input is useful if you only want runs to occur outside of business hours to avoid any potenital interfernce with business operations.
-
Exclusions: The Exclusions section of the schedule allow you to set specific days or patters you do not want the Workflow to run.
-
Recurring: Choose the first or last: day, weekend, or specific day of the week in the month to exclude runs on.
This can be useful if you have set maintainence windows every month that you do not want a Workflow run to interfere with. -
Specific Dates: Choose certain days that you do not want the Workflow to run on every year. For example, if you do not want it to run on holidays or if your maintainence windows are on a set day of the month.
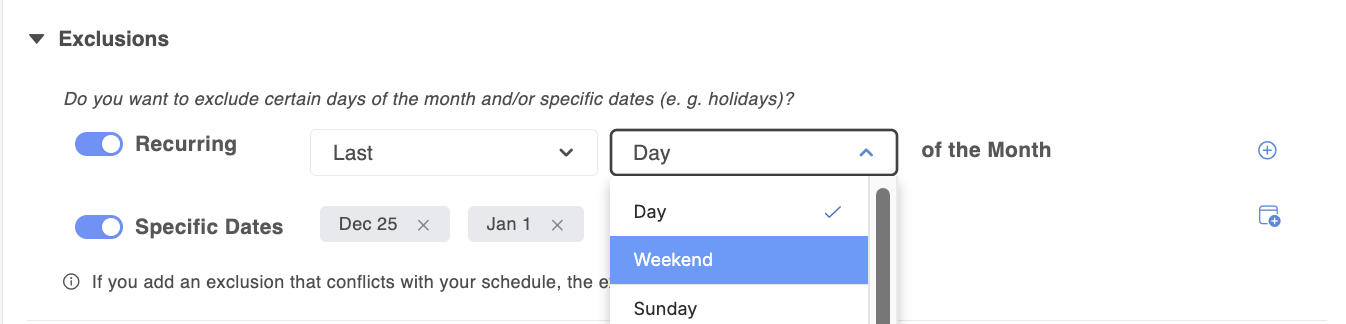
Example: If you have set your Workflow to run continuously, with the selections in the screenshot above, it would run every day except on the last day of each month and it would not run on January 1st or December 25th each year.
-
-
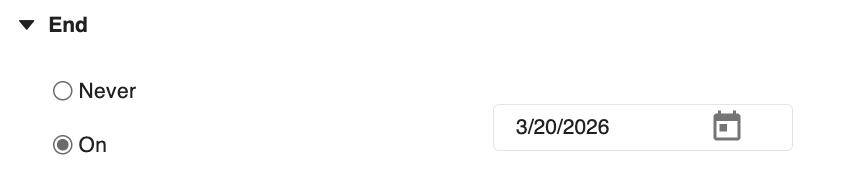
End: Allows you to set when the last run will occur.
-
Never: The Workflow will run on the given schedule indefinitely
-
On: Choose a date for Workflow runs to end and then no longer run schedule after the date provided. In the example below, the final opportunity for the Workflow to run would be 3/19/2026 at 11:59:59pm. Once that run concludes, the Workflow will no longer trigger automatically. You will still have the option to go in and change this if you'd like it to start running again.
-
💡 TIP: Given the complex and granular nature of the scheduling inputs, it is possible to input conflicting rules, especially as it pertains to exclusions, that will prevent the Workflow from ever running. It is important to double check your inputs for accuracy before saving.
Viewing a Task's Schedule
You can view the current schedule of a Task directly from the Overview tab under the Schedule card. From here, you also have the ability to toggle the schedule to be enabled.
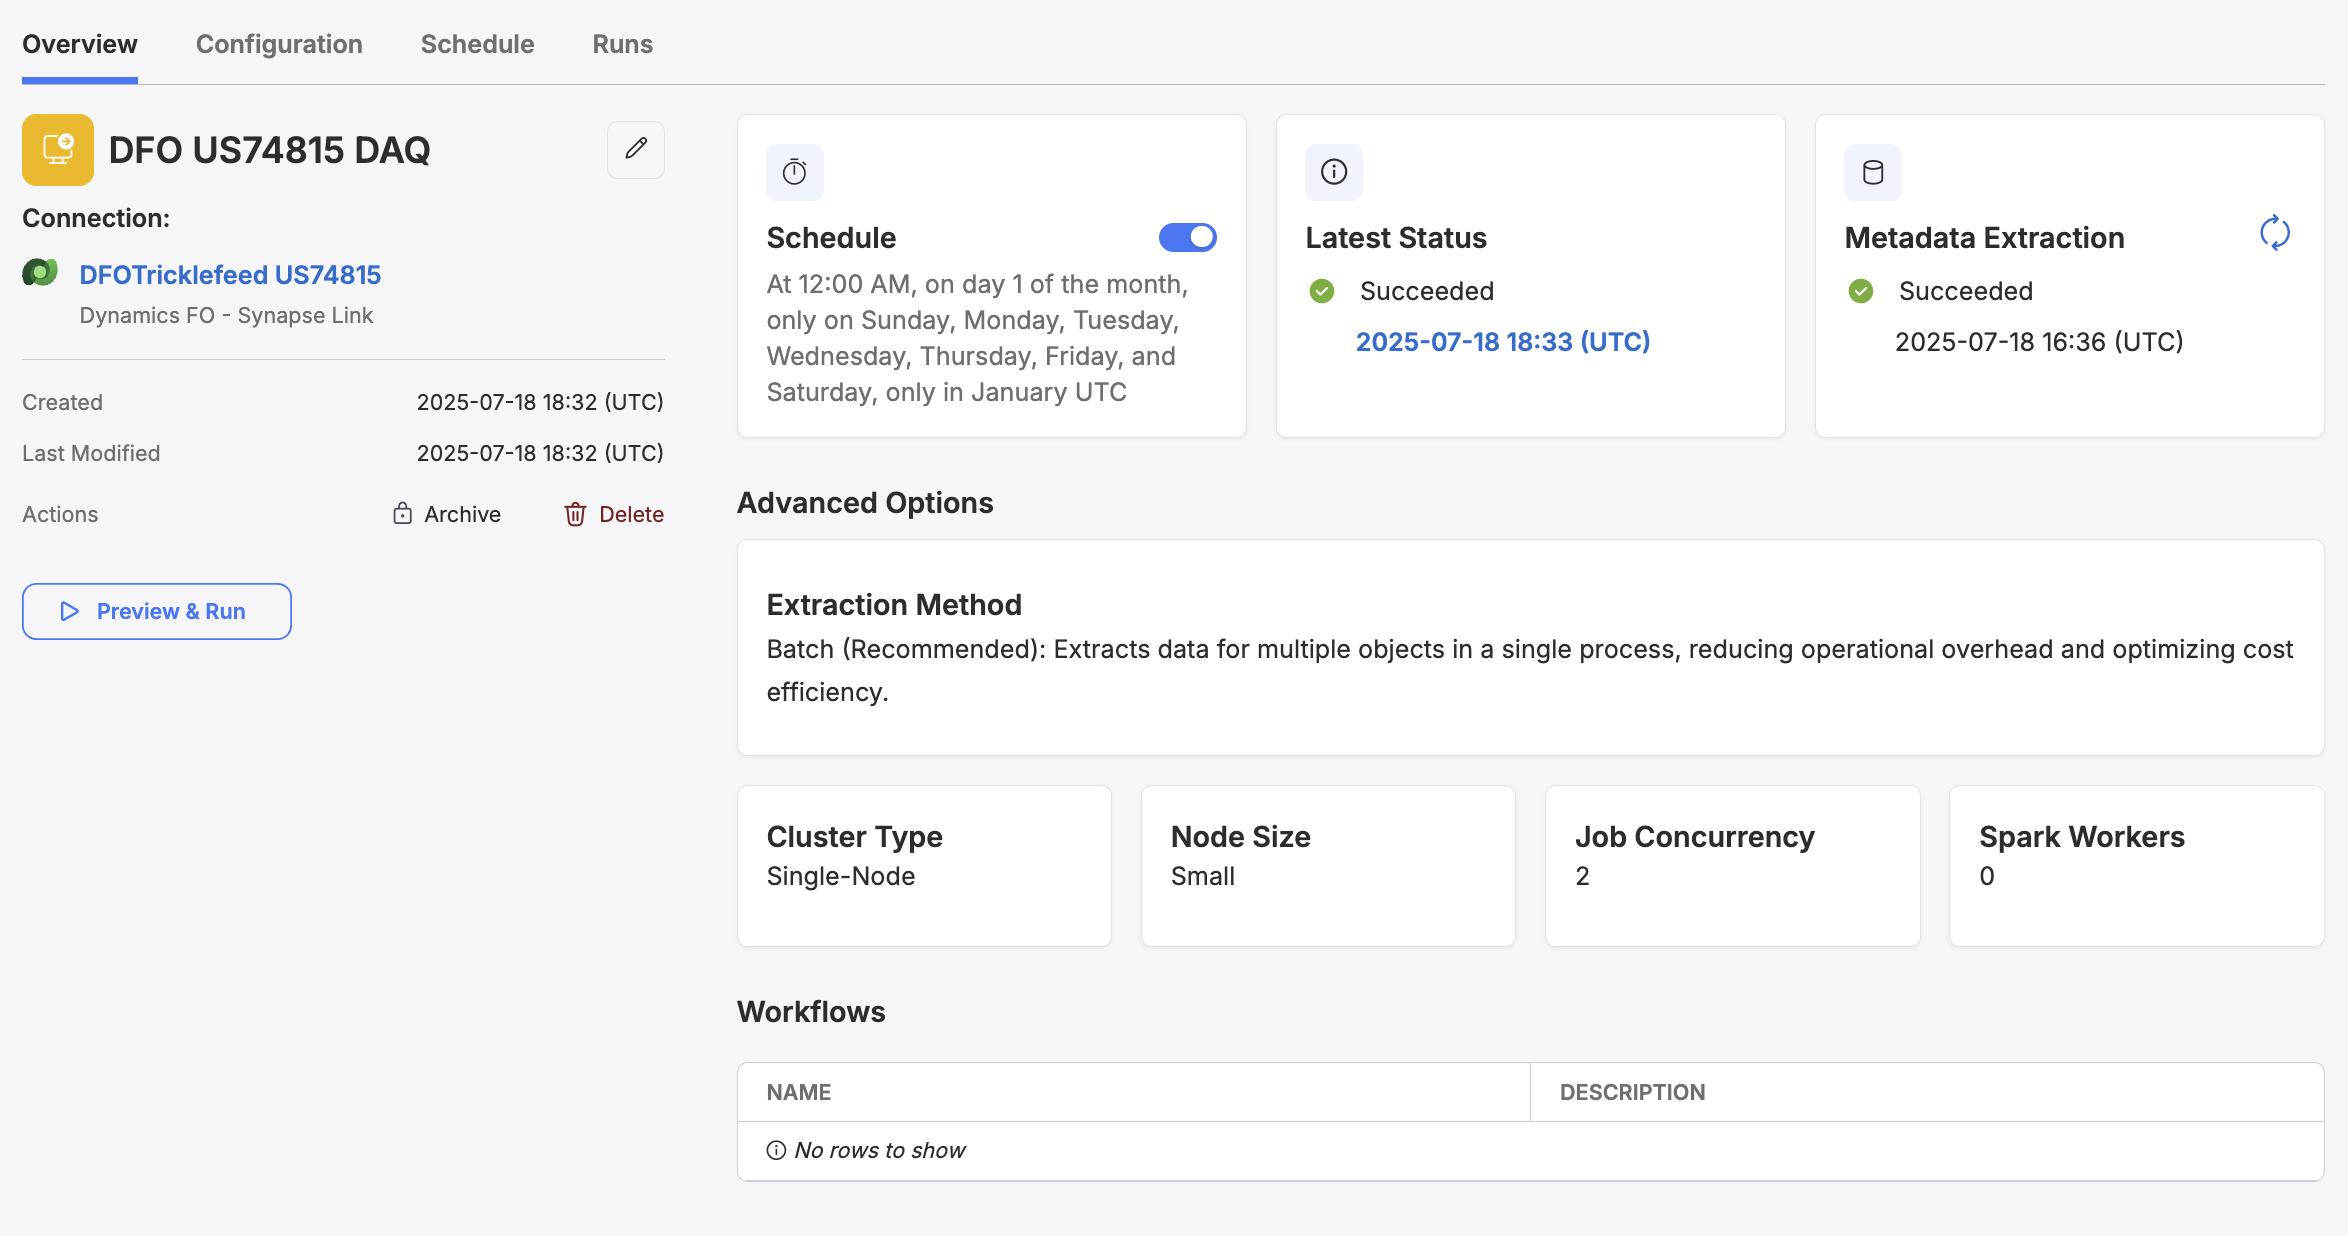
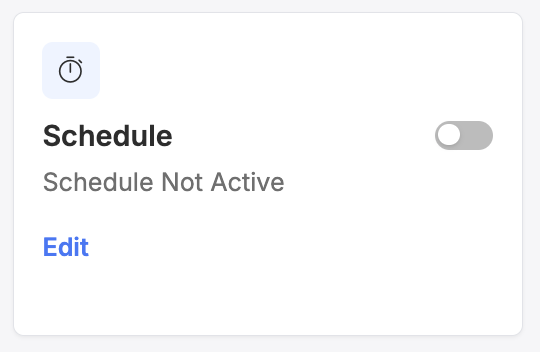
If a task has no schedule set, the schedule field will read "Schedule Not Active".
Disabling a Task's Schedule
You can set the toggle on the Schedule card to disable a task's schedule. This will temporarily negate any scheduled triggers for this task until Schedule Active is toggled back to "On". The task's schedule will reappear when Schedule Active field is toggled back on.
Setting a Task's Schedule
To set a task's schedule (including overwriting existing schedules), you can click on the Edit button from Schedule card on the Overview page. This will direct you to the Schedule tab for the given Task.
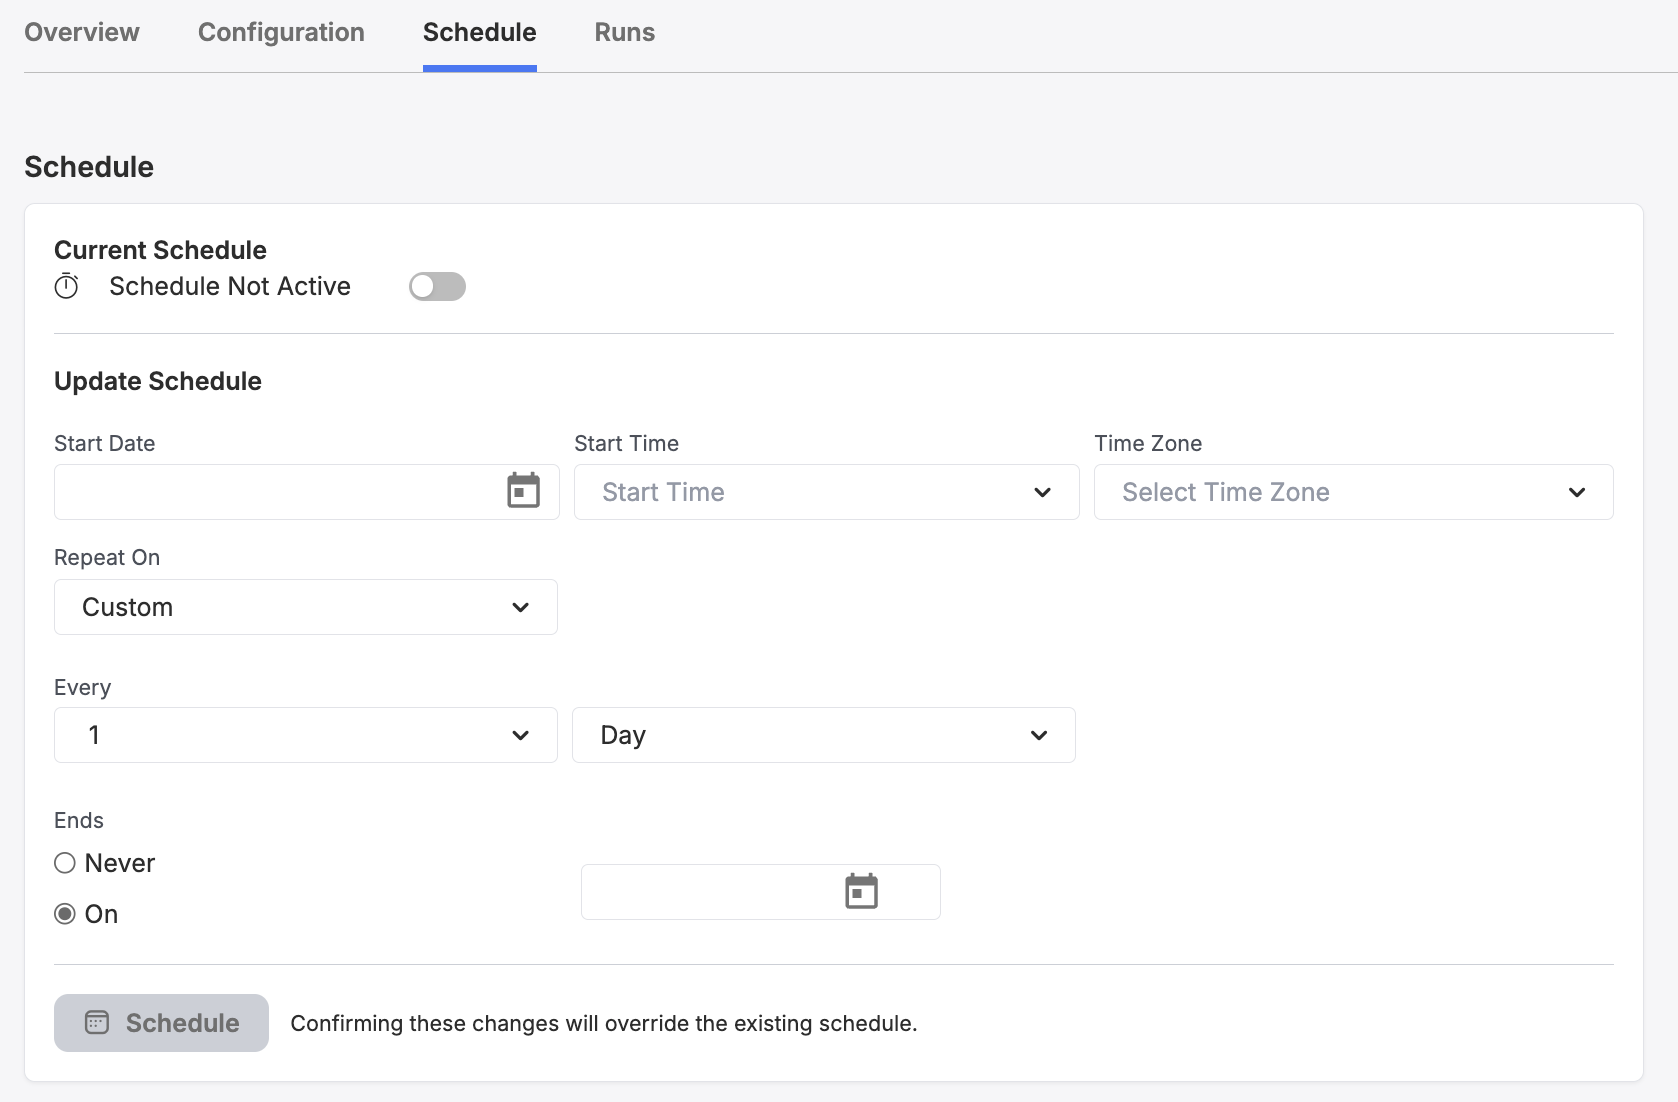
Use the Start Date and Start Time fields to define when the schedule is set to begin. Use the Time Zone field to define the timezone for this schedule.
You can use the Repeat On field to define a custom frequency to run this schedule.
You can enable the task to run by the minute, hour, day, week, or month.
Use the Ends field to define a date where the recurrence will end.
When you are finished configuring the task's schedule, click "Schedule." The schedule for this task will now be set according to the schedule configuration. You will see your changes reflected in the Schedule field below the Task Status.
Best Practices
Testing: Before setting a recurring schedule, run the data task on-demand to ensure it executes as expected.
Monitoring: Regularly monitor your scheduled data task to catch and resolve any issues early. Use the relevant monitoring page for the flow to do so, or use the Dashboard!
Documentation: Keep documentation of all scheduled data tasks, including their purposes, schedules, and any dependencies. This practice is invaluable for maintenance and troubleshooting.
Updated about 1 month ago