Creating & Managing Workflows
Creating New Workflows
Before We Begin:Before you begin creating your first Workflow, make sure you understand the different types of Data Flows and have created all of the Data Flow steps that you want to use within your Workflow.
If you are unfamiliar with the Data Flow concept or how to create them, you can read more about themhere.
How to Create a Workflow: Step-by-step Guide
Continue reading or try out our guided tour below to learn how to create your first Workflow!
-
Select Workflows from your menu.
-
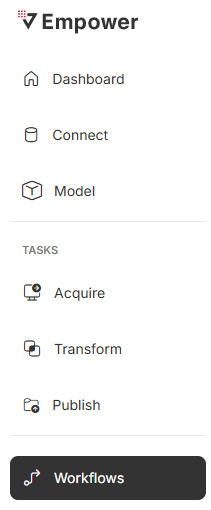
Click on the "+ New Workflow" to start.

-
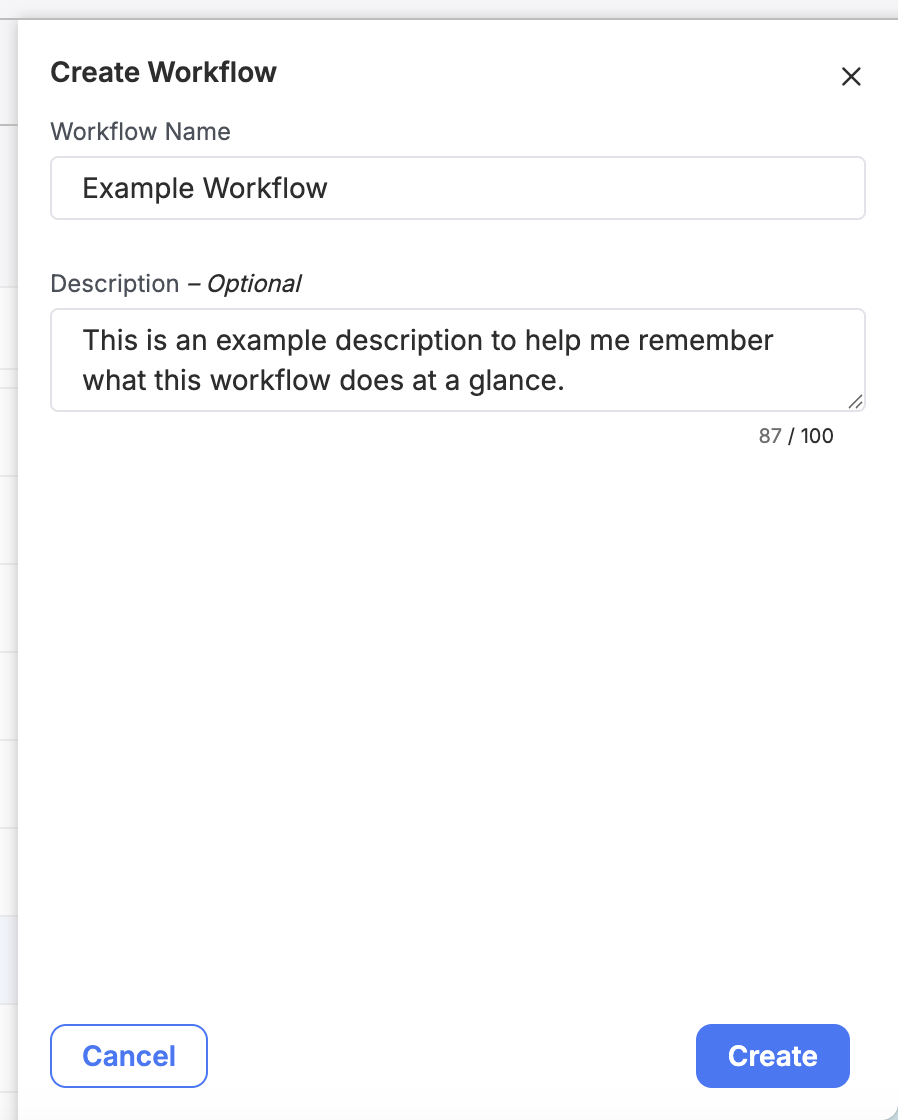
Give your Workflow a name and description.
When picking a Workflow name, you want to choose something that is concise, but descriptive. This will help you more easily and quickly identify it when monitoring and managing it in the future.
Don't worry if you can't make it as descriptive as you'd like, we have an optional description field to add more detail.
When you're done, click on Create Workflow.
Tip: Once you've added your Workflow, you can hover the name from the overview table to see the description in case you need more information to understand what it is!
-
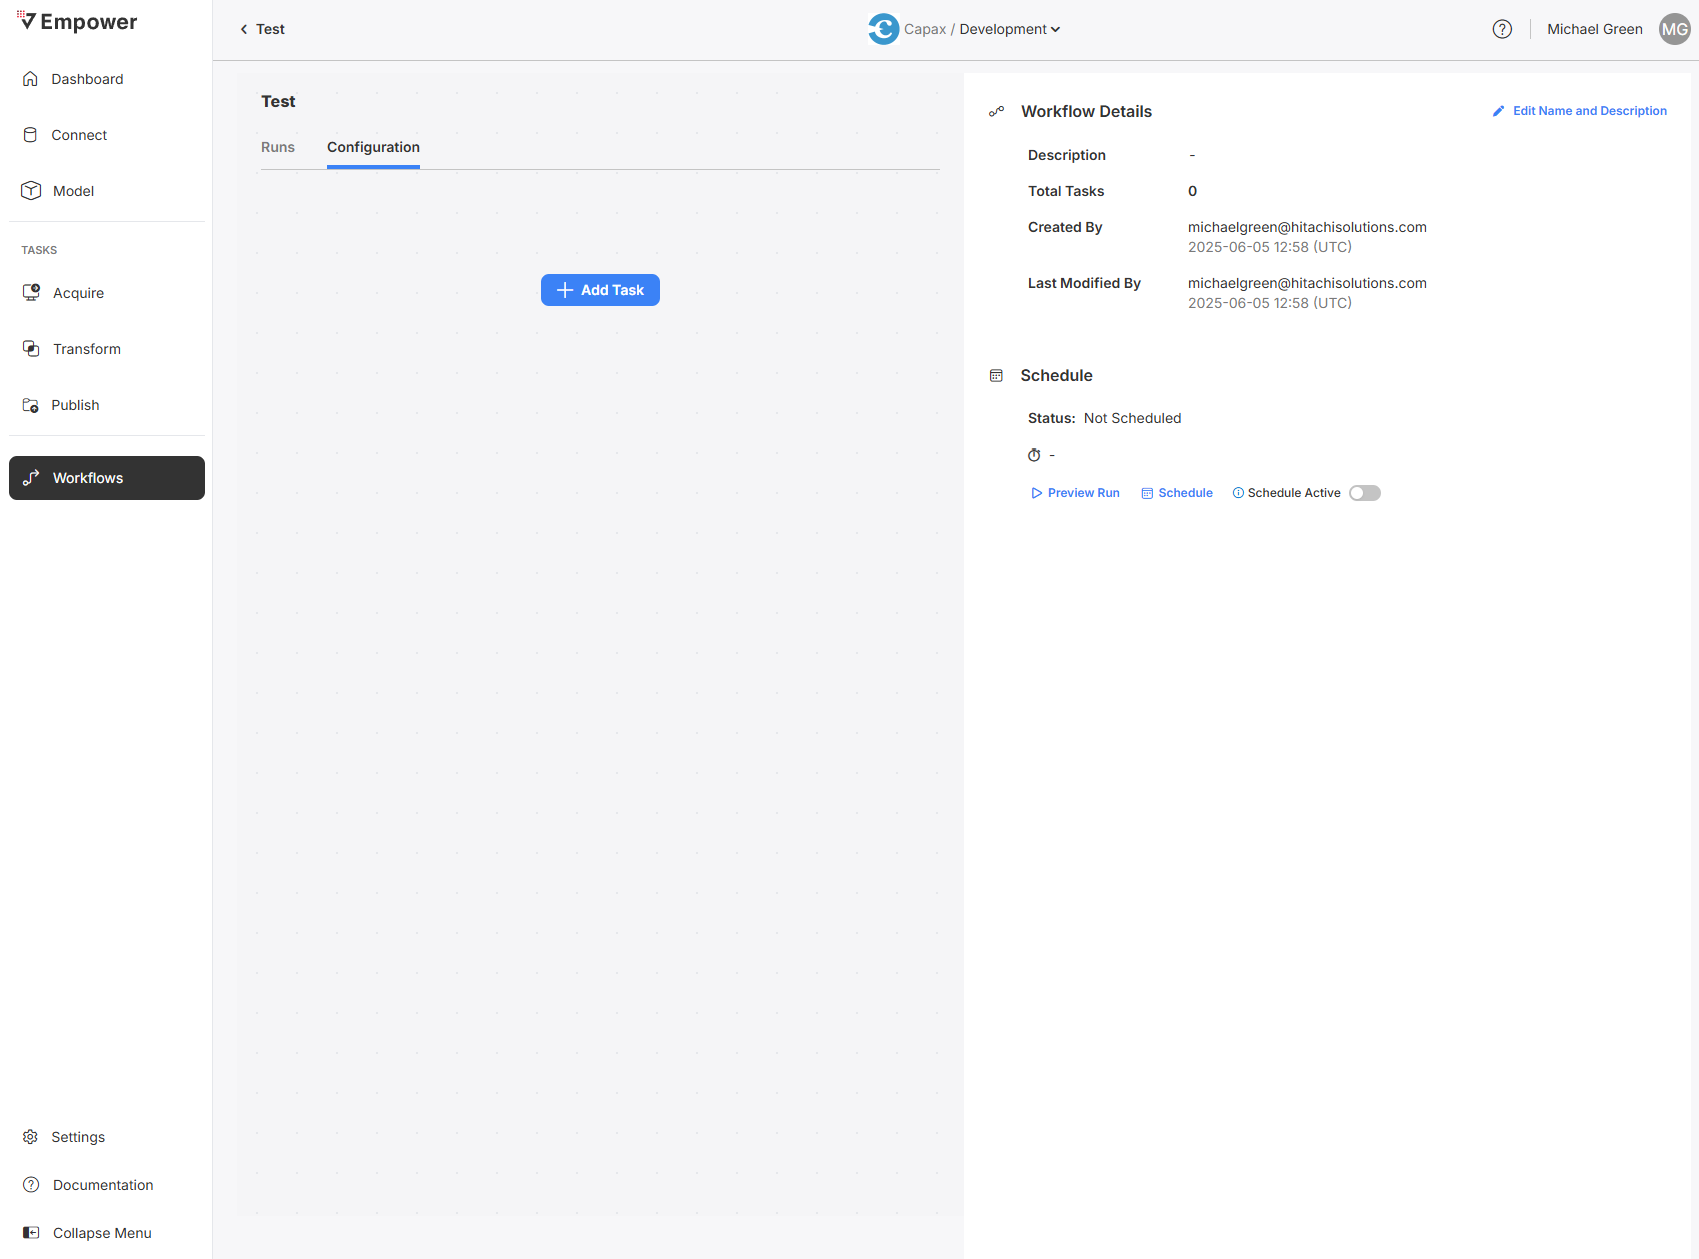
Welcome to the Workflow Configuration screen!
After clicking create, you will be redirected to the Worfklow Configuration screen. This is where you can configure and manage exactly what your Workflow will do, i.e. choosing what Data Task steps it will run.
The gray area is our Workflow configuration canvas. This is where we can modify our Workflow steps.
To the right, we see some details about our Workflow along with the ability to edit the name and description, schedule, or run it, which we will cover in the managing & editing section below.
-
Click on "Add Task" to select our first Task step.
This brings up our Data Task step selector.
We can search or select the tab name of the type of flow we're looking for to make it easier to find.
If we're unsure or don't remember exactly which flow is which, we can click on the "View Task" link to open it and see the details. -
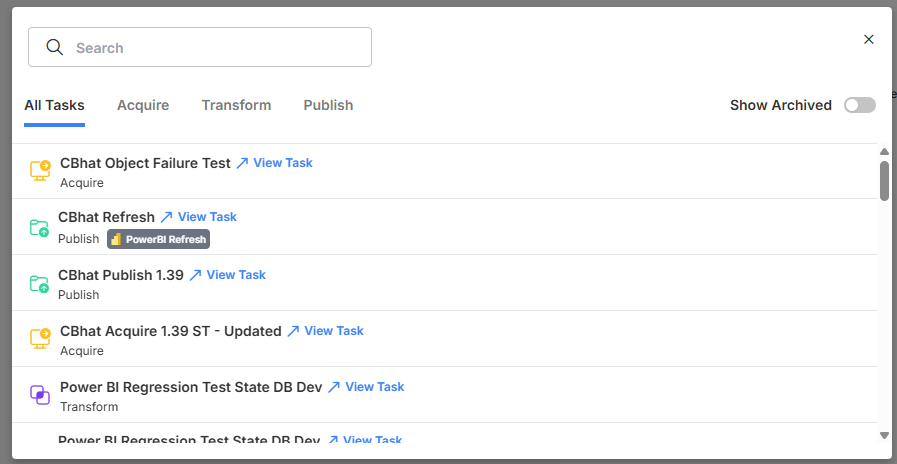
Clicking on a Data Task from our pop up adds it to our configuration canvas.
-
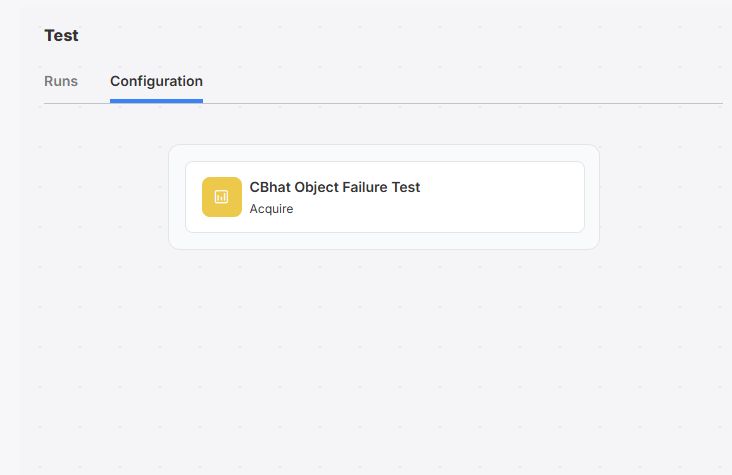
Clicking on the Data Task step allows us to remove it if needed by clicking on the red "X" in the corner.
-
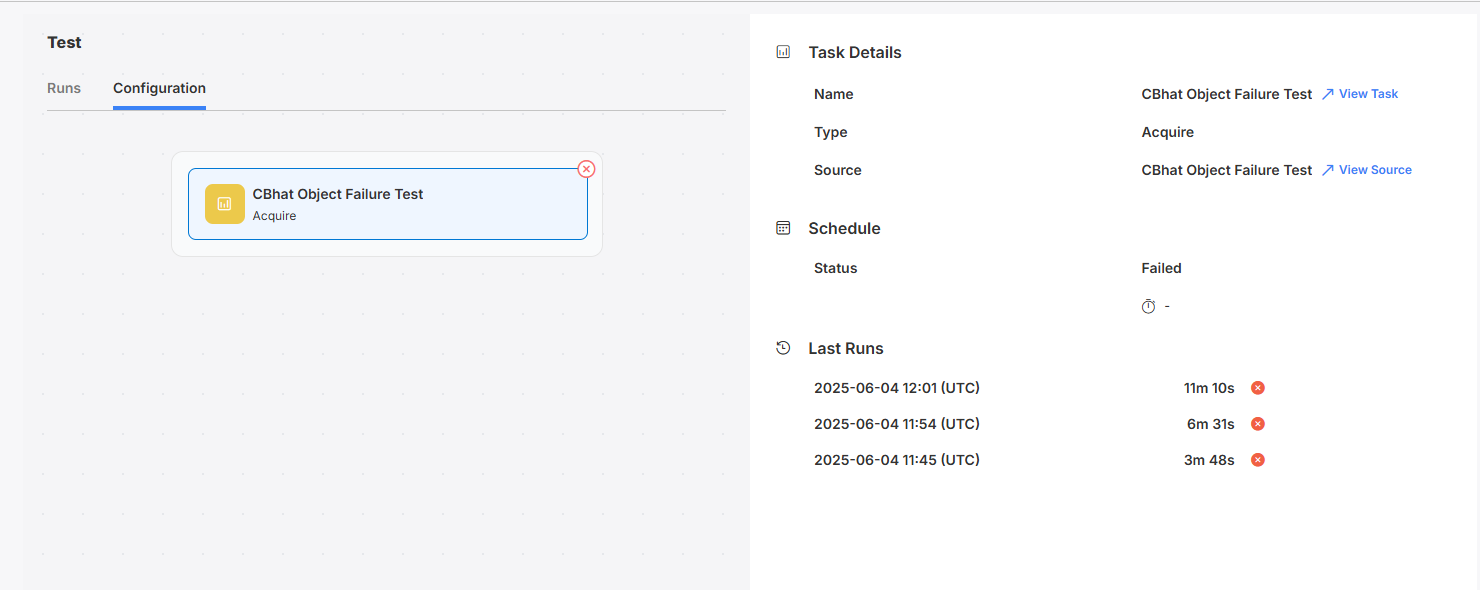
Notice that our right-hand details pane also changes from showing details of the Workflow to showing details of that Data Flow step.
-
-
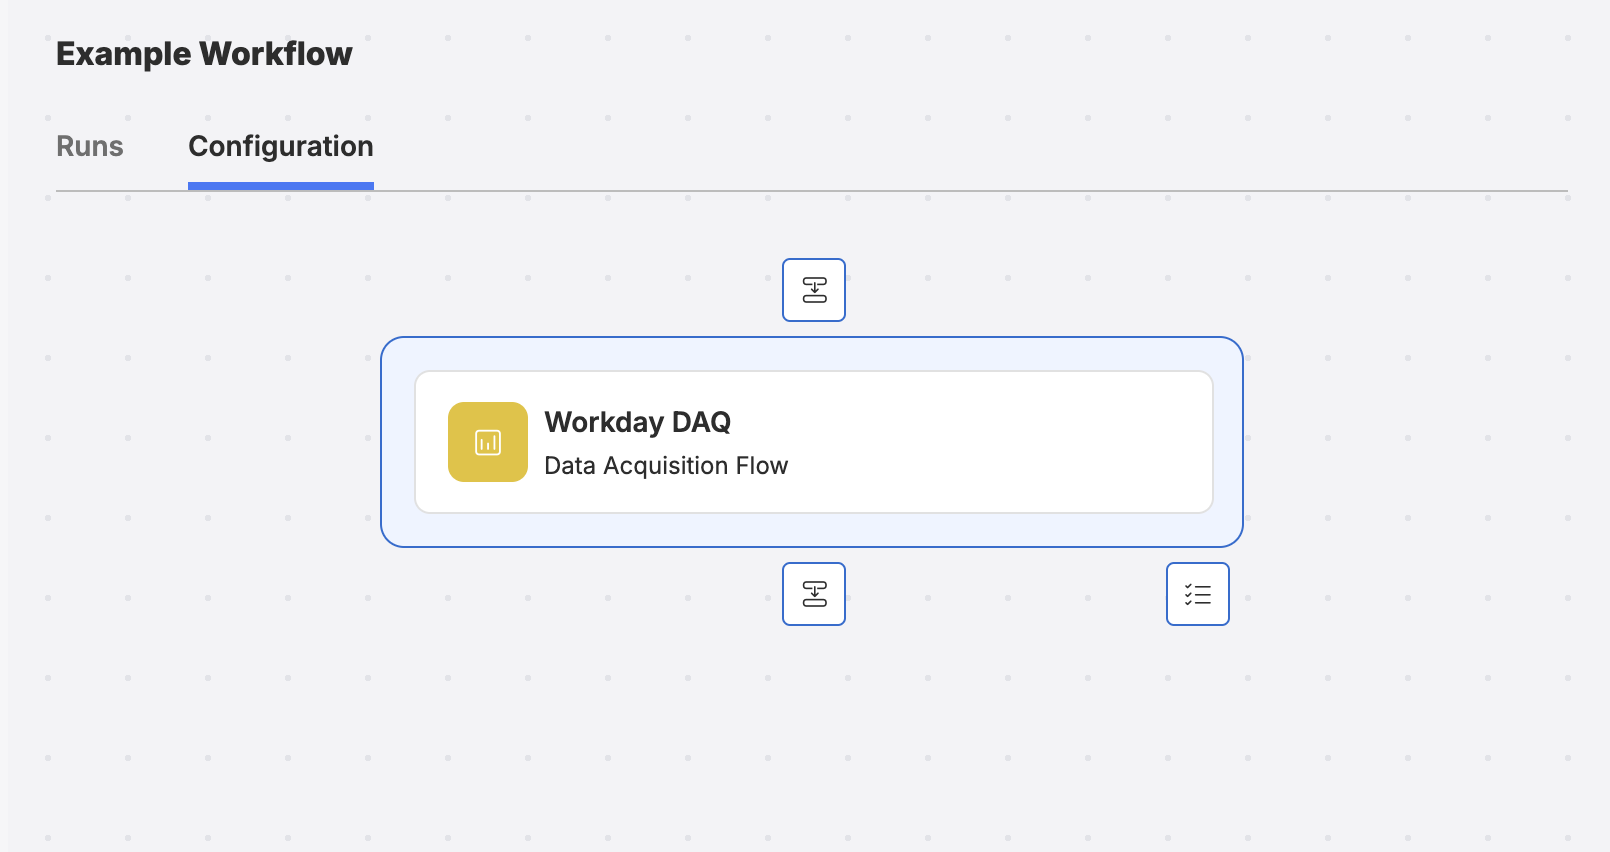
Now let's click on the step group box, this is the outer box surrounding a Data Flow step.
This brings up the buttons that allow us to add additional Data Flow steps.The button on top is our Add Predecessor button. It will add a new step before the currently selected step.
The button on the middle bottom is our Add Successor button. It will add a new step after the currently selected step.
The button on bottom right is our Add Parallele Task button. It will add an additional step to the step group the currently selected step.
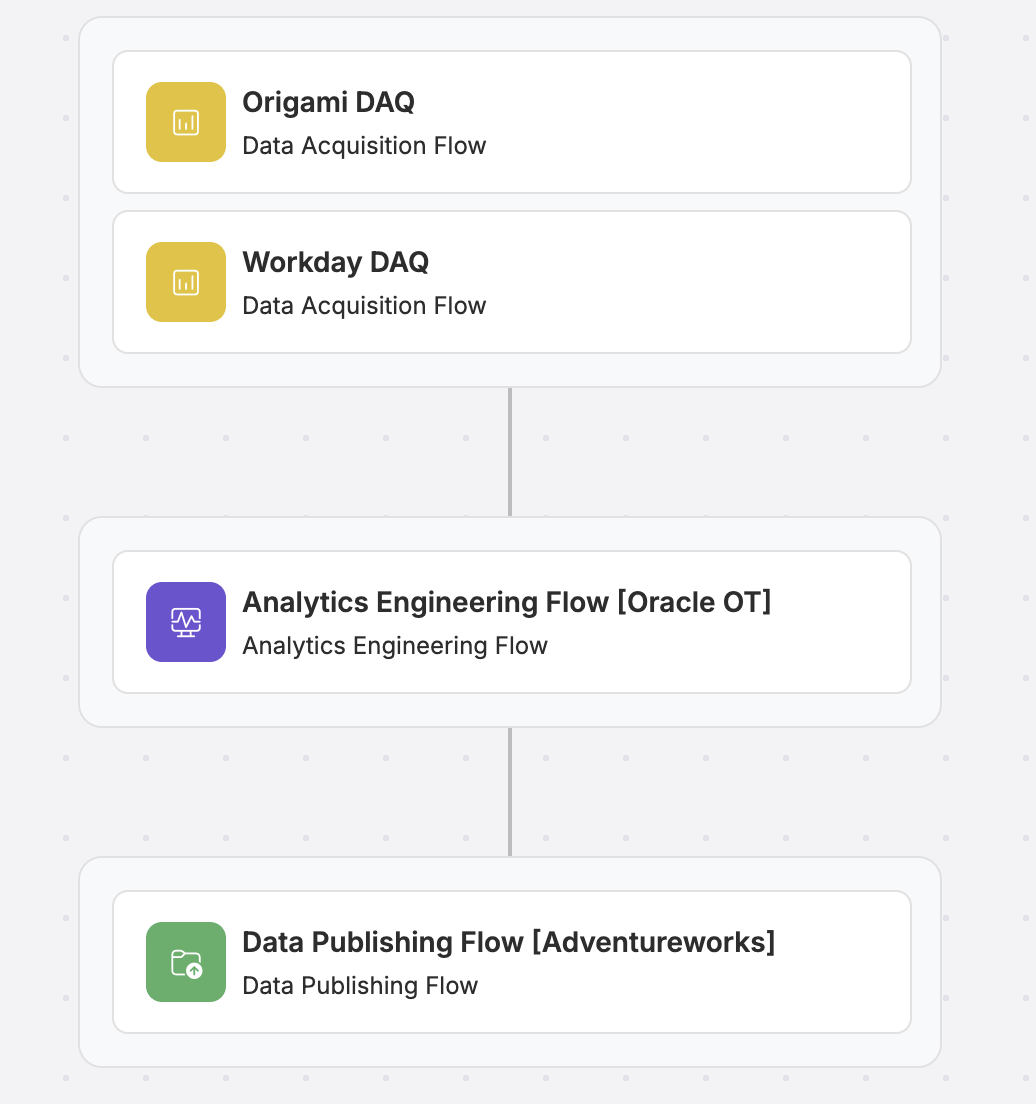
- After we've added a few more steps, let's look at how this Workflow would run.
- The first two Data Acquisition flow steps were added as parallel tasks and therefore are in the same step group. This means that they will run at the same time.
- All other Data Flow steps will be ran sequentially, meaning they will not begin until the previous step successfully completes.
- If a step fails, the Workflow will stop processing and all subsequent steps will not be started. We'll take a look into monitoring and debugging failures in theMonitoring Workflows page.
- Repeat adding as many steps as needed to create your complete end-to-end data movement needs.
- You're done! Congratulations on creating your new Workflow!
We'll look at how to running, schedule, and edit your new Workflow in the managing & editing section below.
Managing & Editing Workflows
Workflow Schedules
Workflows can be run automatically on a schedule of your choosing. A schedule can be set or modified by clicking on the calendar icon from the Workflow overview screen or by clicking the Schedule button from the Workflow configuration screen.
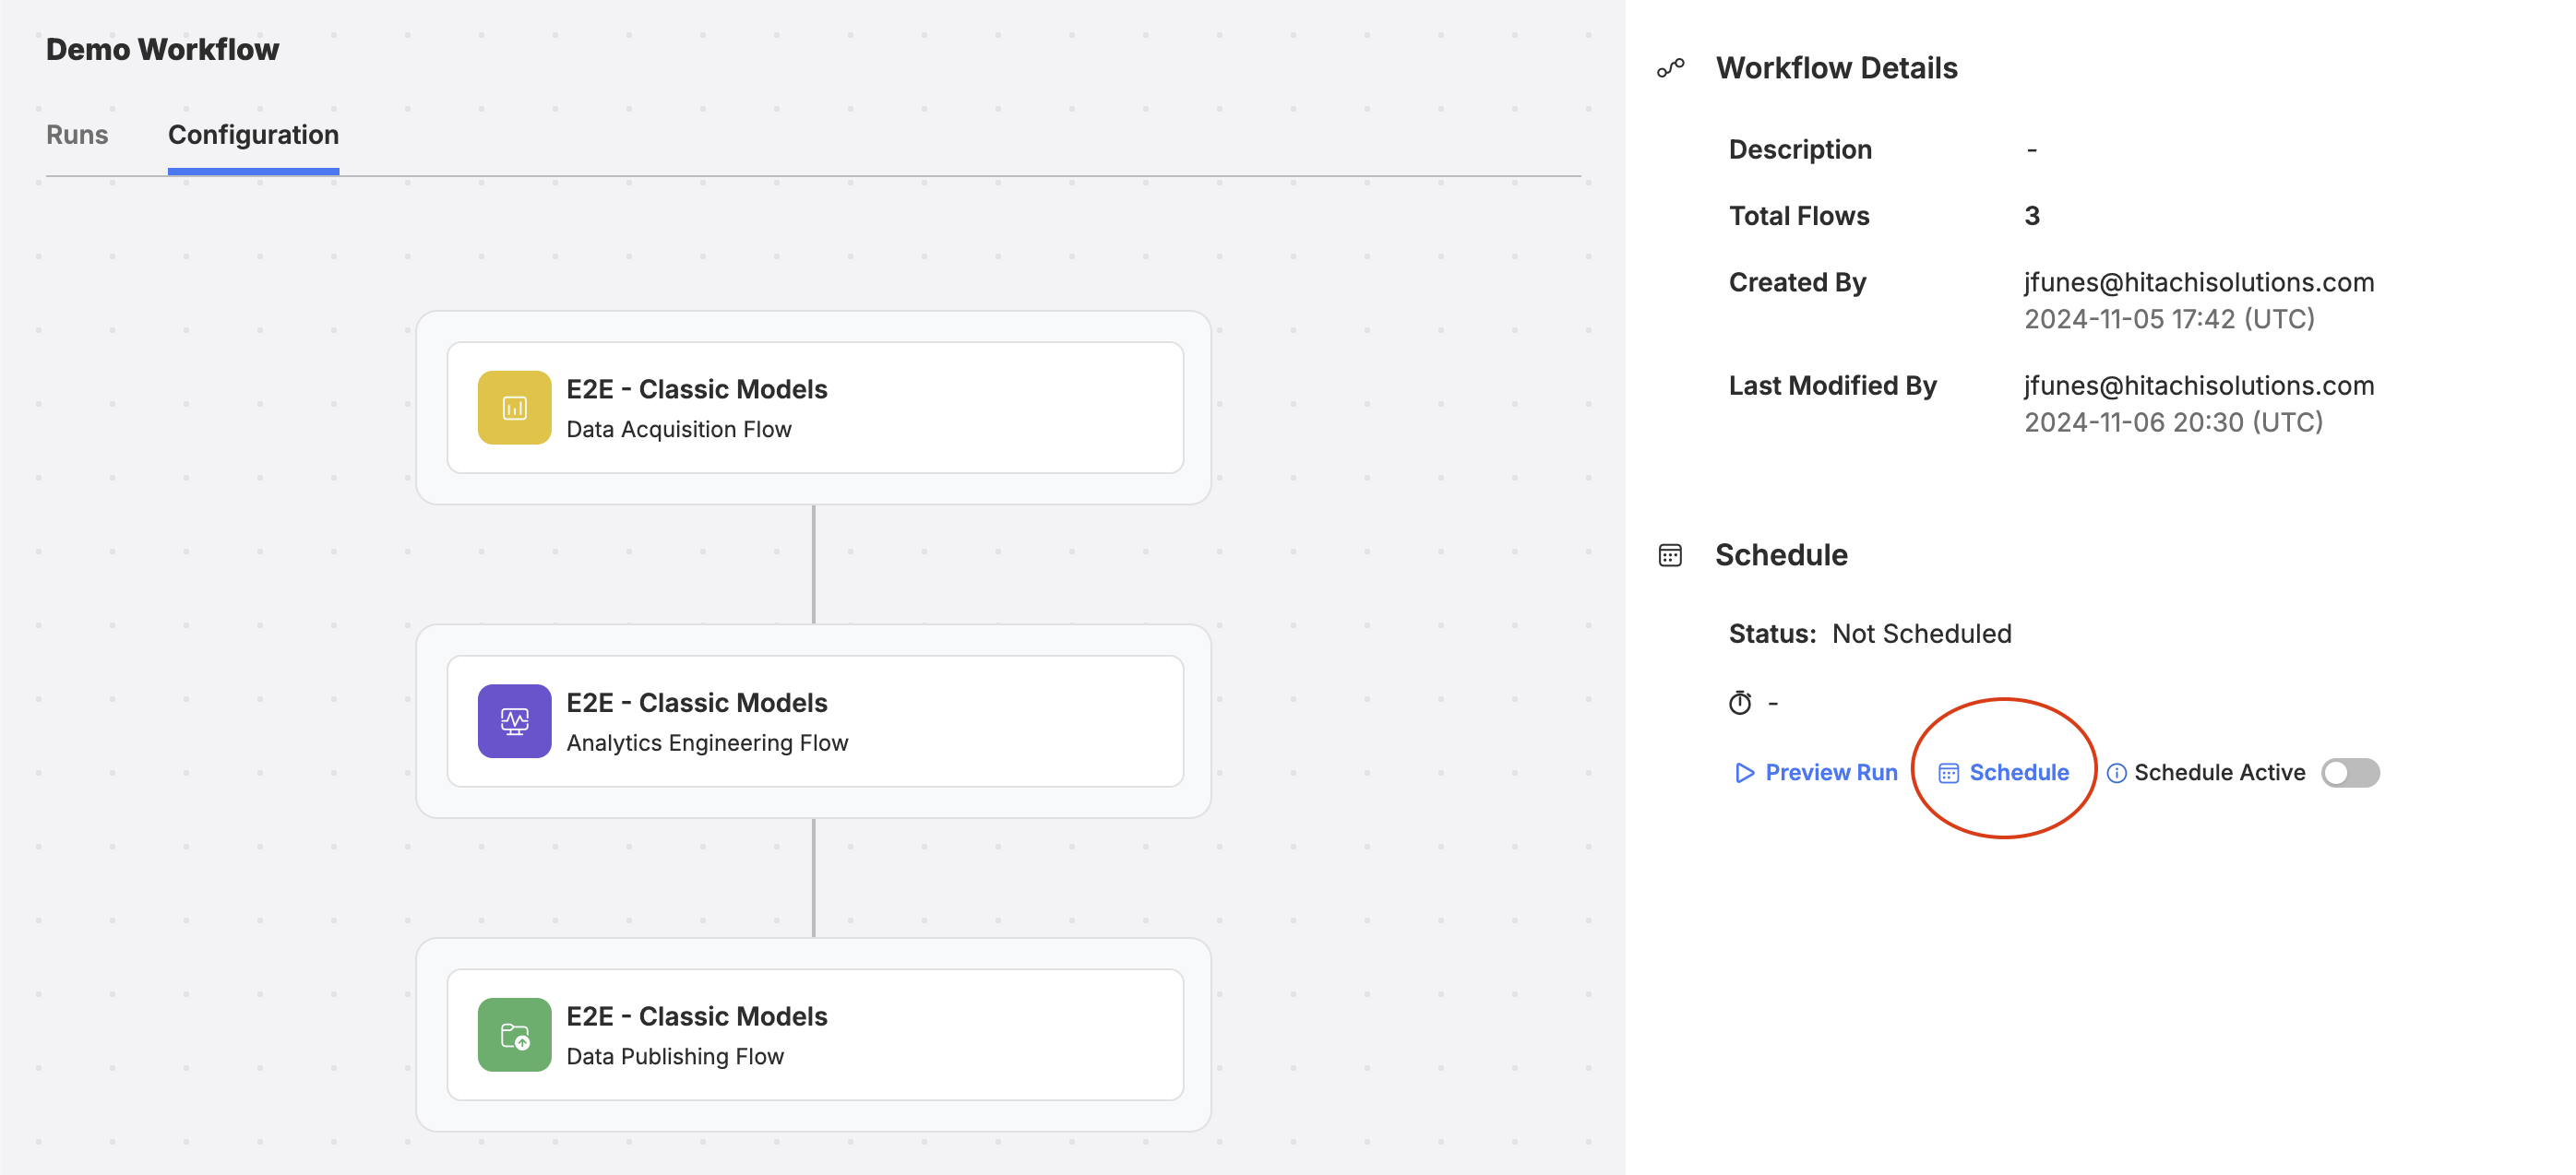
Click on the Schedule button from the Workflow configuration screen to setup or edit an automated run schedule.

Click on the Calendar icon from the Workflow overview screen to setup or edit an automated run schedule.
Notice in the overview screen above, once set, your schedule will also appear in this table.
Additionally, the "Active" column toggle allows you to temporarily deactivate or reactivate a schedule. When deactivated, your Workflow will no longer run automatically. When reactivated again, the previously implemented schedule will be applied. This schedule can always be modified afterwards as well.
Manual One-Time Workflow Runs
Workflows can be run manually by clicking on the Play button from the overview screen or by clicking on Preview Run from the configuration screen. This will not immediately run the Workflow. It will bring up a preview screen to show more detail of what objects and/or entities will be run before allowing you to continue with the run or to cancel.

Click on the Play button from the Workflow overview screen to do a one-time, manual run.
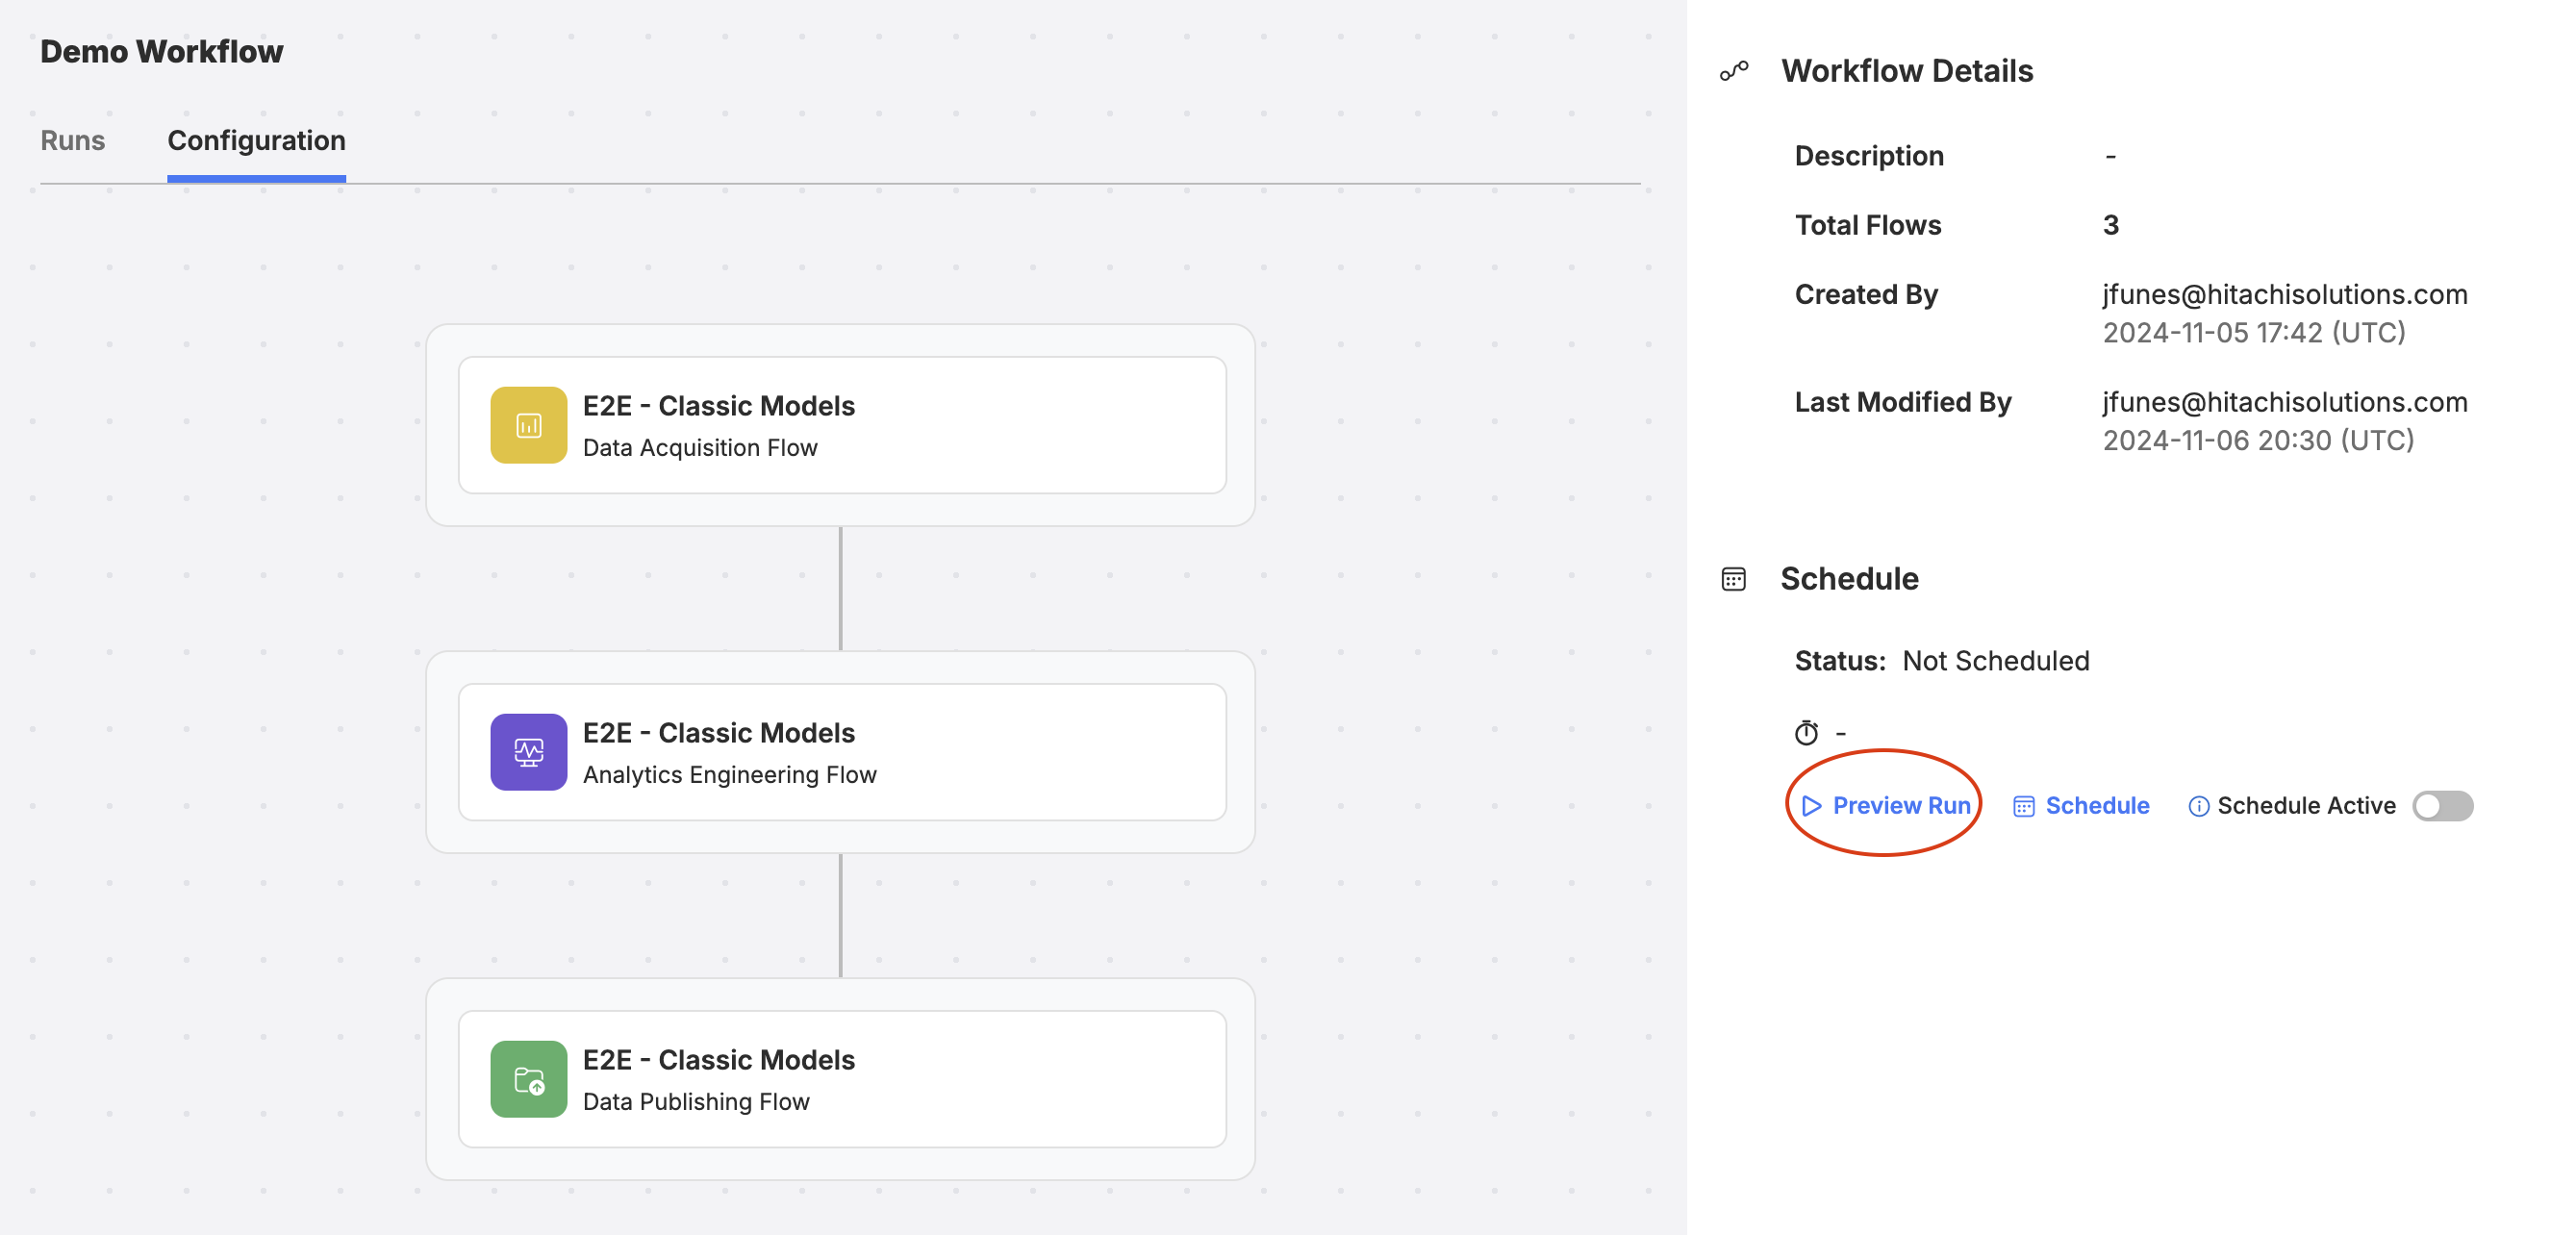
Click on the Preview Run button from the Workflow configuration screen to do a one-time, manual run.
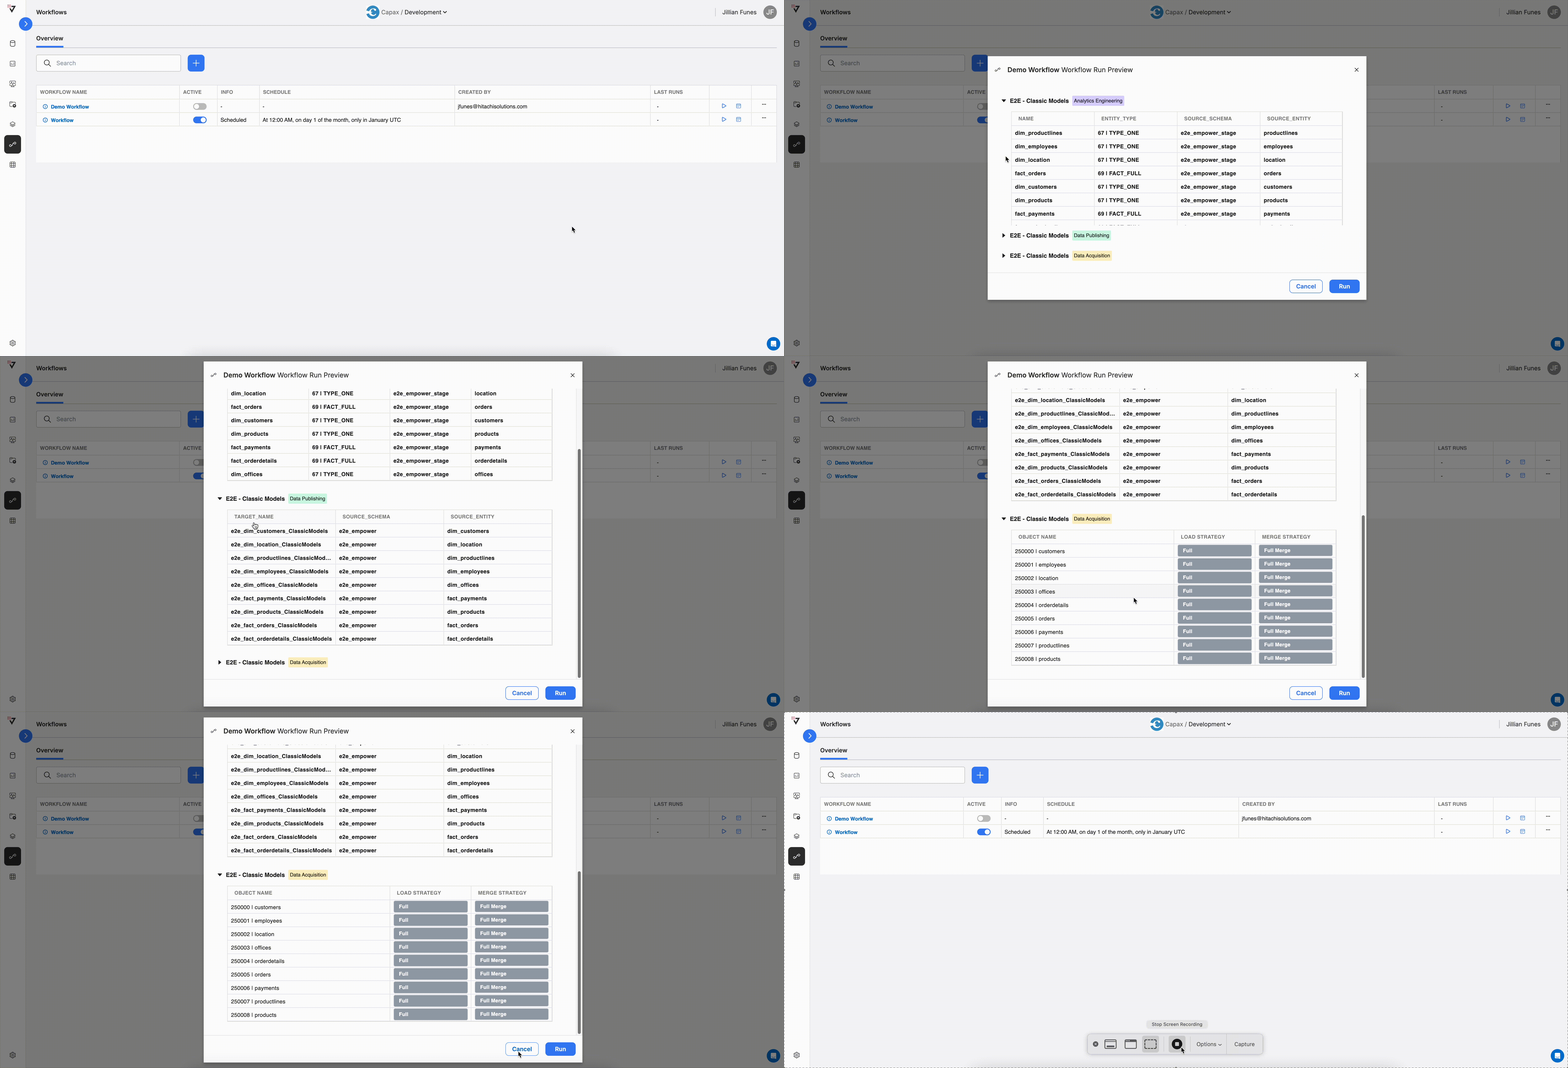
Clicking Run will first open a Run Preview, allowing you to confirm the one-time run or to cancel.
Editing Your Workflow Name & Description
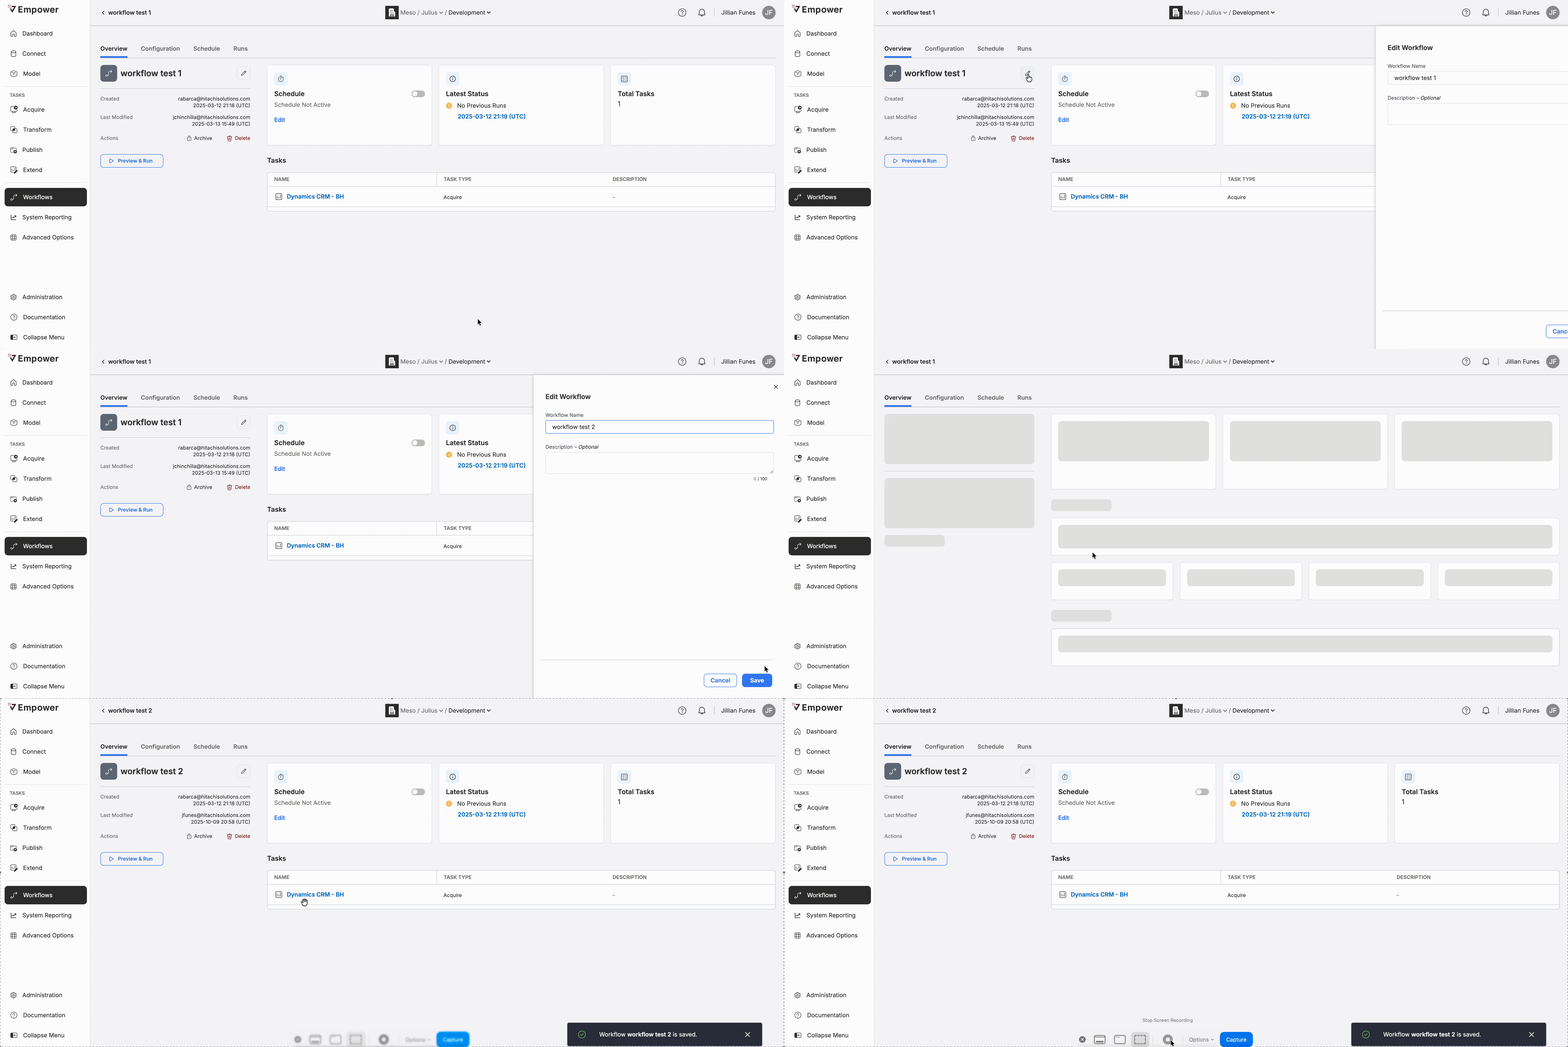
The name and description of a Workflow can be changed from the Overview tab. Simply click on the edit (pencil) icon next to the name of the Workflow. The drawer will open to allow updating the name and description.
Updating Workflow Steps
To update the Task steps within an existing Workflow, you can open the Workflow configuration screen by clicking on the name of the Workflow and navigating to the Configuration tab.
To remove a Task step, click on the step and then the red "X" in the corner.
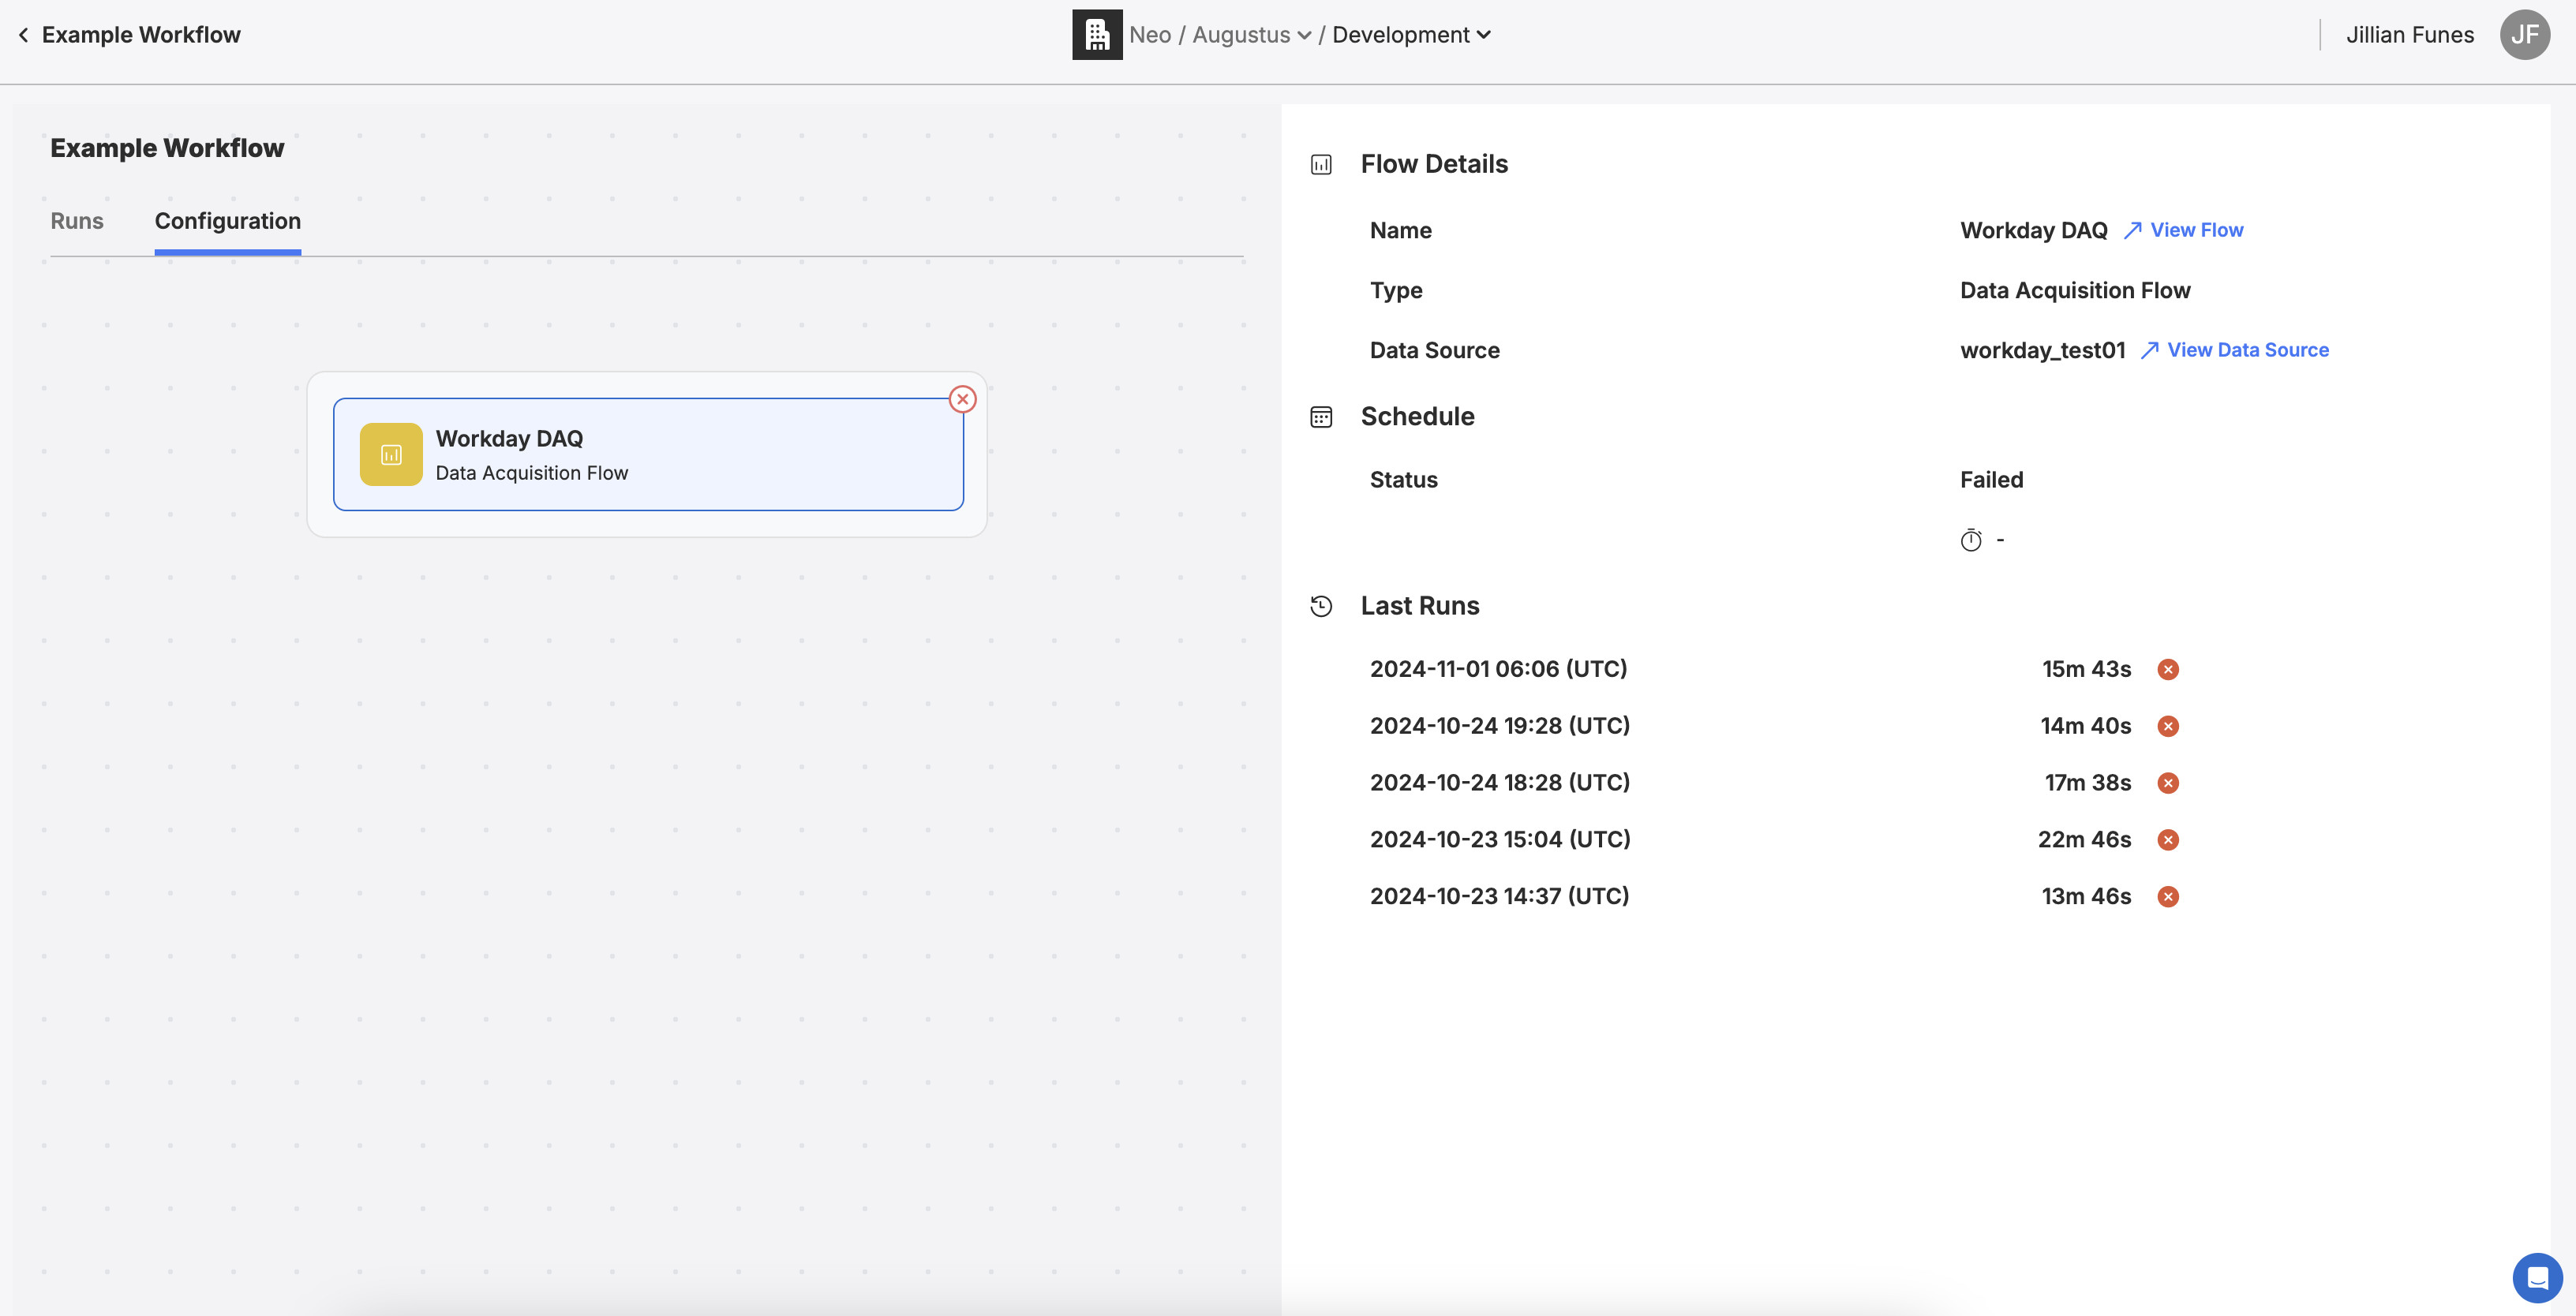
To add additional steps, click on the step group box - this is the outer box surrounding a Data Flow step.
This brings up the buttons that allow us to add additional Task steps.
The button on top is our Add Predecessor button. It will add a new step before the currently selected step.
The button on the middle bottom is our Add Successor button. It will add a new step after the currently selected step.
The button on bottom right is our Add Parallele Task button. It will add an additional step to the step group the currently selected step.

Deleting & Archiving
Click on the name of the Workflow you want to delete or archive to go to it's Overview page. From here, you fill find the buttons to Archive or Delete.
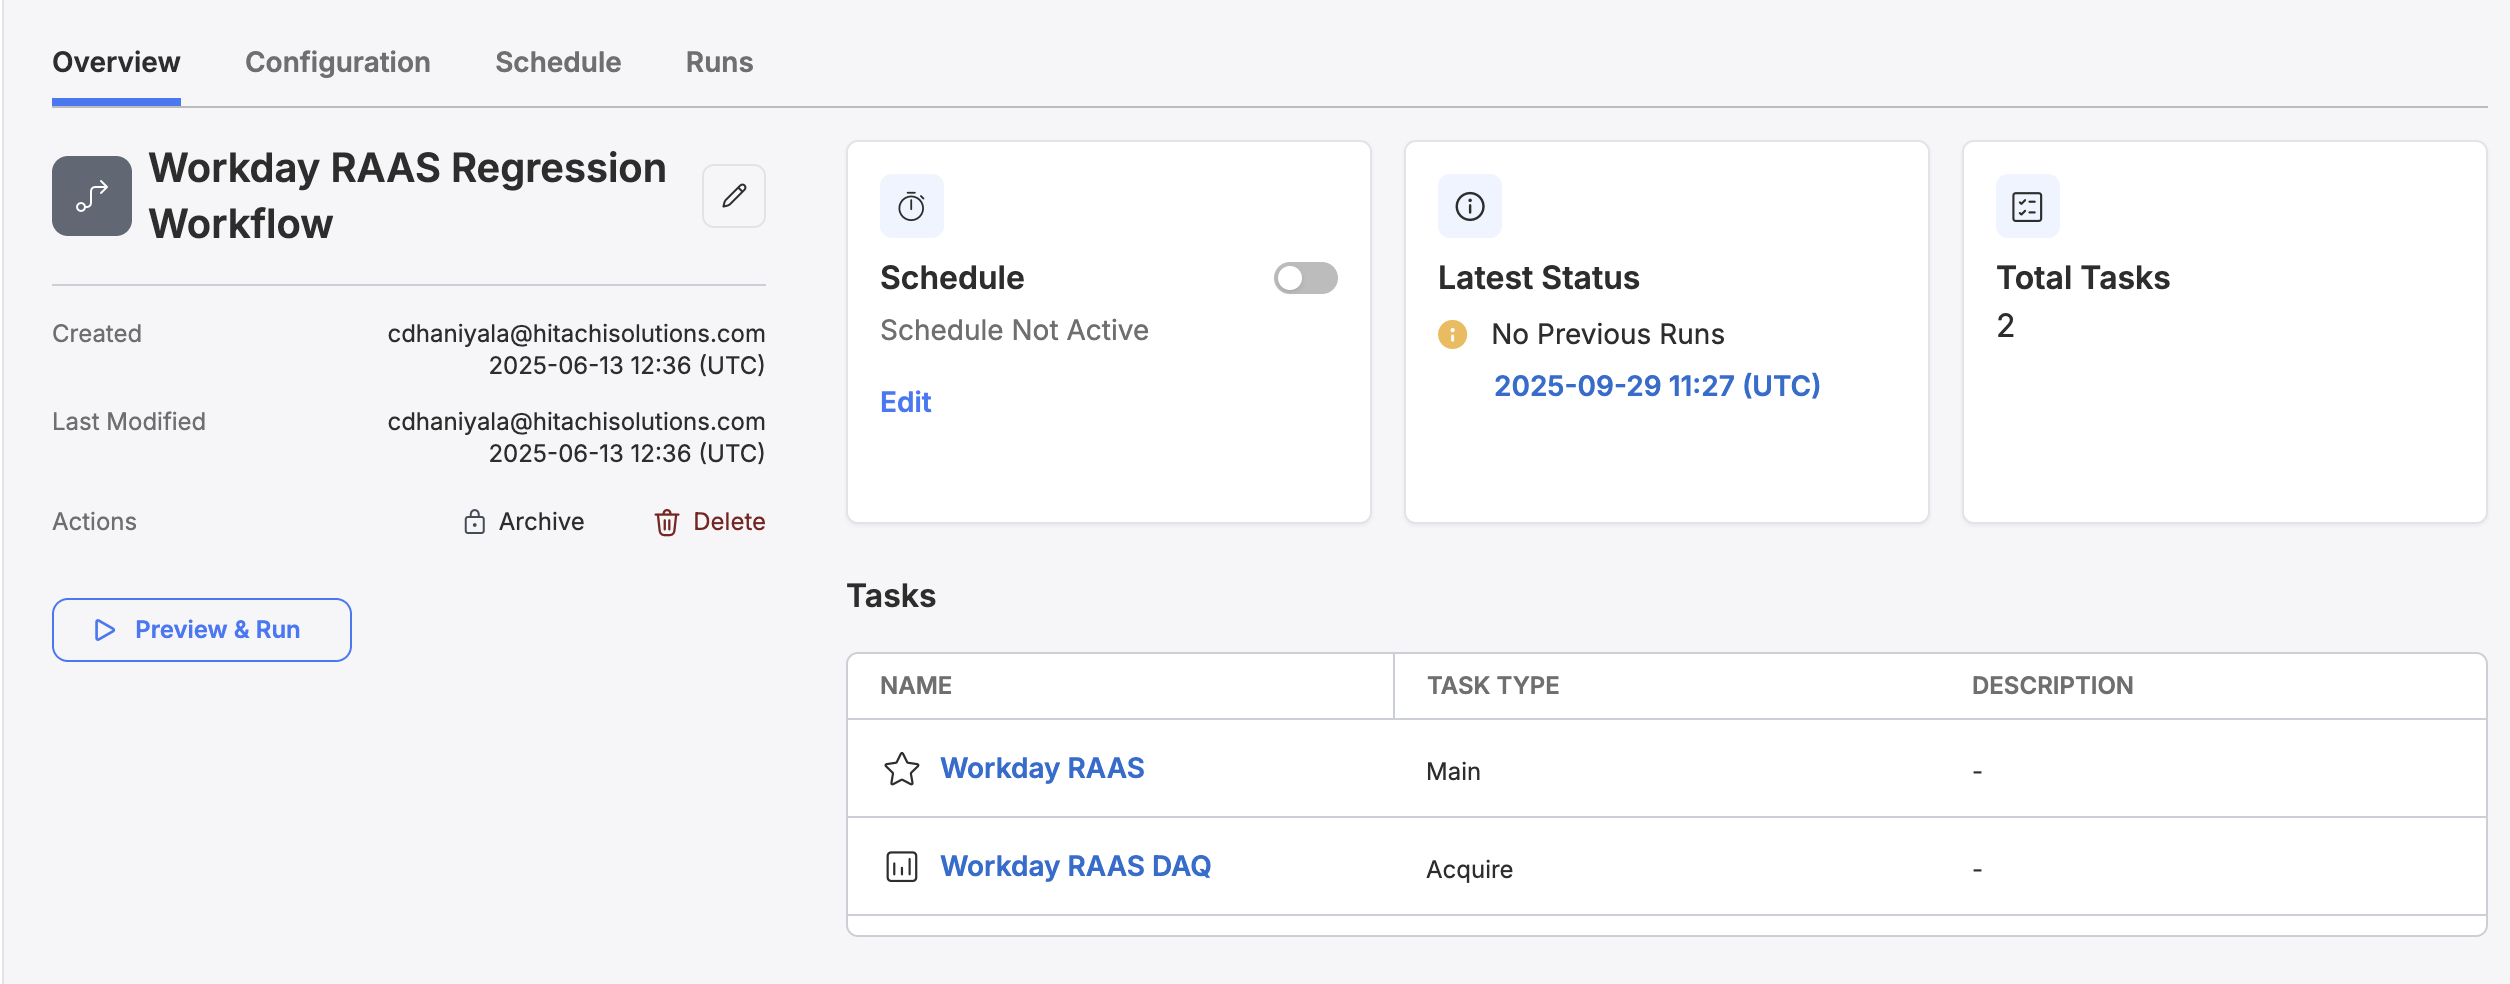
Archiving
Clicking on "Archive Workflow" will bring up a confirmation box before continuing with the archival.
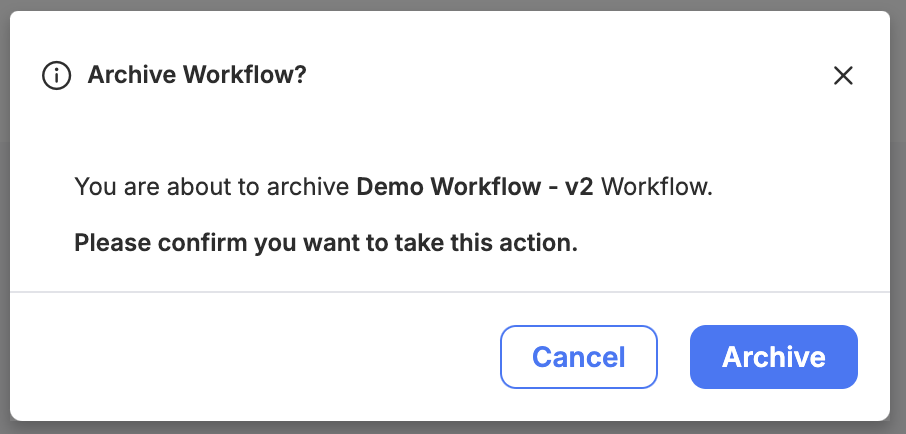
Once archived, you can still view the Workflow, but you will no longer be able to edit, run, or schedule the Workflow.
You will notice the an Archived tag now appears next to the Workflow name.

You can also filter for Archived tags by clicking on the filter icon on the Workflow Name column.
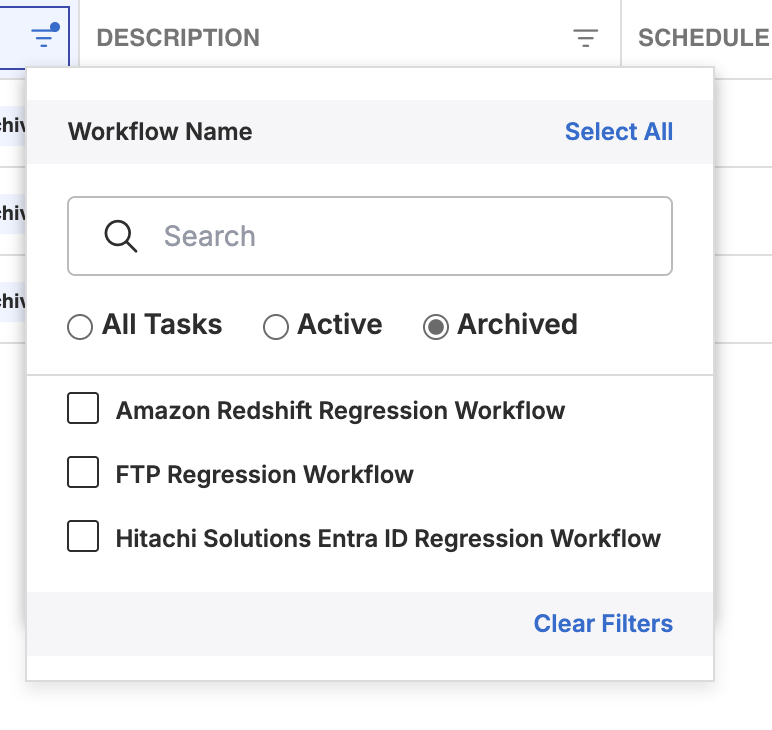
Updated 4 months ago
