Data Migration
Migrating configurations for any Empower entity across your environments
Introduction
The purpose of the Data Migration feature, also referred to as configuration migration, is to streamline and automate the process of migrating configurations for data movement from a source environment to a target environment. This will enable users to efficiently transfer configurations between different environments, reducing the risk of manual errors and saving time.
On this page, Empower users will find more information about using the Configuration Migration module: the required roles to perform a configuration migration as well as how to manage migrations (create new, revert, etc.).
Pre-Requisite: Supported Roles
In order to perform a configuration migration, a user must be AT LEAST assigned an Executor role in the source environment and a Writer in the target environment.
For example, a user attempting to migrate configuration(s) from a Development (DV) environment to Continuous Deployment (CD), they must be AT A MINIMUM DV Executor and CD Writer.
For more information on Empower roles, please see: Access Control.
Create a Migration
Data Migration uses a step-by-step flow to guide you through the process and provide clear instructions along the way.
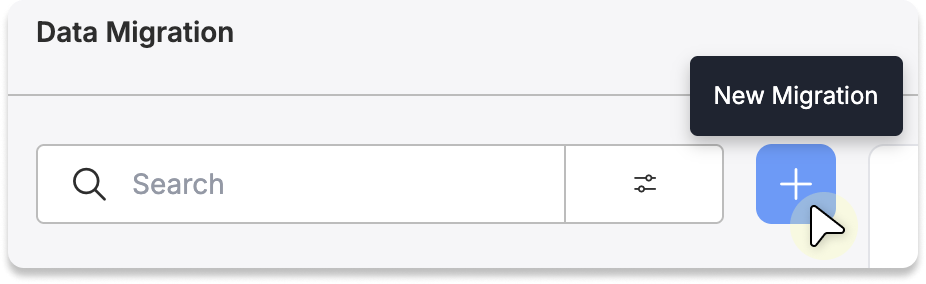
From your intended source environment, navigate to the Data Migration module.
It can be found by navigating to the Administration menu item and then selecting Data Migration.
Select the + button to start a new migration.
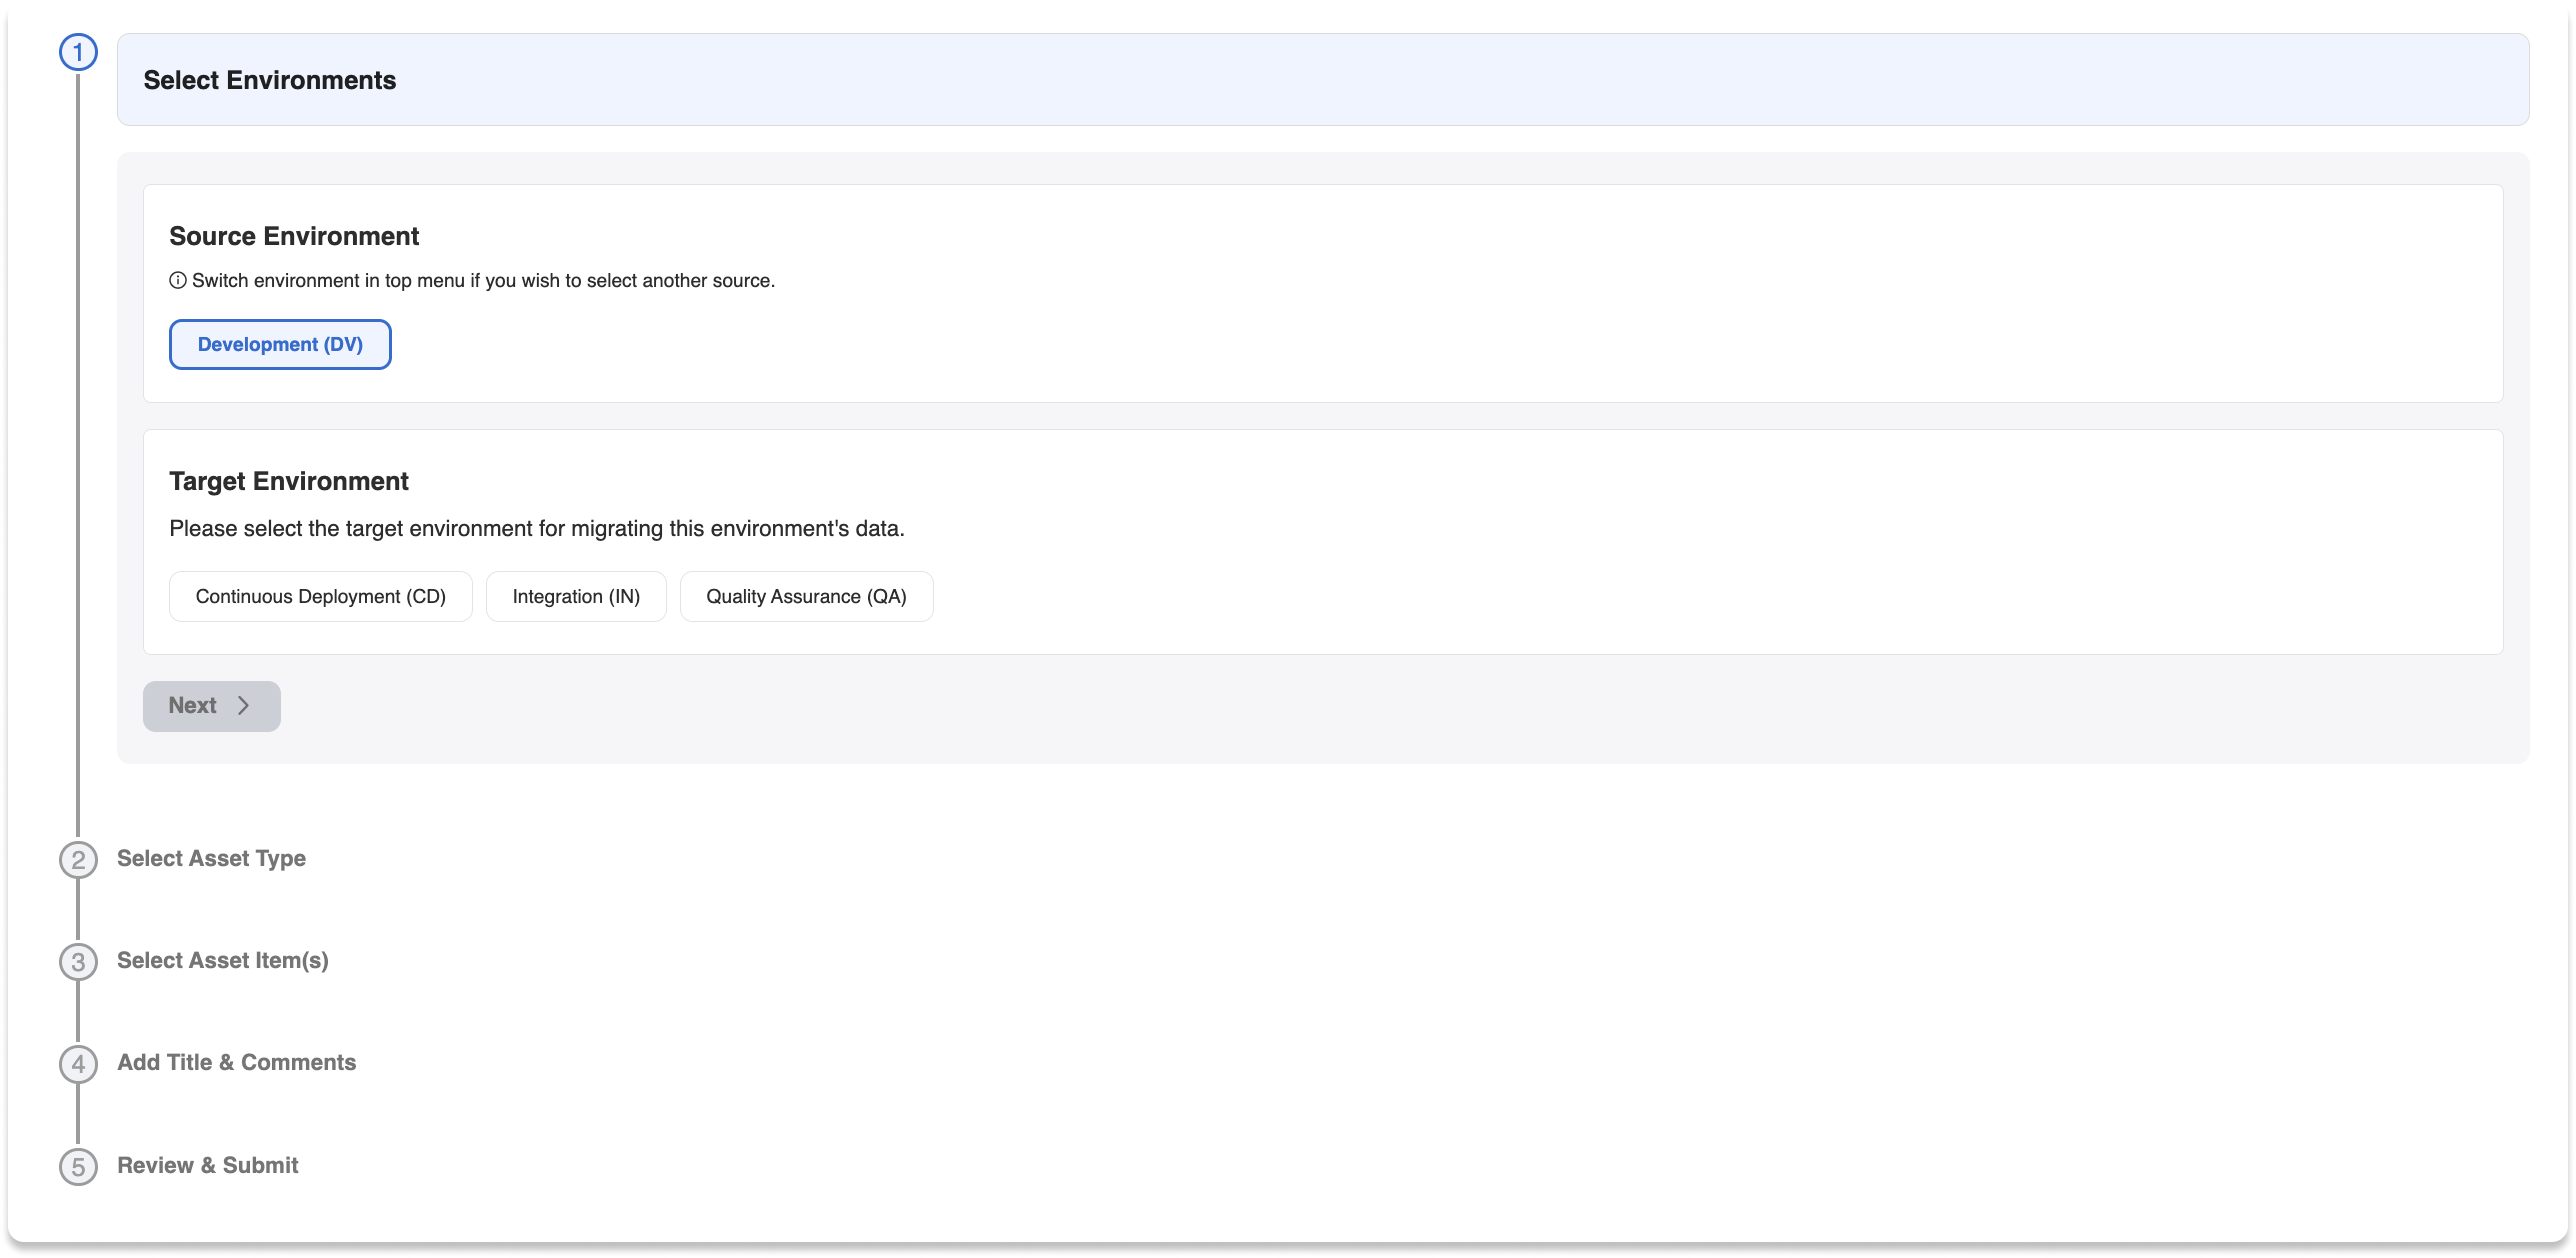
Step 1: Select your Target Environment.
Choose your Target Environment. This is where you want the changes you select in following steps to be updated to.
Migrating changes will make them available in the target environment. They will still be available in your source environment as well.
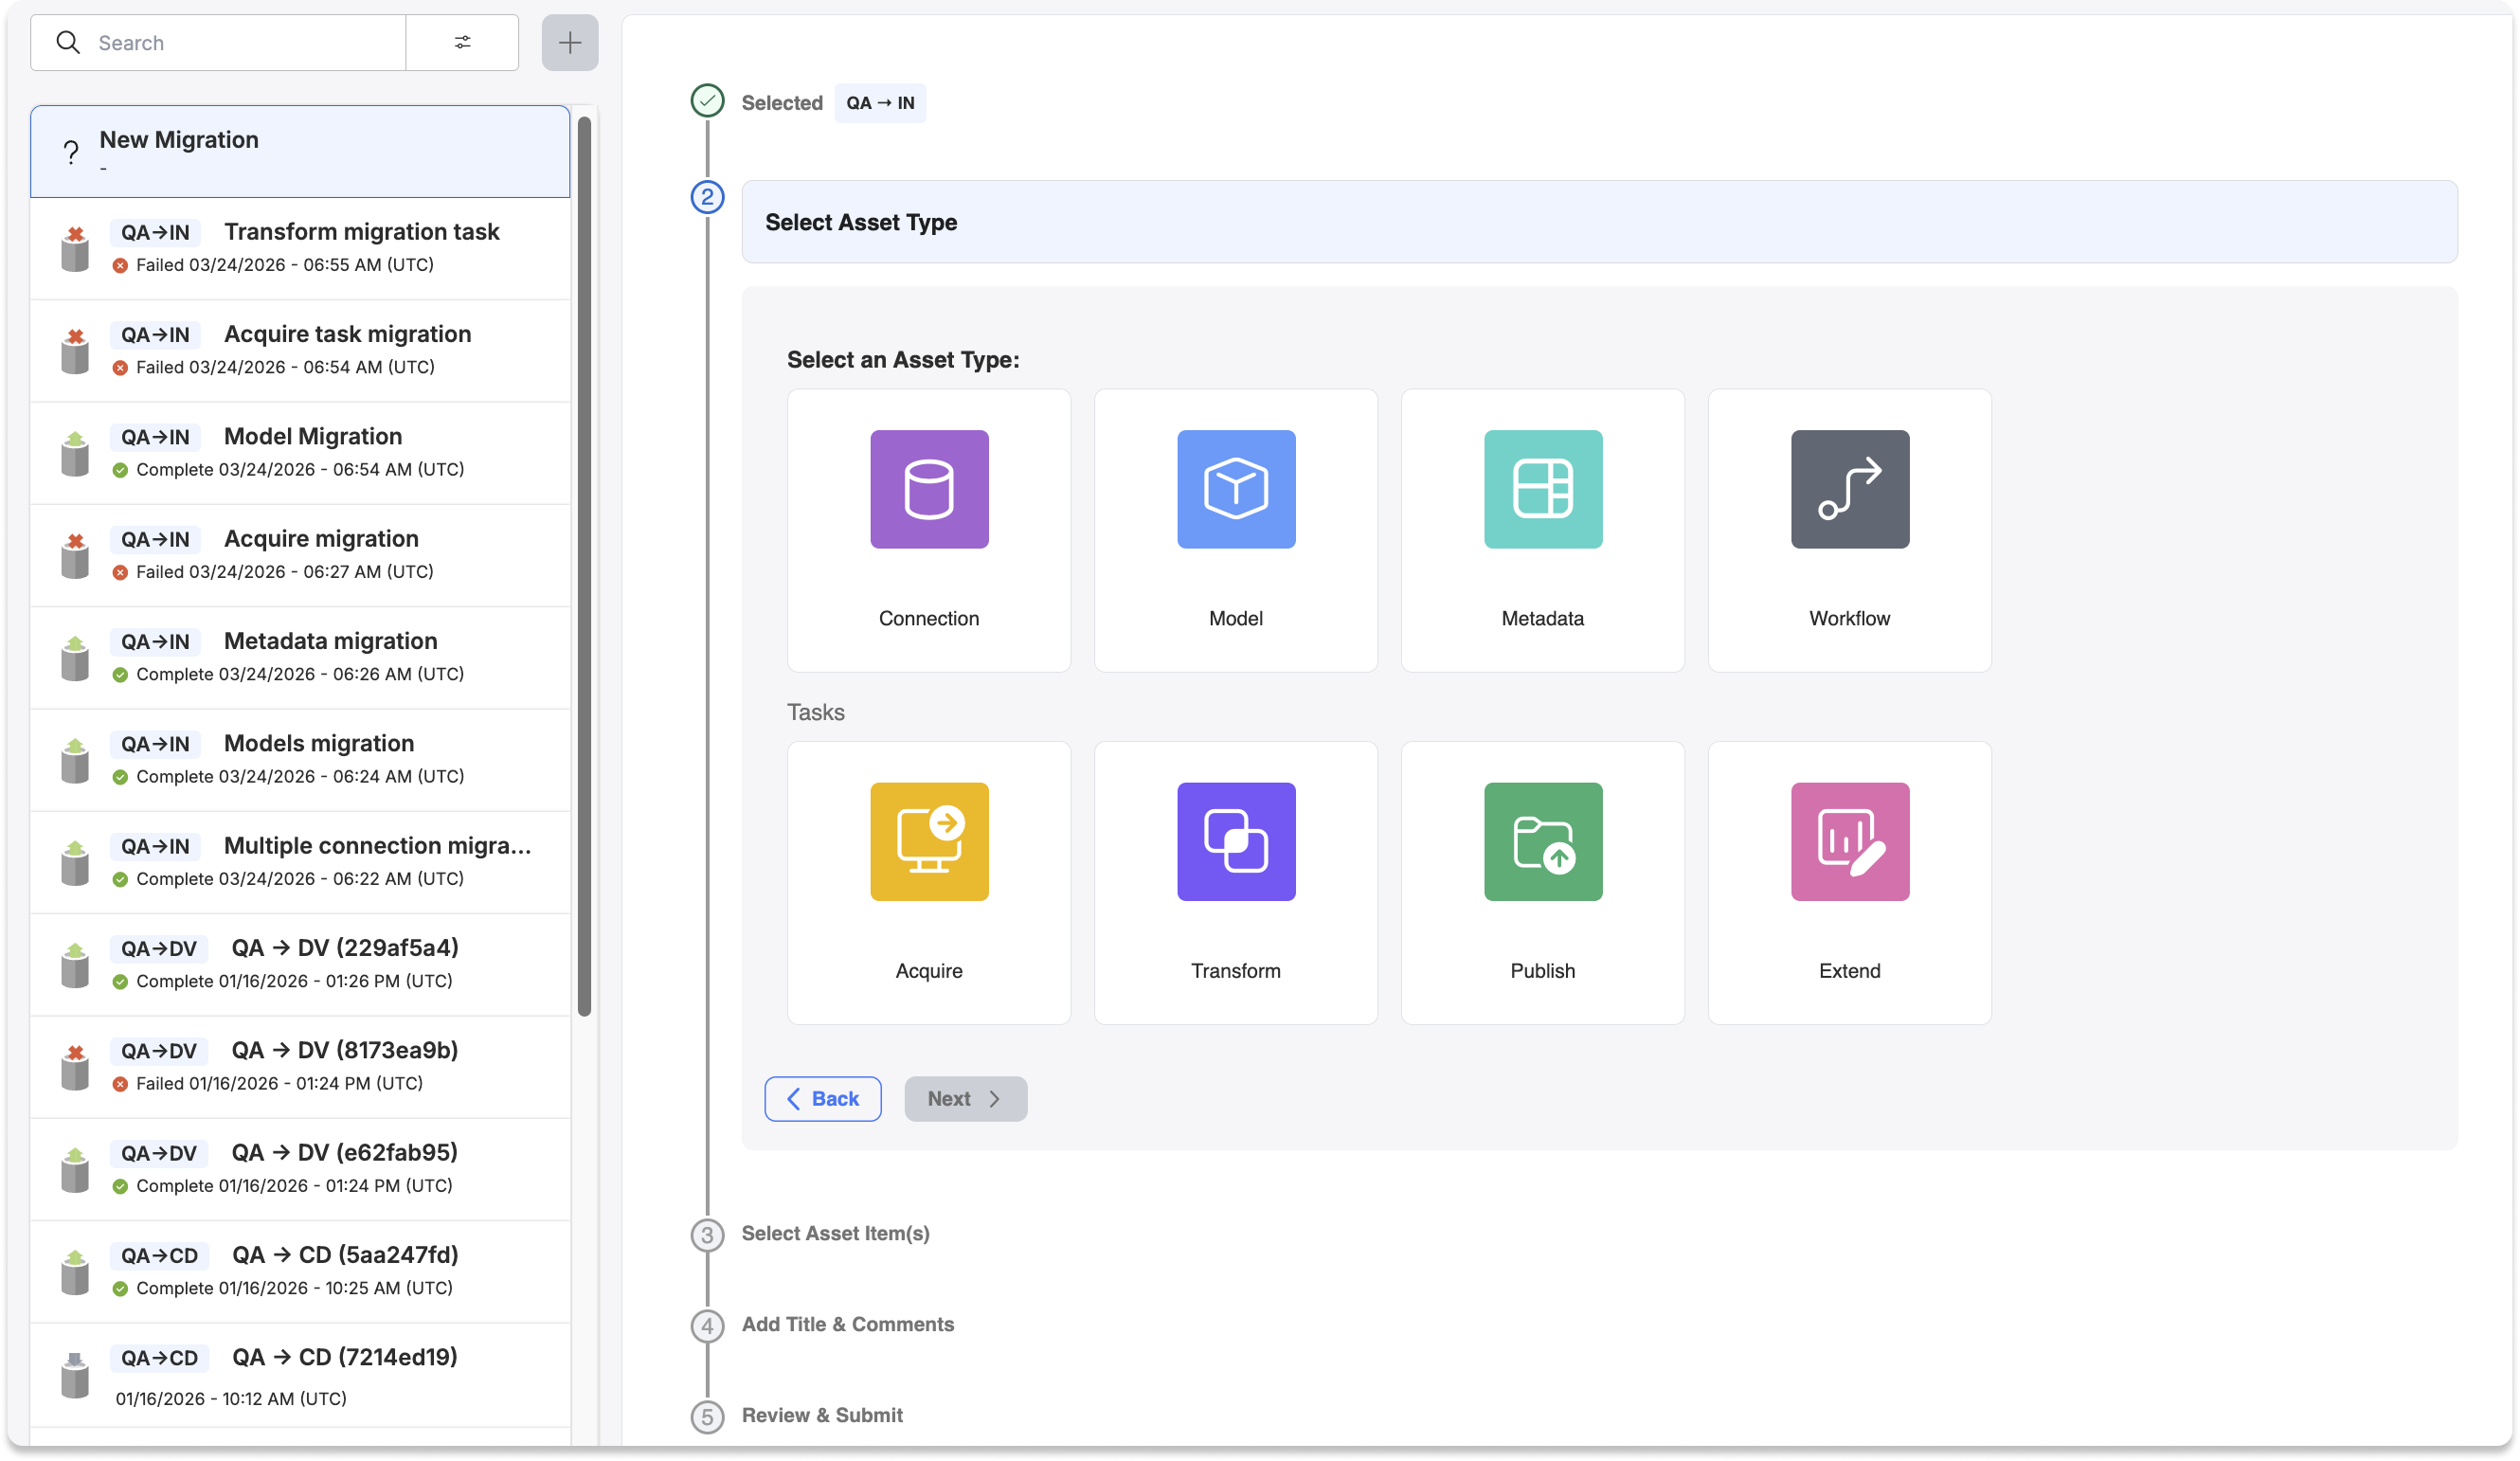
Step 2: Select Asset Type
Data Migrations can only move one type of asset at a time. If you need to move multiple assets, they can be done in separate migrations.
Assets are defined as your Connections, Models, Metadata, Workflows, and Tasks (Acquire, Transform, Publish, and Extend).
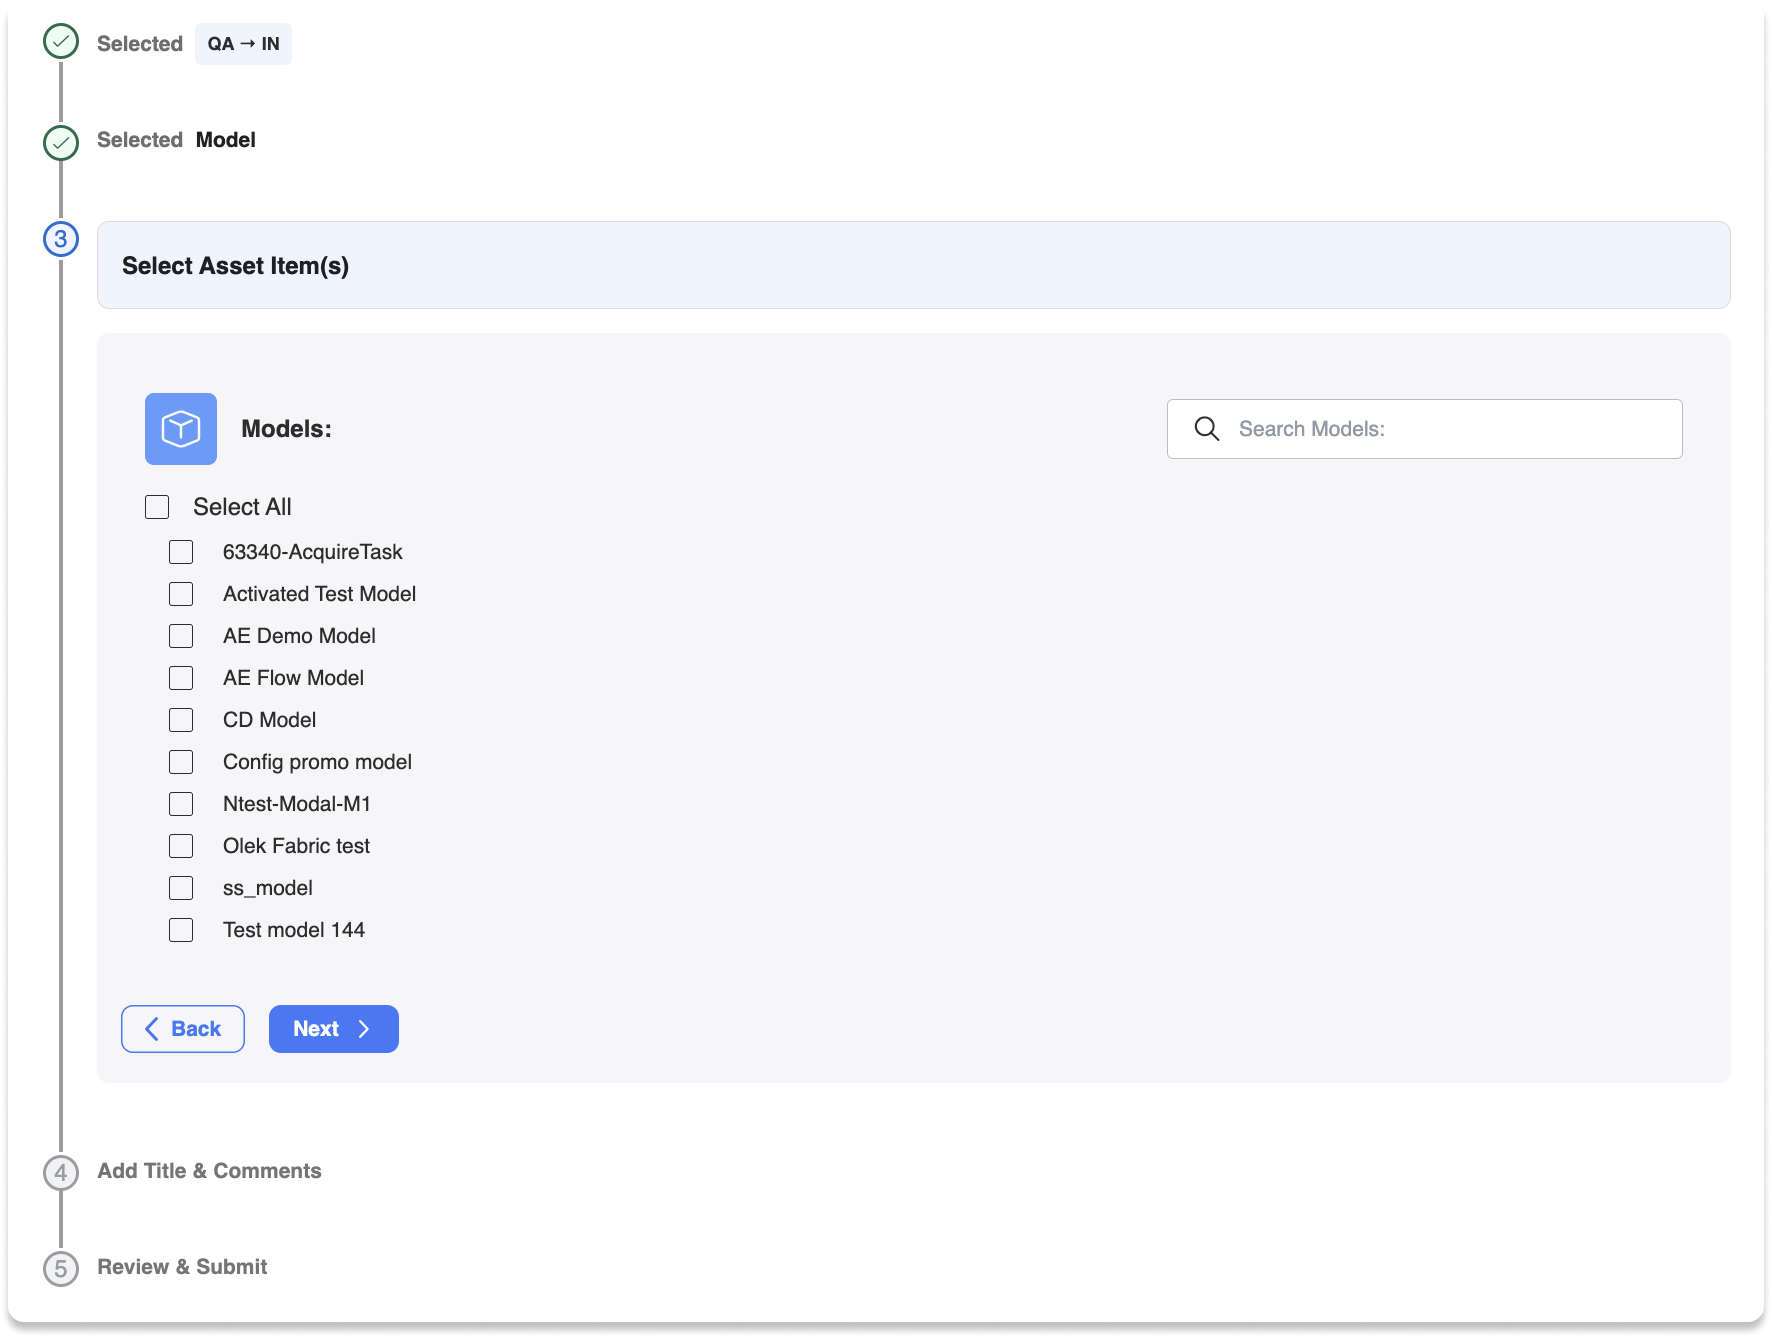
Step 3: Select Assets to Migrate
Based on the Asset Type selected, you will be shown a list of available assets within that category that you can select from to migrate.
- Select the specific items to migrate.
- Use search and select-all to quickly find and choose assets.
- Dependencies are surfaced to help ensure successful migration.
- Disabled assets are not able to migrated.
- Achived assets are noted with a tag for reference, but can still be migrated.
Behavior by Asset Type:
- Connections: Migrating connections only adds the connection type, name, etc to the target environment, it does not move credentials. Once the migration is complete, you can go into the target environment and add the credentials, or reauthorize, for the migrated connections.
- Models: Migrating models will add the model and all associated entity, entity column, and enetity dependency configuations.
- Metadata: Migrates the Metadata and configuration associated with a Connection that already exists in the target environment.
You will have the option to select metadata associated with an Empower connection or a Fivetran connection as metadata migrations can only migrate related connection provider associated metadata together. - Workflows: Migrating Workflows will also migrate the task(s) within them. Associated connections must be migrated first separately.
- Tasks:
- Acquire: Migrating an Acquire Task will also migrate the associated metadata. The associated connection must be migrated first separately. You will have the option to select Tasks associated with an Empower connection or a Fivetran connection as Acquire Task migrations can only migrate related connection provider associated Tasks together.
- Transform: Migrating an Acquire Task will also migrate the associated metadata. The associated connection must be migrated first separately.
- Publish: Migrating a Publish Task will also migrate the associated metadata. The associated connection must be migrated first separately.
- Extend: Migrating an Extend Task will migrate the Task and associated configuration, however, any related assets outside of Empower such as Databricks Jobs, Logic Apps, etc. must be migrated separately as needed in their respective application.
Workflow & Task Object Inclusion BehaviorWhen migrating Workflows or Tasks, only objects that are toggled to active in the Task's configuartion tab will be migrated.
Example: A Task contains 20 total available objects. Only 10 are active in the Task configuration tab. Only those 10 objects will be migrated.
If you want all associated objects migrated, you can do a metadata migration first.
Dependencies
Some assets rely on other components to function correctly (for example, a Task depends on a Connection). During selection, Empower automatically detects and surfaces these dependencies to help ensure a successful migration.
If a required dependency has not yet been migrated, you can click on View Dependencies to see which assets need to be migrated first along with the option to continue with the dependant migration first. If you confirm when prompted, your existing migration selections will be overriden with the dependency migration assests pre-selected.
Once the dependency is successfully migrated, you can return and proceed with your initial migration.
Clear dependency visibility helps prevent failed migrations and ensures all required components are in place before execution.
Step 4: Add Title & Comments
- Provide a title for the migration. This is contexual information for ease of reference.
- Optionally include comments for additional context.
This information is saved and visible in migration history.
Step 5: Review & Submit
In the final step, review your migration details and confirm before submitting.
Preview & Migrate
Tasks and Workflow migrations have the option to preview before committing. This generates a downloadable change summary showing what will be created or updated in the target environment. Upon review, you can proceed with migration or discard the migration if changes are not as expected.
You will not be able to start a new migration until you have completed or discarded the migration.
Submit migration
Select Migrate (or Complete Migration after preview) to execute. The Migration runs in the background so you can navigate away while it processes.
Status updates
Migration status will update as it progresses (e.g., In Progress, Complete, Failed). Once complete, the migration is saved and available in the history list for future reference.
Migration Results & Historical Management
After a migration is submitted, Empower tracks its progress and retains a full record for visibility, auditing, and troubleshooting.
You can click on a migration from the history list to review details of any past migration.
Migration Details
View Selecting a migration from the list opens a detailed view with:
- Source and target environments
- Asset type and selected items
- Migration name
- View and comments
- Download and view a full change log of what was included
- Timestamps of when the migration started and completed
Migration Status
Each migration displays a status that updates in real time:
- In Progress: Migration is currently running
- Complete: Migration finished successfully
- Failed: One or more items failed to migrate
- Discarded: Migration was canceled before completion
- Reverted: A previously completed migration has been rolled back
You can leave the page while a migration runs and return later to check its status.
Post-Migration Guidance
After completion, the system provides contextual guidance based on what was migrated to help you successfully complete setup in the target environment.
Examples include:
- Connections: Reminder to re-enter credentials and validate using Save & Test or to re-authorize Fivetran connections.
- Transform Tasks: Reminder to ensure associated notebooks exist in your compute environment
- Extend Tasks: Notification that external resources must be migrated separately
- Workflows: Combined guidance if multiple task types require follow-up steps.
Comments
Each migration includes a comment thread:
- Add comments to document decisions, issues, or context.
- Comments are timestamped and attributed to the user Useful for team collaboration and handoffs.
- You can only delete comments you have submitted.
Reverting Migrations
For supported asset types, you can use the Revert button if you notice any issues with the target environment and suspect that it was a result of the migration. You will be prompted to confirm your choice before the revert process begins.
This removes the migrated configuration from the target environment. The original migration record is retained for reference.
Once the revert is successful, the status of the migration instance updates to Reverted . If preview changelog was on the original migration, that will no longer be visible or accessible
Important: Reverting does not account for downstream changes made after the migration. Use caution if additional migrations or edits have occurred since
Updated about 1 month ago